For many telescope enthusiasts, space photographers, and amateur astronomers, stargazing is more than just a hobby – it’s a passion. Whether you’ve been gazing at the stars for years or have just recently developed an interest in astronomy, building an observatory at home can take your stargazing experience to the next level. With the right equipment and setup, you can capture stunning images of the night sky, track the movement of planets and stars, and discover new celestial objects right from your own backyard. In this article, we will guide you through the process of building an observatory at home safely and successfully, so you can take your passion for stargazing to new heights.
Table of Contents
Backyard observatory 101
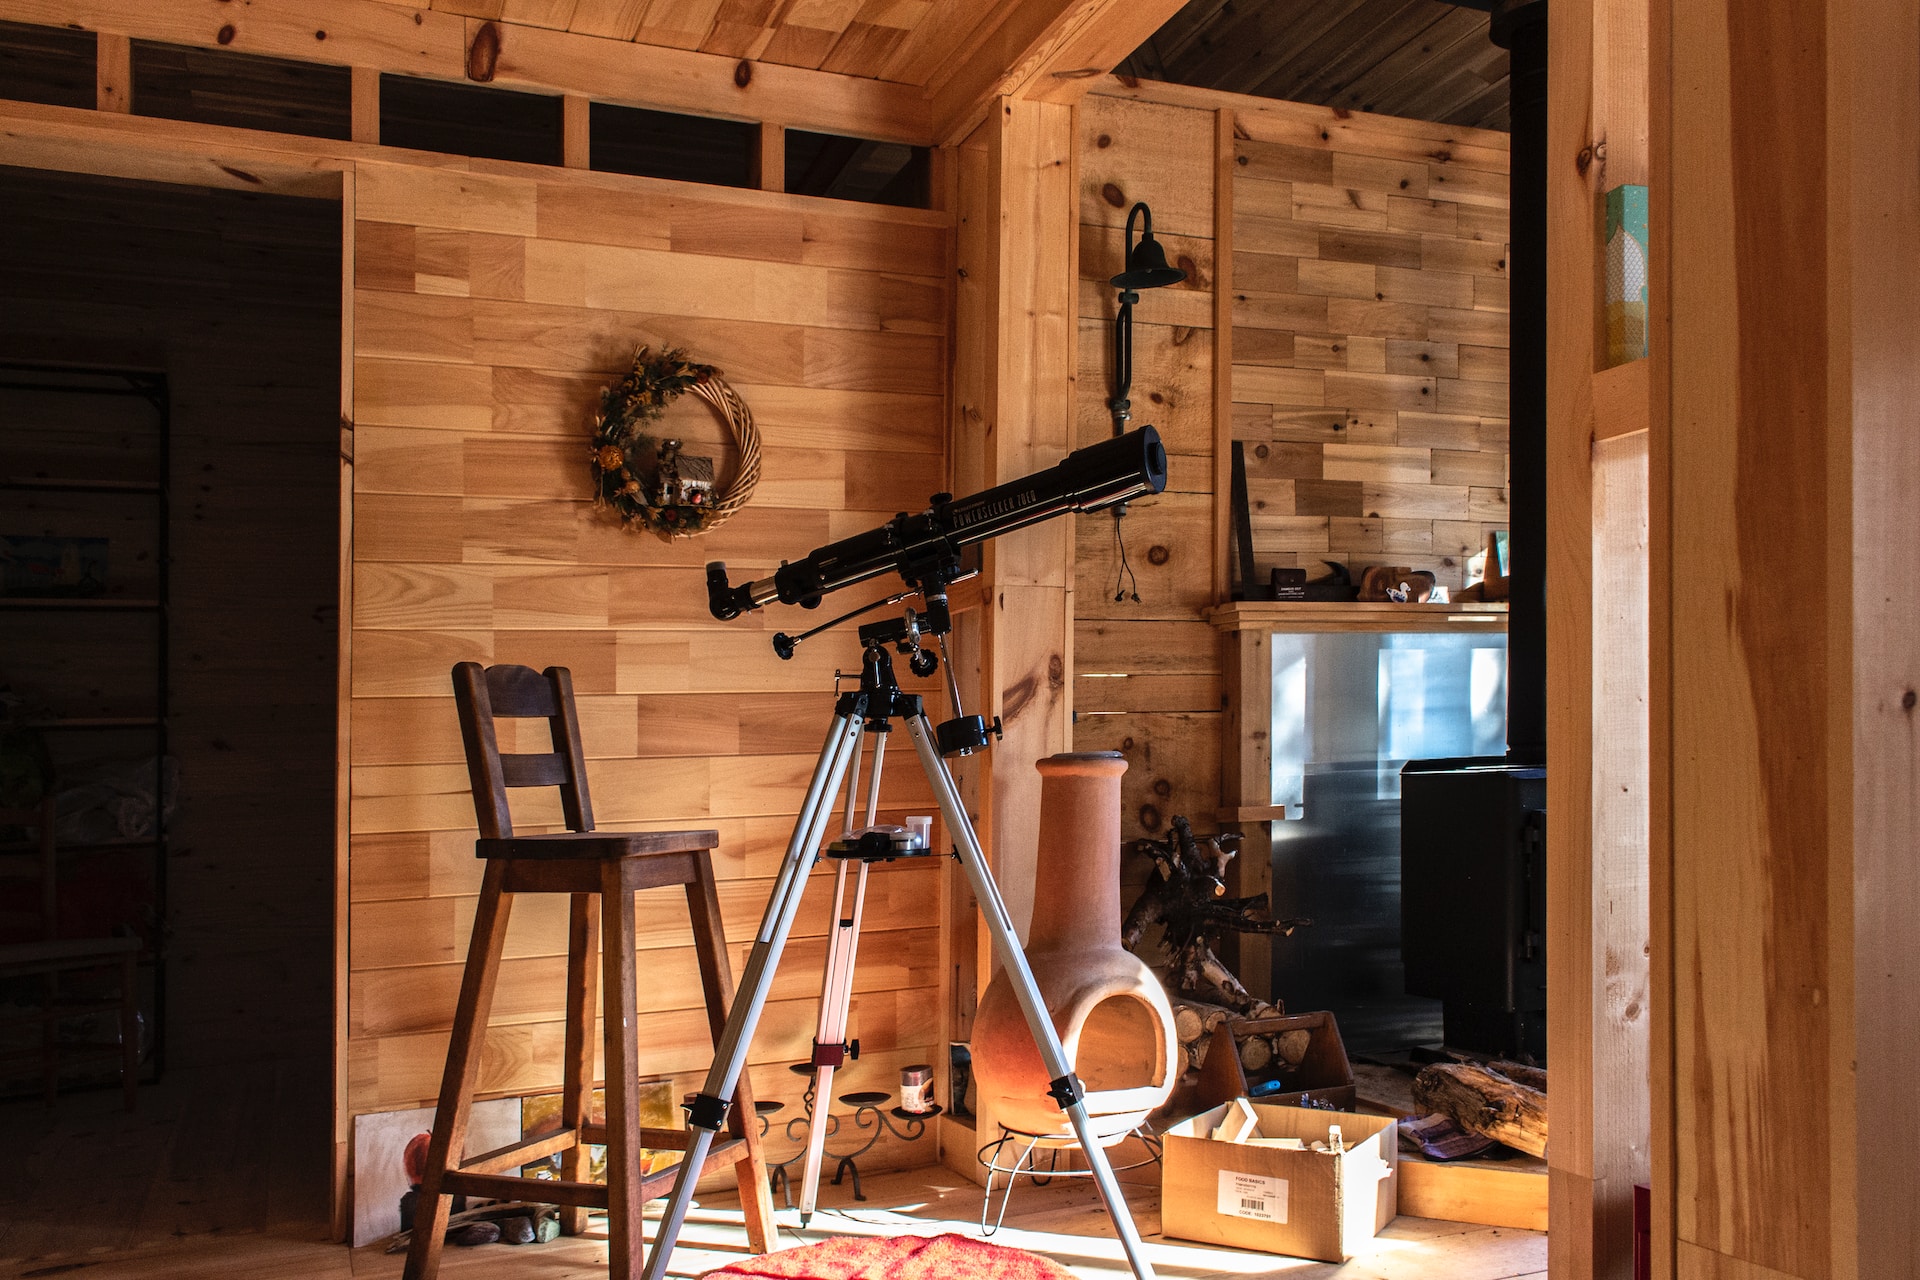
A backyard observatory is a structure built in a backyard or other outdoor area for stargazing and astronomical observation. It typically houses a telescope or other stargazing equipment and is designed to create a controlled environment that minimizes the effects of light pollution, weather, and other factors that can interfere with stargazing. Backyard observatories come in a variety of sizes and styles, from small, portable structures to larger, permanent structures that are integrated into the landscape. They can be built from a range of materials, including wood, metal, and concrete, and can be customized to suit individual stargazing needs and preferences.
Is a home observatory right for me?
Building an observatory at home can be an exciting and rewarding experience, but it’s important to carefully consider whether it’s the right choice for you before embarking on such a project. Here are some advantages to having an observatory at home, as well as some factors to consider when deciding if building one is worth the cost.
Advantages
Convenient Access. One of the biggest advantages of having an observatory at home is the convenience of being able to access it whenever you want. This means you can easily take advantage of clear nights and capture stunning images of the night sky without having to travel to a remote location.
Improved Viewing Conditions. By having your own observatory, you can create a controlled environment that eliminates many of the factors that can negatively affect your stargazing experience, such as light pollution, weather, and wind.
Personalization. Building your own observatory allows you to customize it to your specific needs and preferences. You can choose the size, shape, and features of your observatory to suit your individual stargazing goals.
Considerations
Cost. Building an observatory at home can be an expensive endeavor, with costs ranging from a few thousand to tens of thousands of dollars. The cost will depend on factors such as the size, type, and features of the observatory you want to build.
Space requirements. An observatory can take up a significant amount of space in your backyard, which may be a concern if you have limited space or if you want to preserve the aesthetics of your yard.
Time and effort. Building an observatory at home can be a time-consuming and labor-intensive project. You’ll need to research and plan your observatory design, source materials, and equipment, and then construct the observatory itself. Once it’s built, you’ll need to maintain it regularly to ensure it remains in good condition.
Building your backyard observatory
- Make sure you’re covered. It’s important to talk to your insurance agent to ensure that your homeowner’s policy covers the structure and equipment. Your agent can advise you on the appropriate coverage levels and any additional endorsements or riders you may need to add to your policy to protect your investment in the observatory.
- Choose a location. The first step in building a backyard observatory is to choose a suitable location. Look for an area with minimal light pollution, good visibility of the night sky, and adequate space for the observatory structure. You’ll also want to make sure the area is level and stable.
- Design the observatory. The next step is to design the observatory itself. This will depend on your individual needs and preferences, as well as the space available. You can find DIY observatory plans online, or you can create your own design. Some key elements to consider include the size and shape of the observatory, the type of roof (dome or roll-off), and the materials you’ll use to construct the observatory.
- Source materials. Once you have a design in mind, you’ll need to source the materials you’ll need to build the observatory. This may include lumber, screws, roofing materials, and insulation. You may also need to purchase or build a telescope mount, depending on the type of telescope you’ll be using.
- Build the structure. With your design and materials in hand, it’s time to start building the observatory. This can be a complex process, so it’s important to follow your plans carefully and take your time to ensure a high-quality result. You may need to enlist the help of friends or family members to complete the construction.
- Install the telescope. Once the observatory structure is complete, it’s time to install your telescope and other stargazing equipment. This may include a computerized tracking system, cameras, and other accessories.
- Enjoy the view. With your backyard observatory complete, it’s time to enjoy the view of the night sky. Remember to take care of your observatory by maintaining it regularly and protecting it from the elements.
Tips from the experts
Whether you’re stargazing from a DIY observatory or simply laying on your lawn, the important thing is to have fun and enjoy the wonders of the night sky. While building a backyard observatory can be a rewarding project for astronomy enthusiasts, it’s not necessary to have one in order to enjoy stargazing. With a basic telescope, a comfortable chair, and a clear view of the night sky, you can explore the cosmos and marvel at the beauty of the universe. Here’s what the experts have to say about making stargazing fun for the family.
When is the best time for stargazing and what kind of space or setup do you need for a good view of the night sky?
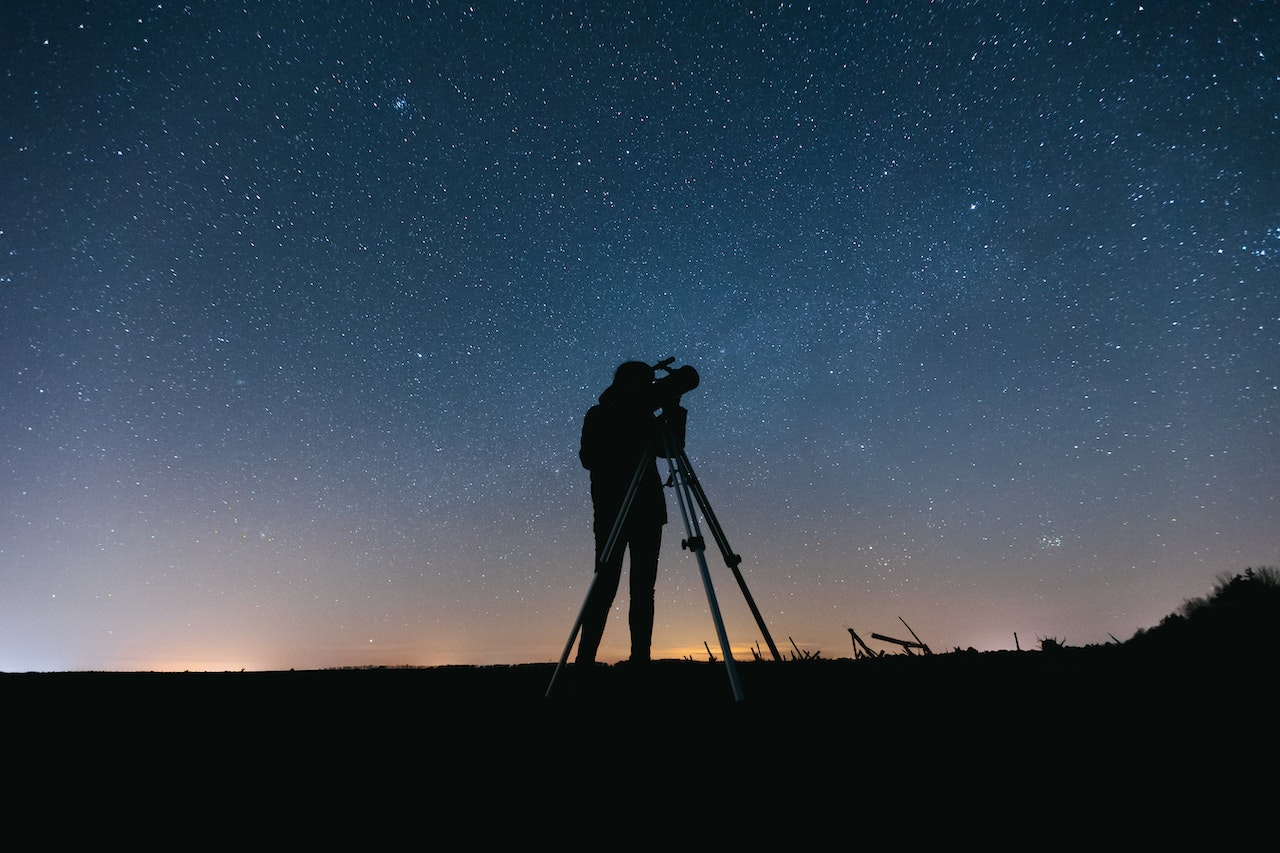
The really great thing about stargazing is that it is easily accessible. The first thing you have to do is get away from light pollution as this can have a huge effect on what is visible in the night sky. Ideally, you’ll be away from a city center, a port, or an airport. You don’t need a big telescope to appreciate the night sky, in fact, you really only need your eyes and maybe some kind of star map to help you know what to look at.
The best time to look at the night sky is when the Moon is at, or close to, being a New Moon. That way the Moon is not going to outshine the stars and you’ll get a nice view of the Milky Way depending on the time of the year. If you’re stargazing at home then a backyard protected from outside lighting (including your neighbors) with a good view of the sky will be ideal. Sometimes light pollution is unavoidable, it could be a neighboring property with security lights or street lighting that you can’t shield from, there’s not much you can do in this situation other than talk to your neighbors about redirecting lights.
I usually advise people starting out in stargazing to get a pair of binoculars, such as 10×50 or up to 15×70 in size, and use these to become familiar with the night sky. You’ll need a star map to help you find your way around the sky and it won’t be long before the different patterns of the stars become familiar to you. In stargazing, we use the patterns that the stars make in the sky to find amazing objects to look at, like Open Clusters and Galaxies. Binoculars or telescopes enable you to see the objects. In stargazing you have to manage your expectations, you are not going to visually see the rich colourful scenes that the Hubble Space Telescope produces, the colours will be very subtle, if any, and galaxies and gas clouds are usually grey and smokey looking, even in powerful telescopes.
Sam at Milky-Way.Kiwi
What major factors can limit how much can be seen with a telescope from home?
Observing with a telescope at home is an enjoyable pastime. You do not need to pack up all your equipment in the car and drive out to a dark sky site. You will likely observe more often from your yard than at a dark sky site. Here are a few things to consider:
- How big and heavy is your telescope and where is the darkest part of your yard? You will need to move your telescope from where you store it to where you will be observing. A dolly or a wagon can help. If your telescope is heavy, consider storing it in your garage or in a shed near your observing site.
- Where is the darkest part of your property? Is it protected from streetlights or lights from surrounding properties? Light pollution limits what you can see. Also, are trees blocking parts of your sky?
- What do you want to observe? The Moon and planets are excellent targets little affected by surrounding lights. Brighter deep sky objects, such as the Orion Nebula, Pleiades, double stars, star clusters, and even the Andromeda Galaxy can also be seen from your yard.
- Be realistic about what you expect to see. Your telescope will not show the colorful images you see in Hubble Telescope photos. You will see more details if you use averted vision by not looking directly at but slightly away from the object.
So, go out with your telescope and have fun! The clarity of what you look at will vary with winds and the moisture in the sky. Take time to observe objects. When the winds slow down your object will look noticeably sharper. Visit Robert Ferguson Observatory to learn more about the night sky and enjoy darker skies.
John Gregg at Robert Ferguson Observatory
What would be the best way to get into astronomy before you buy an expensive telescope?
Looking up to the planets and stars can create magical memories that stay with us for life. But with most of the world’s population now living under light pollution, truly dark night skies can be difficult to come by unless you know where (and when) to go. Here are Hipcamp’s top tips for getting the best stargazing experience without buying an expensive telescope.
Where to go: Roam from home. The farther away from light pollution you go, the darker the skies will be and the more stars you will see! If you live in a major city or town and travel even an hour from home toward a more rural area, you’ll note a dramatic difference in how many star clusters you can see.
When to go: Best times to go stargazing. We’ve covered how escaping light pollution is the best way to see the stars, but few beginners realize that when you go also plays a large role. If you want the best chance at seeing thousands of bright stars, plan your trip around the new moon. This is when the moon is not visible in the sky, making it the best time to observe. You can use Hipcamp’s 2023 astronomical event calendar to plan your next camping trip around the phases of the moon or even a meteor shower made up of shooting stars.
What to bring for stargazing
- Binoculars. One easy way to boost your stargazing experience is to bring a pair of binoculars. Binoculars are portable, affordable, and are great for viewing objects like craters on the moon. If you’d like a telescope, but don’t have one, a number of Hipcamps offer telescopes on site!
- A star map app. Whether you’re just observing with your naked eye or through a powerful telescope, your smartphone can guide you around the night sky, show you what you’re looking at, and help you find constellations like the Big Dipper and Orion. No need for NASA-level equipment here—just make sure to download one of these stargazing apps in advance in case you don’t have service where you go.
- Extra layers. Nighttime is always colder than daytime, and since stargazing usually involves being outside for long periods of time, we strongly recommend you bring extra layers to wear when heading out, no matter the time of year.
- Blanket or sleeping pad. If you can, bring a blanket or sleeping pad so you can lay down on the ground and see the entire sky at once. This is especially useful for meteor showers.
- Stargazing companions. Sharing the night sky with friends or family is a guaranteed way to enhance your experience and make it more rewarding.
Lydia Davey at Hipcamp
How far and deep in the space can we see with stargazing binoculars?
Through unaided eyes, you can see stars only as far as 4,000 light-years. If you want to peek farther, you can use stargazing binoculars, and see stars as far as 10 million light-years. With the help of binoculars, you can see galaxies and stars that appear as mere specks in the sky.
These are the best accessory available for stargazers who have just begun stargazing. You can start by seeking these celestial objects:
- Orion Nebula (1,344 light-years)
- Andromeda galaxy (2.537 million light-years)
- The Pleiades and Hyades open cluster in the Taurus constellation (150–400 light-years)
- The stars Mizar and Alcor in the Big Dipper (83 light-years)
- Constellations close to the Milky Way, like Cassiopeia (11,000 light-years), Perseus (560 light-years) in winter, and the Summer Triangle asterism (2,615 light-years at the farthest point) in summer.
- Theta Tauri double star (157 light-years). You can even spot a yellowish hue in Theta 1 and a bluish hue in Theta 2 if you scan well.
- Beehive cluster at the center of Cancer (577.3 light-years)
- M13 cluster in the Hercules constellation (22,200 to 25,000 light-years) and M22 cluster in the Sagittarius (10,000 light-years)
- Lagoon Nebula in Sagittarius (4,000 light-years)
To locate the constellations, you can use any constellation map.
Steve at Smore Science
How much can I expect to pay for a decent-quality beginner telescope?
The challenging aspect about choosing a decent quality telescopes is that we all want slightly different things from them. Some of us casually want to point at the moon, while others desperately want to see galaxies and nebulae. What we should expect to pay for a beginner telescope depends on what we want from it.
At the cheaper end is the casual observer looking for Jupiter’s moons and Saturn’s rings. For you, a capable 3”-4” telescope will cost as little as $100. It’ll be great for the moon’s craters and brighter planets, but there’ll be quality compromises elsewhere.
For a larger aperture, which lets you see fainter objects, the best option is a Dobsonian model. Dobs offer the biggest aperture to dollar ratio and you can pick up a 6” model for around $400. This is comfortable enough to see dozens of nebulae and galaxies.
Finally, if prefer just looking at objects to hunting them, you should get a model that lets you do that. The Starsense range from Celestron uses your cell phone to tell you where to point your telescope. These can cost as little as $250, depending on size. At the pricier end of the go-to type is the famous NexStar SE range, also from Celestron. These telescopes use a computerized motor to point the telescope for you after you’ve picked an object from the database. The smallest model is 4”, for which you should expect to pay about $700.
Adam at Love the Night Sky
What can we expect to see with a small telescope of around 2.4 inch?
Because of light pollution that exists for the majority of the US population, a 2.4” scope is limited to the Moon, a few bright planets, and a handful of bright star clusters. The Moon will look spectacular in a 2.4” scope, with many hundreds of craters easily visible. The best time to observe the Moon is around quarter phase, this is the time when craters stand out in bold due to all the shadows. The Full Moon will be VERY bright, and this is a good time to observe the maria (“seas”) on the Moon.
Jupiter will be the most interesting planet to see with a 2.4” scope. 4 Moons will easily visible, along with some bands visible on the planet. However, Jupiter will appear rather small even at higher magnifications due to its distance. A 2.4” scope will show the rings of Saturn, but the planet will be quite small. Depending on where Venus is in its orbit around the Sun, the shape of Venus will range from a crescent to gibbous. It will be rather small but VERY bright. Mars only gets close to Earth around every 2 years, and due to its small size Mars will be very small in the telescope.
With a star atlas, a 2.4” scope will also be able to show nice views of the brighter deep-sky objects; a few of these include the Double Cluster, the Orion Nebula, the Andromeda Galaxy and the Beehive Cluster. If dark skies are available, a number of other objects will also be visible.
When using the scope, use LOW MAGNIFICATION to start. This will be the eyepiece with the bigger number (assuming you have more than one). Low magnification makes the scope a lot easier to use, and will be best for most objects. The Moon and planets will require higher magnification, but locate them first using low magnification. The highest magnification that a 2.4” scope can handle is 100 – 140x. Any more than that and the views will be very dim, shaky and blurry.
Joe Roberts at Rocket Roberts
What are the camera specifications for astrophotography?
The camera you pick for astrophotography is important, but know that you do not need anything fancy or expensive to be able to shoot the stars. The main specification required for the camera is its ability to do long exposure photography, which will allow you to capture the faint light from the stars. Almost all DSLR cameras will let you do up to 30-second exposures in Manual mode, which is perfect to get started!
There are then 3 main types of cameras you can use for astrophotography:
- DSLR/Mirrorless
- Cooled One-Shot-Color Camera
- Cooled Monochrome Camera
DSLR/Mirrorless cameras are perfect for wide field, Milky Way photography, and are recommended for beginners as they are very simple to use. Good specifications to look for are the dynamic range, the ISO sensitivity, the resolution, and the noise performance.
Cooled One-Shot-Color (OSC) and monochrome cameras are both designed for astrophotography. They do not have a screen or any buttons, so can be tricky to use for beginners.
These cameras must be plugged to a computer and power source to be used, but give the best performance for astrophotography thanks to their cooling system, allowing you to get much less noise than with non-cooled cameras. Some of the main specifications to look for here are the pixel size (depending on what you plan to shoot), the resolution, the read noise, and the ADC.
Out of the three cameras, DSLR/Mirrorless cameras are the best choice for beginners thanks to their ease of use. Monochrome cameras are best but not beginner-friendly, as they need to be paired with different filters.
Antoine Grelin at Galactic Hunter
What is a telescope’s magnification, and what is your advice for using it properly?
Magnification is one of the most misunderstood terms in Astronomy, especially about telescopes. To magnify something is to increase its apparent size—making it look larger through a telescope. Unfortunately, many newcomers to observational astronomy looking to buy their first telescope rank magnification as the most important specification of a telescope. There have been many telescopes sold in department stores that flash “Amazing 500 Power Telescope” on the box. The truth is, that power (magnification) is one of least important specs of any telescope and we spend far more time observing with low power eyepieces than with eyepieces that provide high power.
In actuality, many astronomical objects have a large angular size. That is, they can take up a considerable portion of a telescope’s field of view (fov)—the section of the sky you see through your telescope’s eyepiece. Because of this, those larger objects do not need to be magnified much for you to discern detail when you observe them. Objects like the Andromeda Galaxy, the Orion Nebula, or the Pleiades—favorite objects of many beginning astronomers are huge. When viewing these larger celestial objects, you can and should use low magnification. Utilizing a low power eyepiece, provides the observer with a larger fov, a sharper image as well as a brighter image. And that’s what we all want when we look through a telescope at our favorite objects—a sharp, clear, and bright image.
While many celestial objects have a large angular size, some are small. These include planets, more distant galaxies, and planetary nebulae. To see detail when viewing these objects, or when we’re investigating mountains on the Moon, or details inside a sunspot, we do need to kick-up the magnification. The good thing about magnification is that it is easy to change in any telescope within certain limits. All you need to do is pop in a different eyepiece with a shorter focal length. When looking through a given telescope, the smaller the focal length of an eyepiece, the more magnification (power) will be applied to the object being observed. The simple formula to figure out the magnification an eyepiece will provide is M = FLt/FLe, where M is the magnification, FLt is the focal length of the telescope and FLe is the focal length of the eyepiece. These values, normally expressed in mm, are found on the eyepieces and the telescope nameplate.
John S. Gianforte, Director at the University of New Hampshire Observatory
Final thoughts
Building a DIY backyard observatory can be a challenging and time-consuming project, but it can also be an incredibly rewarding experience for astronomy enthusiasts. By carefully planning your design, sourcing materials, and taking your time during construction, you can create a high-quality observatory that provides a great view of the night sky for years to come.


