
Have you ever wondered how much money you could save by transforming your furniture or making some profit from it? By flipping your furniture, you can give your chairs, sofa, and dresser a second chance and give your house a new decor twist. Upcycling is not as easy as it seems; there are a lot of factors to consider to make it successful.
How to start?
Look at your furniture and see which ones could use a makeover. You’ll need to consider things, like choosing which can be revamped, how to do it, which products are best for each surface, how to prepare it, etc.
What is the secret to a good furniture makeover?
The secret to a good furniture makeover is to choose a piece that is timeless in style. I like picking pieces made with natural wood and clean lines. The less detail, the easier the makeover will be. Once you’ve found the perfect piece of furniture, I feel you should let the furniture speak to you like Michelangelo let his marble blocks speak to you. Listen to it and allow it to become what it is destined to be. After doing this, I’ll sometimes reupholster it with some batting and modern, durable fabric.
Sometimes I’ll use chalk paint to give it an updated look, or I’ll strip it and refinish the wood. If you have a good piece of furniture with a nice grain, like oak, liming wax can make the grain pop, giving it a nice, rustic farmhouse look.
Carolyn J. Braden | Carolyn’s Bloomin Creations
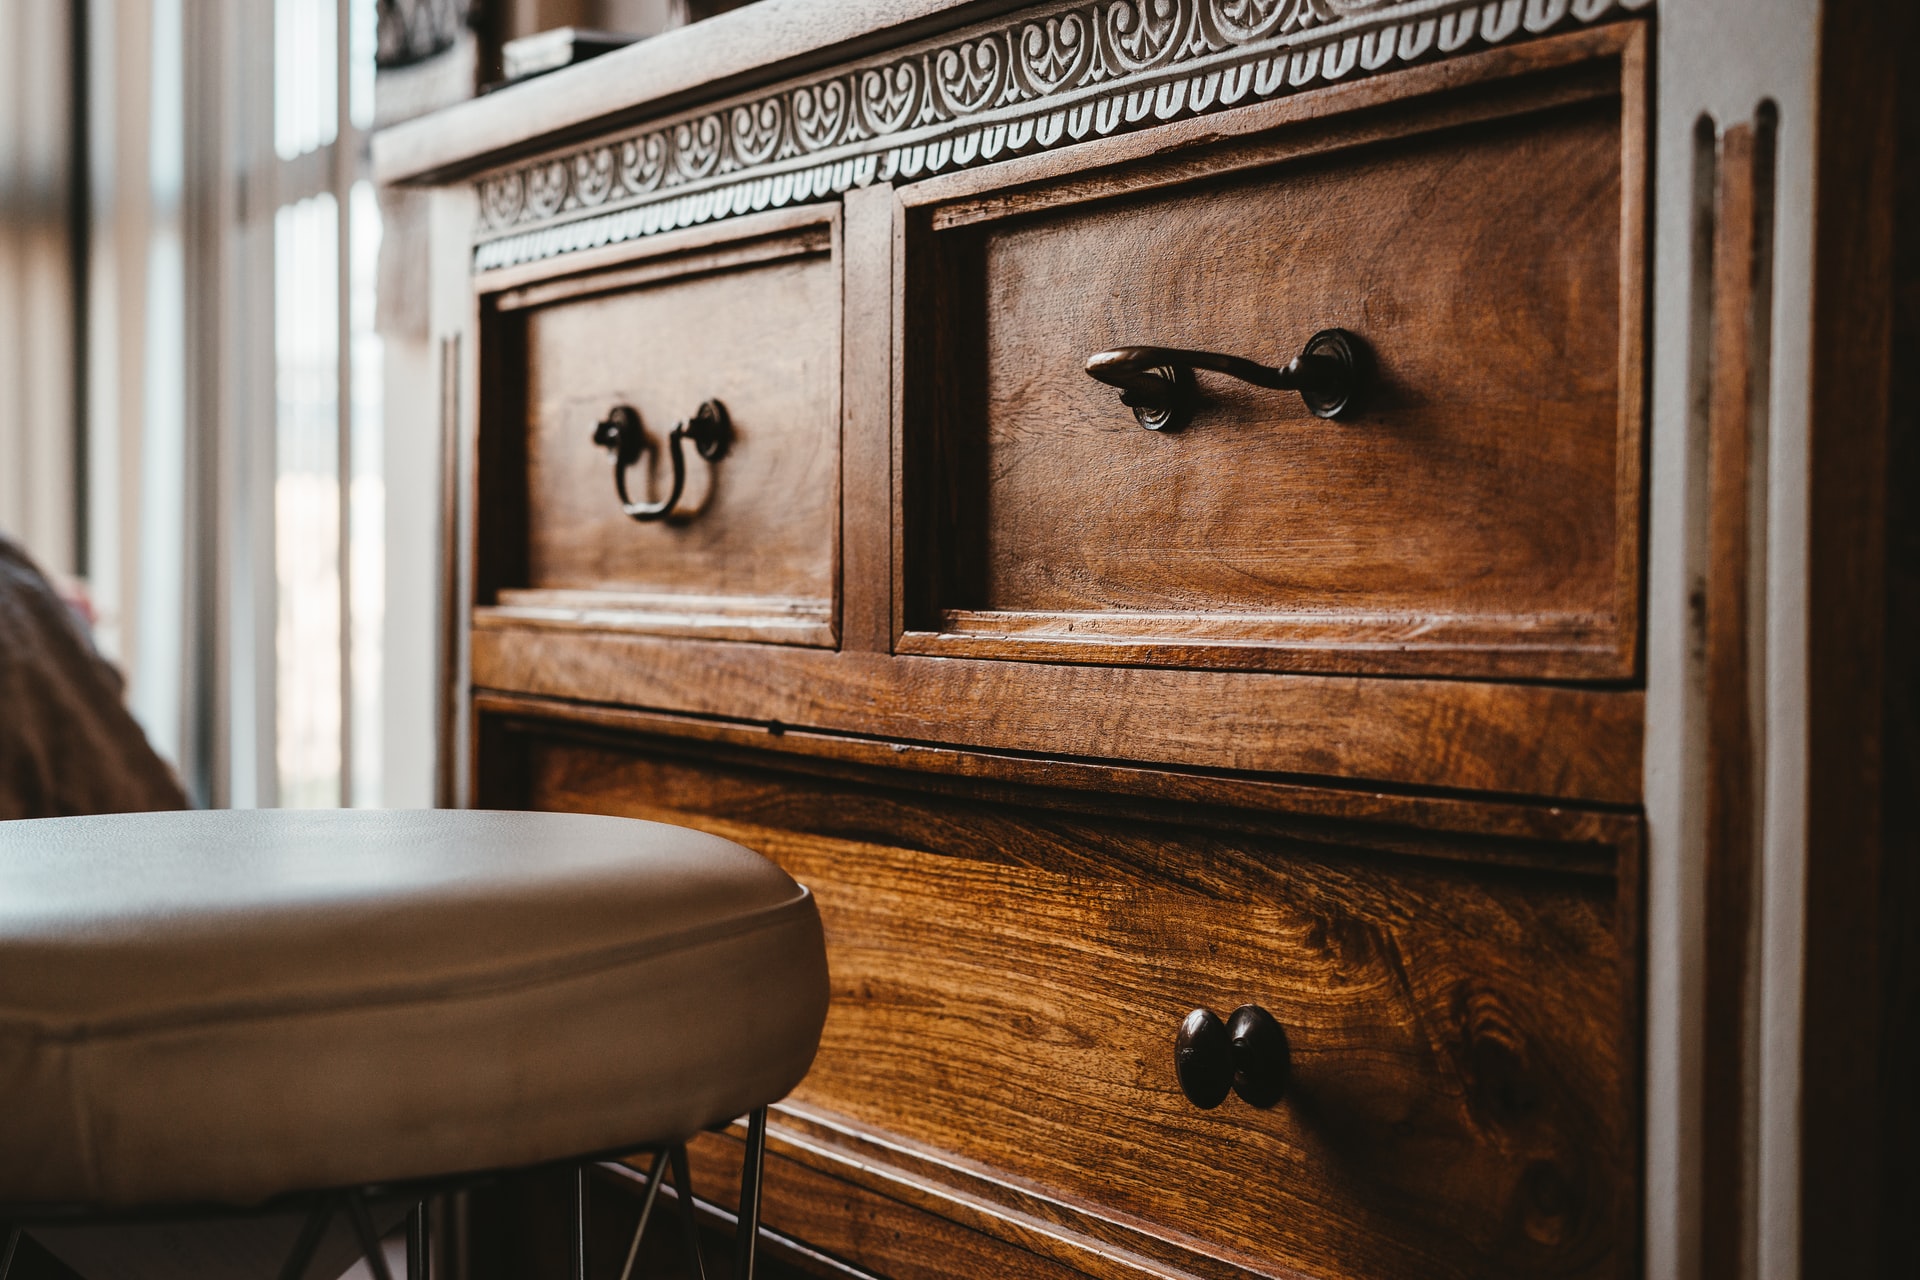
How to choose the correct piece of furniture for upcycling projects?
If you’re considering an upcycling project, first look around your home and think about what you need. If you’re after a groovy cocktail cabinet, you’ll want to identify an existing cabinet or trolley to upcycle. If you’ve been dreaming of a desk in your home office, consider repurposing cabinets or drawers topped off with a sturdy surface. Most antique furniture is very well made and not beyond repair. Provided you have the motivation and a well-equipped toolbox. You’re good to get upcycling.
Alternatively, you might want to “hack” a cheaper piece of furniture to create something more luxe. A plain IKEA unit makes for the perfect blank canvas for creating something that’s entirely tailored to your interior design scheme.
If you’ve no furniture lying around, plus you are not in the market for buying something new, there are plenty of places to source second-hand furniture for minimal cost. Visit charity shops and flea markets, or browse Facebook Marketplace, Gumtree, or eBay. You’ll be surprised by the variety of furniture available.
No matter what item you choose to upcycle, give it a modern twist with contemporary hardware. Besides, an upcycling project isn’t complete without the finishing touches.
Tom Revill | Plank Hardware
What are the best places to look for outdated pieces to transform them?
My favorite place to find furniture to transform is on the curb, waiting for the garbage trucks. I have transformed and brought back to life lots of perfectly nice (just outdated) furniture pieces. My second favorite place to look for furniture is Goodwill. They have the best prices, and you can score some amazing things. Lastly, o have scored some great deals at yard sales and on Facebook Marketplace.
Jodi | The House House
What is your advice when working with wood furniture?
We repurpose old wood furniture pieces by painting them. When painting furniture, we recommend lightly sanding the furniture first with 150-grit sandpaper. If you sand too much into the wood, you can have something called bleed through happen where the wood stain or color bleeds into the paint color. So lightly sand, prime with a binding primer, and then paint it using a foam roller and foam brush or paint sprayer if you have one (we don’t recommend sprayers for first-time repurposes). If it is your first time painting a piece of the future, start with something small that you didn’t spend much on. Baby steps! We bet you’ll find it fun, love the feeling you get from repurposing instead of buying new and gain the confidence you need to move on to a bigger project.
Sarah Trop | Fun Cycled
What are the basic tools to start a flipping furniture business at home?
For refurbishing furniture hardware, you will require specific tools like TSP Cleaner, 220 Grit Sandpaper or Synthetic Steel Wool, Oil-Based Spray Primer, Spray Paint, and Spray Sealer.
Starting a flipping furniture business also requires one to be trained in the process of stripping away old paint, sanding, and applying a coat of paint or stain. In some cases, Reupholstering might be required. While you might have some experience with furniture restoration being a hobby, getting off some training before building this new venture is better.
What is your best advice when working with old broken wooden chairs?
Chairs are one of the hardest working pieces of furniture in our homes. They get dragged around, sat on, stood on, leaned on, and rocked on. No wonder they end up looking a little worse for wear after all that action. If the structure is still sound and the repairs are doable without spending lots of money (aka, it’s less expensive than buying another one), it’s worth taking a little time to give that wooden chair a new lease on life.
When it comes to fixing broken furniture, always wear safety goggles and gloves. Splinters are sneaky little things and will go everywhere. Take a “before” photo, so you have something to refer to. It is also a great way to showcase all your hard work. Assess the damage before carefully removing any loose pieces of wood. If you’re going to reuse anything, label the bits and keep any nails and screws in a small container.
Gently sand the chair with medium grit sandpaper to remove any dust, grime, and old glue. Use wood glue to fix any damaged pieces. Depending on the piece, you may need to clamp everything together while the glue dries. If the piece can’t be fixed with glue, you can use a similar undamaged part as a guide to making a replica. Fill any cracks or holes with wood filler and leave to dry completely before sanding the area with fine-grit sandpaper.
When all the bits are fixed, it’s time to reassemble the wooden chair. Check that all the pieces are there and that you have the right nails and screws for the job. Place the seat upside down on a flat surface and attach the legs using glue and/or screws. Make sure the legs are even and level before adding the back support. If your chair has armrests, add them last. Once all bits are back together, double-check that the chair is stable before painting or staining.
Depending on the damage, some chairs may not be worth fixing. But it’s a wonderful opportunity to repurpose them into something different. With some creativity and a few basic tools, you can reinvent an old, broken wooden chair into a unique piece of furniture or decoration. Chairbacks make great shelves, and the seat can be turned into a small side table.
Michelle | A Craft Mix
Choosing the correct products
There is a lot of variety when it comes to products for furniture makeovers. Still, it’s necessary to understand the material you’re dealing with, so you choose the correct one for it and don’t end up damaging the piece.
How to choose the right paint for your upcycling furniture project?
When choosing paint for your furniture painting project, it is important to consider where and how the piece will be used. Will it be used in a high-traffic area, such as dressers or tables, inside or outside? These things will play a factor in choosing the right paint for your project.
If you’re looking for a paint that is made in America, has low VOCs, and is easy to use, consider MudPaint. MudPaint is clay paint with fantastic adhesion and durability, making it an excellent choice for most all painted furniture projects. It provides a velvety-soft, matte finish and is easy to clean up with warm, soapy water. Happy painting.
Kara VanderLeest | MudPaint
Why is chalk paint the best for painting kitchen cabinets and old furniture?
There are a few reasons why chalk paint is often the best choice for painting kitchen cabinets and old furniture. First, chalk paint adheres well to most surfaces, meaning you don’t have to spend a lot of time prepping the surface before painting (more often than not, deglossing is enough!). Second, chalk paint is very forgiving when it comes to brushing strokes and imperfections – unlike other types of paint. It’s easy to get a smooth, professional-looking finish with chalk paint. Plus, chalk paint doesn’t flake like some other paints over time. If it takes a ton of wear, it will begin to fade, which is much more discrete and easy to fix, but this is rare. Finally, chalk paint is available in a wide range of colors, so you can easily find the perfect shade to match your decor.
Rachel Timmerman | Analytical Mommy
How to know which type of paint is ideal for your furniture makeovers?
When it comes to painting furniture, there are many types and brands of paints to choose from. I use specialty furniture, chalk, latex, and even spray paint for my furniture makeovers. You may think spray paint is an odd choice for painting furniture, but it is perfect for metal pieces. Just be sure to select quality spray paint.
I prefer chalk paint when painting old-time worn furniture. It adheres well, and the flat chalk finish is great for achieving an aged or vintage look. When waxed, the paint has a nice soft sheen.
For laminated furniture or pieces with plastic parts, usually made in the 60s or 70s, I like to apply a good primer and then a quality latex paint, or I will use Beyond Paint for furniture which has a built-in primer and sealer.
For just about any type of wood furniture, you can’t go wrong with a base coat of primer and then two coats of good old latex paint!
Kathy | Petitcoat JUNKtion
Prepping
Always remember to prep your pieces before starting the makeover. Some may need sanding, cleaning with harsh products, and other preparations. Get informed about which process needs to be followed for each material you plan to work on.
What’s the secret to prepping properly for chalk paint?
To properly prep your piece for Chalk Paint®. First, you want to give it a quick scrub with degreasing dish soap and water. This mixture will remove dirt and any oily residue like wood polish or grease if you’re painting kitchen cabinets. You can also use a product like “Krud Kutter” if it’s a dirty job. Next, you will want to rinse off the piece with clean water, then let it dry. You are now ready to start painting.
Crissy Sayers | Bird’s Nest Gifts and Antiques
Refinishing

Choosing the right finish for your piece can upgrade it or degrade it. Making sure you’re selecting the right one for your project will make all the difference in the looks of your furniture.
What signs to look for to see if a piece of furniture is suitable for refinishing?
- Solid wood/wood veneer: if your want a stained finish, make sure its solid wood or has a nice thick wood veneer (make sure the veneer isn’t lifting or has bubbles – this can be repaired but is expensive and time-consuming)
- Price: there can be a lot of costs that go into refinishing, i.e., upholstery, stripper, fillers, primers, paint, stain, sealer, abrasives, etc. Make sure you don’t break the bank by purchasing a piece that is already expensive to start with.
- Style: Often, pieces are deemed dated because of their finish. Make sure you love the lines/shape of the piece.
How to achieve a smooth finish when repainting furniture?
The best way to get a smooth finish on your painted furniture is to take the time to prep properly before painting. Start by cleaning your furniture with a good degreaser followed by a light scuff sand. We recommend using a foam roller or a paint sprayer to get the smoothest paint finish. If you are using a brush and you can see brush marks, consider using a misting bottle or a paint conditioner to keep your painting from drying and leaving brush marks as you paint. Paints designed especially for furniture can be helpful since they usually have a built-in self-leveler. Apply multiple thin coats of paint, and don’t try to get full coverage on your first coat. If you notice any problem areas once your paint has dried, a light sanding with very fine grit sandpaper can smooth them away.
Iris | Three Coats of Charm
How can you distress black-painted furniture?
My favorite way to distress black-painted furniture is to use a process called “wet distressing.” This technique creates a really authentic distressed finish without scuffing the surrounding black paint or the wood finish underneath.
To wet distress, take a sanding pad and dip it in a container of clean water. Then rub the wet pad along the corners, edges, and other raised details of the furniture. The water and pressure from the sanding pad will wipe off the black paint in those areas, leaving a naturally worn look. Make sure to keep some shop towels nearby so that you can wipe off the residue from the water and sanding process.
If you find your black paint looks streaky afterward, applying an oil-based topcoat will take care of that. A light coat of wax or hemp oil will add a subtle sheen to your black paint and take away any haze or streaks on your black paint.
Melanie Alexander | Lost & Found Decor
Upholstering
Upholster is the process of attaching a furniture frame with foam, cushion, and textile covers. It’s essential in the flipping furniture process. It gives you more opportunity to restyle, restore and repurpose furniture. By simply doing it, you can transform a cushion from something old and damaged to a more modern and styled piece!
What is the best technique to upholster chairs?
Upholstering a chair seat is a fun, quick, and easy way to update and redesign a piece of furniture. It can take less than an hour to make a significant impact with the right tools and materials. My advice is for a seat with a solid base instead of one built on webbing. Whether reupholstering or starting from scratch, you will need good quality upholstery fabric, a pneumatic staple gun, and an air compressor—other tools/materials you might need depending on what you start with.
The seat should be constructed from a solid base about ½” thick (plywood, or similar), on top of which will go a foam pad, followed by batting, and finally the upholstery fabric. If you are reupholstering an existing seat pad, remove the seat from the frame, then (using a screwdriver, multi-purpose painter’s tool, staple remover, or similar) remove the existing tacks or staples and dismantle the layers.
If you’re lucky, you can re-use the base and padding and only have to replace the fabric. In that case, jump to #4, and skip #5. If you have to replace everything or are starting from scratch, take the following steps:
- Cut a solid base of the right size and shape to fit the frame.
- Cut a piece of foam (the thickness of the foam depends on the desired aesthetic and comfort, but I recommend at least 1”) about ¼” bigger on all sides than the solid base. That way, it will somewhat protect the batting from the sharp edges of the base.
- Cut a piece of batting at least 3” bigger on all sides than the base.
- Cut a piece of upholstery fabric at least 4” bigger on all sides than the base.
- Lay the batting on a clean, flat surface, then place the foam on top so that there is an even margin all around. Next, put the solid base on the foam. Now draw the batting up around the foam onto the solid base and staple it. Start with one staple in the middle of one side, followed by a staple in the middle of the opposite side, pulling the batting taut. Repeat on the other two sides, then add one or two more staples on either side. Then staple the corners. If they are not too sharp, you can work the batting to get minimal wrinkles; if they are very sharp, you might want to try a neat tuck and fold. Trim excess batting as necessary.
- Lay the fabric face down on a clean, flat surface, then place the prepared seat pad on top so there is an even margin. Now follow the same steps (#5) that you did with the batting. If the fabric pattern needs to be precisely positioned, then it’s a good idea to gently pin it to the prepared pad before turning everything upside down. Use dress-making pins facing outward.
Sylvia Worsnop | Transforming Trash
Flipping furniture might not be easy, but with the right tools, safety and advice, it’s a project you can easily DIY and could be a great hobby too. Remember to have fun during the process. And who knows, you might end up doing a business out of it!


