Having a custom makeup station at home is the dream of every MUA out there but achieving the perfect space aligned with your taste and personality is not an easy task. We’ve got you covered whether you’re working in a small space, the corner of your bedroom or are lucky enough to have a whole room to dedicate to your passion for makeup. Not only is having a properly organized space important for you to keep track of your products and give yourself an organized space to work from, but it also goes towards the perception of clients and models. Nobody likes a chaotic makeup station! We’ve got tips on how to build a glam makeup room, how to build an online community as an MUA artist and build your own makeup business at home. Soon, your makeup station will be looking as flawless as you!
Why a Makeup Station?
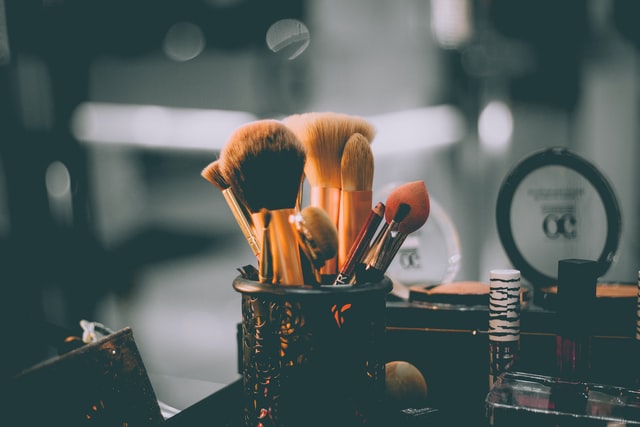
At its simplest, a makeup station is an intentionally designed space that allows you efficient storage and access to all of the tools of your trade. It’s well-lit and includes furniture that is both comfortable for your clients and ergonomic for you. Additionally, if you’re sharing your space online, it should be aesthetically pleasing. Your background will have a direct impact on how your brand is perceived by your audience, so be intentional! Think of MUA social accounts you admire and why. Likely they’re not only super talented artists, but they also present a clean and cohesive personal brand that builds trust with their audience. Lighting is one of the most important elements of creating quality content to share – even if you’re new to the MUA social scene, invest in good vanity lighting and an inexpensive lighting kit. Lighting can be the difference between looking like an amateur playing pro from their bedroom and a put-together professional, so put some time into making sure your station’s lighting is dialed in, and you’ll be a happy little MUA later down the road.
What Do You Need?

Furniture
Vanity Desk – Amazing MUA’s have their own distinct style and look, and your station or makeup room is another chance to showcase your creativity, with some caveats. Your vanity desk needs some key elements to help you stay organized, clean, and efficient. Shallow drawers are best for this type of use, and lots of them! You want to create the most surface area that you can so that your product is easily visible and accessible. There are professional MUA vanity desks that are made specifically for this that can even include an attached mirror and lights, but if that’s not in your budget, look overall for a vanity with lots of shallow drawers. Chances are, a vanity that is not MUA-specific is going to have a couple of deeper drawers as well. Not to worry – just make sure that those drawers will accommodate stacking shelves so you can create that coveted real estate.
In terms of color, there are a couple of things to consider. White will reflect the most light back onto your subject, whereas darker colors will take light away. Vibrant colors can impart a hue on your subject when they reflect back, so ideally, your vanity top isn’t bright orange. That being said, if you detest white and find it horribly uninspiring, go with what you like and just be aware that you’ll have to adjust to compensate for light or tonal correction.
Individual Couch – This is where you can get as creative as you like! If you have clients, make sure that you test out or check reviews for comfort before committing to a large piece like a couch.
Vanity Mirror With Lights – If your vanity desk doesn’t include a mirror, there are two main types to consider – those that sit on your vanity top and those that hang on your wall. A good vanity mirror has an amazing ability to showcase your work and help you hone your MUA skills. Like the tool version of your hype person – it calls out how talented you are while also gently bringing potential blind spots to your attention, so you’re always ahead of them.
What vanity mirror you choose is largely based on your preference and what’s available on your timeline and budget. There are a few practicalities to consider that we’ll talk about below.
Before you order your vanity mirror, make sure you’re 100% on the spot it will go. If you decide to go with a wall-mounted mirror, make sure you’ve checked that there are studs in the right places to allow you to hang your mirror. If you need to hang on drywall only or only one stud, double-check the weight of your mirror. Drywall hanging hardware can help you hang some pretty heavy items, but mirrors are especially weighty, so it’s best to be sure. Nobody wants seven years’ bad luck on top of losing a critical element of your MUA station!
Now that your MUA station or room is starting to come together, let’s talk about decor. The key is to strike a balance between showcasing your personal brand and creativity and using design elements that are too overpowering and might distract from your work.
If you’re able to paint your walls, choose a soft white. This will bring more light in and provide a neutral background that you can jazz up with other elements. If painting isn’t an option, a white sheet will do wonders if you’re recording for social media. If you’re careful, you can still hang wall art and shelves over top of a sheet without it wrinkling and giving away your ruse.
Decorative Items
Once you have your neutral backdrop, it’s time for the fun stuff! Let your creativity take a walk and stretch its legs. Bring together coordinated wall hangings, framed prints, plants—anything goes. Just be sure to keep it in the sweet spot between boringly generic and overly distracting.
MUAs love playing with color, and there’s nothing wrong with incorporating pops of color into your decor. If you’re not sure about how to strike the balance we’re looking for, you can always rely on an elegant and classic monochrome theme. This is a great way to show your clients and social audience that you’ve put thought into your design without pulling the attention from your killer MUA talent. Think white floating shelves with white framed and matted black and white images and a curated collection of on-theme knickknacks.
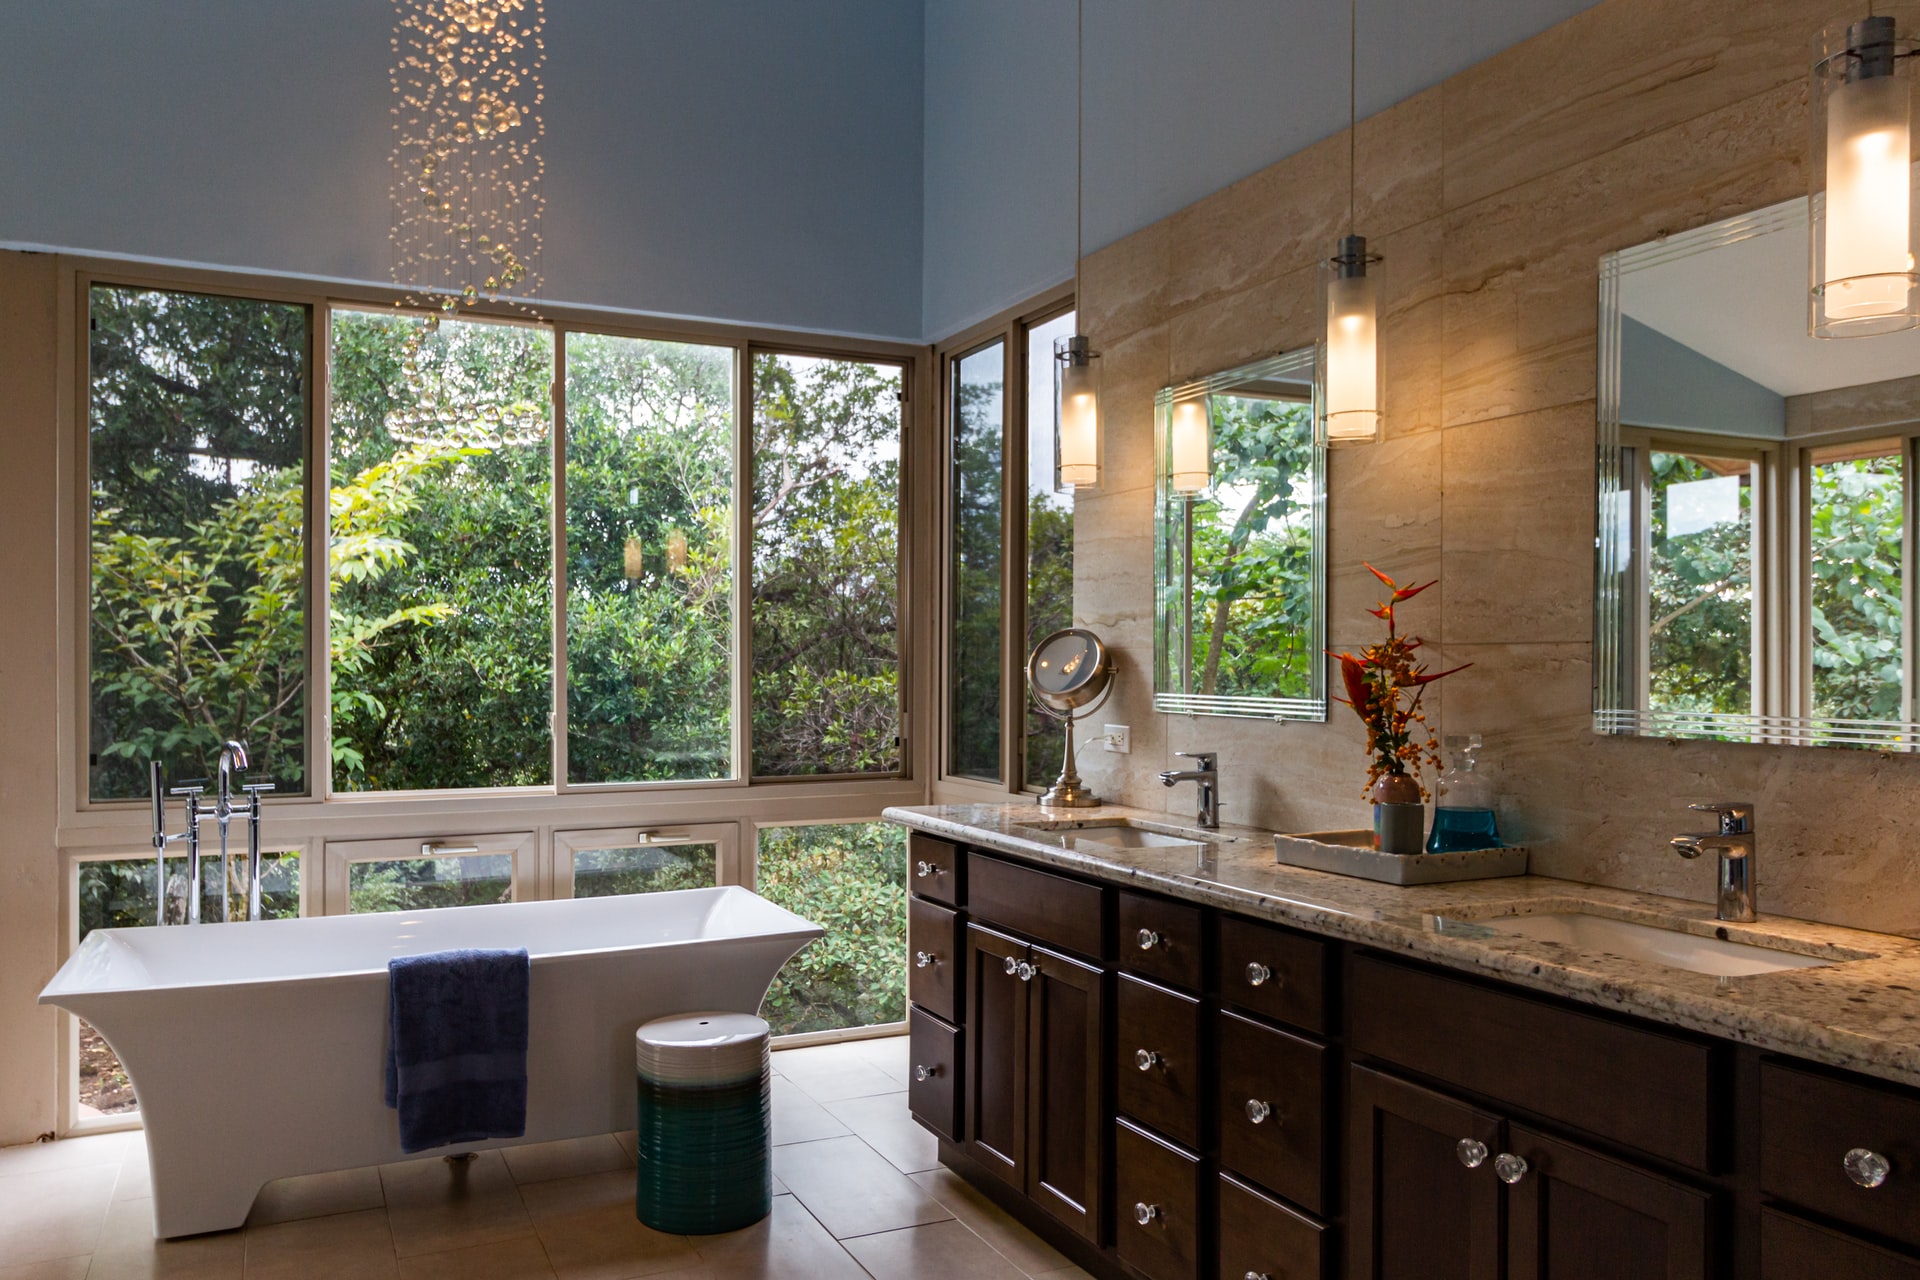
Lighting is critical to getting the results you want as an MUA. The wrong tint, strength, or direction can give you all sorts of wonky problems. Not to worry though, there are some straightforward tips to help you avoid the common pitfalls. First, if you can position your makeup station or room to get the most possible natural light, you’re off to a great start. Natural light is soft, white, and diffused, which will help you avoid weird hue or shadow issues. Keep in mind that natural light can’t be controlled, bad weather can really mess up your lighting. Our recommendation is to opt for something as close to natural white light as you can. This might not be the same as you would prefer for day-to-day use because it can be a bit harsh, but bringing up all of the detail in your or a client’s makeup is your best bet. Do your best to avoid warm, rosy, or fluorescent lighting. Those types of lights will skew your results in ways that are not ideal and can give you awkward blend lines, shadows, and colors.
Makeup Tools & Accessories
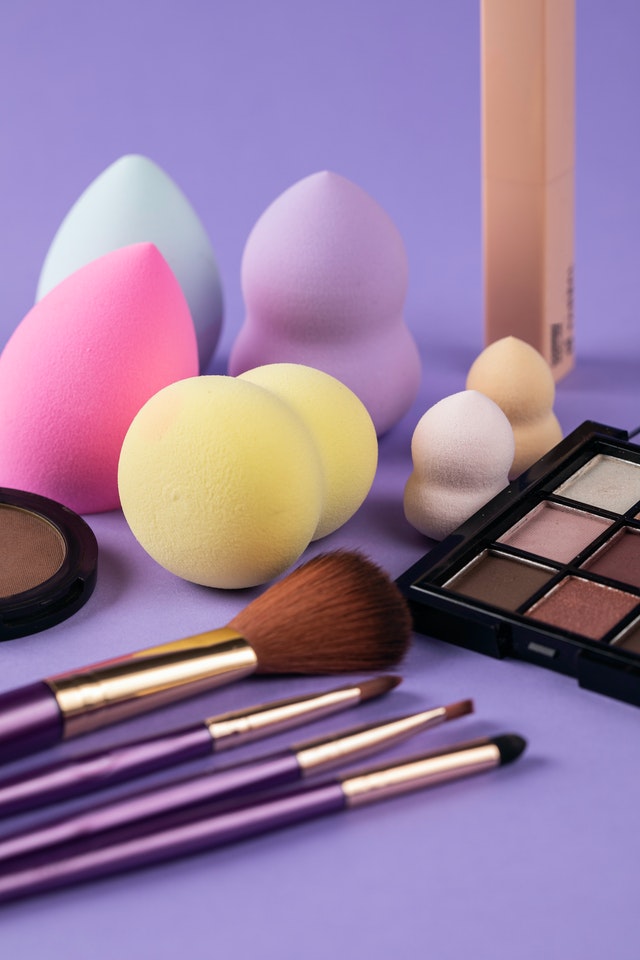
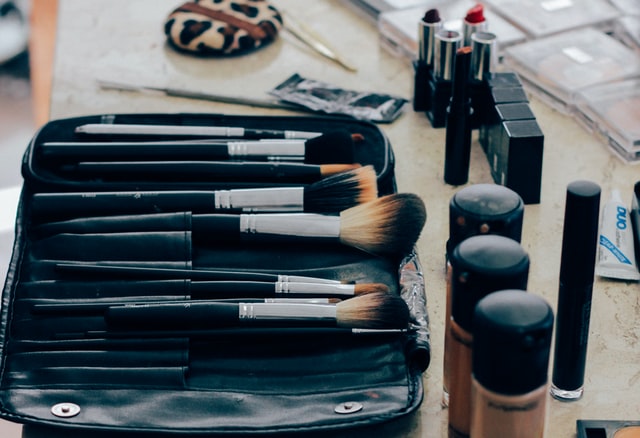
Likely, you’ll have some products and tools that you want easily accessible and on your tabletop. This is where makeup shelves come to the rescue. Do some browsing online or your local store based on what your vanity table looks like so you get the best drawers, shelves, and jars for your setup.
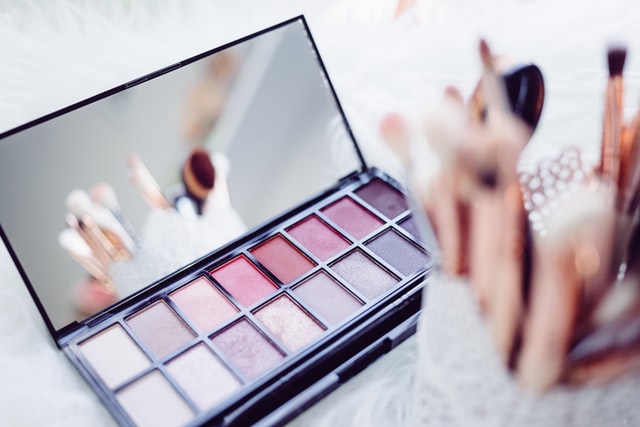
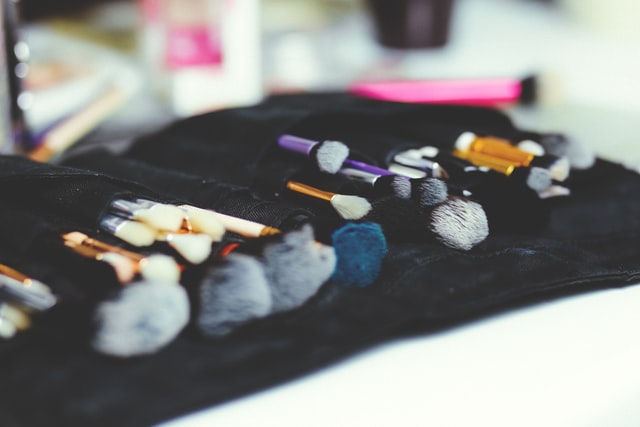
Brushes are best stored in upright containers so that they don’t develop flat spots and dry correctly after you wash them. Conversely, items like eyeshadows, palettes, pressed powders, etc., are quite happy to be stored flat and stacked in as many layers as your storage situation can provide. Don´t forget other types of tools such as quartz rollers, Gua Shua, and many more, read more here!
Skincare Fridge
With the focus on clean, preservative-free skincare, the popularity of skincare fridges is on the rise. Keeping natural products refrigerated elongates their shelf life and makes it less likely that you’re accidentally using a spoiled product when following your skincare routine. Once a spa-level luxury, these adorable little munchkin fridges are now affordable and easy to find online. You can try and do a Vegan Skincare routine.
How To Care For Your Makeup
Organize your makeup: Keeping your makeup organized helps you know what you have and where to find it. Nothing ruins a pro vibe like you rummaging around in a bin of dented and scratched eyeshadow trying to find that one you’re pretty sure is in there… There are many ways to organize your makeup, look for videos online to inspire yourself to try new ways.
Clean your brushes and tools: Not only does a clean station and tools make you look good, but it also provides an element of safety for your clients and yourself. Germs and bacteria are especially prevalent on anything that touches our mouth or eyes, stick to a cleaning routine and stay safe from cringe consequences of unsanitary tools, like eye infections.
How To Get Yourself Out There and Build An Online Community As A MUA
Want to become an MUA influencer like Wayne Goss or Chloe Morello?
Use your personal social media accounts when you’re getting started, and be the next influencer. Growing a new account is difficult without paid advertising, so leverage your current followers and consider starting a makeup-specific account down the line when you have more of a platform to get people to follow a second account.
Chances are if your goal is to build an MUA social presence, you already have a healthy stash of makeup. Use what you have when you’re getting started instead of spending a lot of money on new products. Once you start getting more followers, you’ll likely make money from your accounts or get offered free products for reviews, etc.
Showcase what makes your account unique: Social media is saturated with generic makeup accounts, so stand out! Check out the top beauty influencers and see what worked for them.
Add key elements to your videos: Adding subtitles to your videos is a great way to keep the audience engaged.
Engage with the content of other MUAs: It might seem counterintuitive to boost the content of another creator in the same space as you, but the algorithms that run social media platforms are calibrated to give higher visibility to accounts that are engaging with others. The idea is a community, so you are rewarded for participating.
Do collabs with other MUAs: to make your audience wider, but choose wisely. There are a lot of creators out there that are looking to get any eyes at all on their content without a lot of strategy behind who their audience is. Make sure any collaborations work well with and add to, your personal brand.
Try every social media platform: (TikTok, YouTube, Instagram, Twitter) and consistently create platform-specific content. Remember to cross-link your social media, so people follow you on all of them and promote what content is on each channel to give your audience a reason to follow you in more than one place. More connections mean more views so make sure to share your videos across every social media platform.
Hop on trends: Doing playful viral trends will expand your chances of reaching a new audience. Watch the work of top makeup artists and evaluate their course of action. You can jump on popular trends but always make sure to stay 100% true to yourself.
Build a website: Creating a new distribution channel will help build links between your YouTube Channel and website which increases the chances of getting more views. Make sure to add all your profile information, videos, and media kit to your website. Add as much information as possible to give information about you to Google and use it as a tool for organic growth.
Get a manager: You will possibly need one once you become famous to focus only on events, collaborations, and content creation. Someone who manages your brand collaborations will be needed once you start getting proposals as their task is to negotiate your brand deals and get the most out of them as well as offer a variety of possible collaborations for the future.
How To Create Your MUA YouTube Setup
Good video techniques are critical to showcasing your work. You likely won’t get too far if you’re filming under a buzzy fluorescent light, even if you’re the next Pixiwoo.
Desk: A simple mountable desk will work. The desk is not shown in your videos so you can use whatever is available in your home to place your makeup and tech.
Lighting: This is the most important thing when it comes to shooting a beauty video. Having the perfect lighting will showcase your artistry with the highest quality. If you are just starting your channel you can place your setup in front of a window to receive natural lighting, the problem is that natural lighting is inconsistent. The sun and clouds are constantly on the move and they might mess up with your colors and shadows. We strongly recommend studio lights, they will always keep constant brightness plus you can film at any time you want and the image will stay the same. A Ring Light with a diffuser is a great start if you are new to beauty videos. If you are looking for a full lighting setup, go for a 2 LED light mountable panels kit, you need as much light as you can. Harsh lighting can create unflattering shadows on your face so buying a translucent reflector and placing it in front of your LED lights will soften and diffuse the light making everything look smooth and clean. Don’t place the lights and reflector to point straight to your face, you want the light to sit a little bit higher than you pointing downwards at a 45º angle. The last step is to add soft reflectors on each side of your table but if you don’t have the budget for that, you can buy two foam boards at an office supply store and clap them to your table, they are a great way to bounce the light on the sides of your face making it look perfect. Extra tip: Cover your desk with a silver reflector to bounce the light and brighten your chin.
Camera: Most current smartphones can shoot HD video for high-quality video with good detail and resolution. DSLR cameras are the best option for beauty videos. Go for one with autofocus and a flip-out screen. You want to be careful with lenses, you can use the ones that come when you buy the camera but we recommend a 24-70mm lens. Now let’s talk about camera settings, shooting on a manual setting is the best option to avoid inconsistencies in your lighting and video quality. Look for some YouTube video recommendations or online tutorials to master the manual use of a camera.
Sound: Keep it simple, order a lavalier microphone to attach to your shirt for HD quality sound. There are many options you can go with so find one that fits your budget. You can download microphone utility apps to record.
Editing Software: Don’t stress over buying expensive software, use whatever app your computer has to edit your videos. Standard video editing software is enough for YouTube videos. If you want to invest in one, try Final Cut Pro from Apple or Adobe software. Editing can be a hard task and very time-consuming, remember to take constant breaks.
How To Engage With Your Audience
Be consistent: Establish a day and time to upload your content to create anticipation in your growing audience. As you gain more followers, post teasers for content you’re expecting will perform well to generate even more interest and give your followers a chance to share with their audiences, as well.
Add personality to your YouTube Channel: Your YouTube homepage is your presentation card on the platform. Design a simple yet impactful cover art that expresses your personality and the type of content you create. Make sure to add information about your posting times and social media to remind them when to watch you. Creating the thumbnails for your videos is easy, you don’t need expensive design software, sites like Pikwizard have all the tools needed to design all your channel’s art.
Show your vulnerable side: Everyone is tired of perfect fake people with a perfect life. Be you, express when you are happy, angry, or sad. Your makeup might be flawless, but you’re still a person!
Listen to your audience: Let them know you are paying attention to their words. Highlight your biggest fans. Engage with them by asking questions, replying to their comments, and liking their content.
Dress for the occasion: As an MUA you’re probably very accustomed to the black-on-black uniform already, and if you’re comfortable with that, perfect! Don’t shy away from showing more of your personal style, though. Like your decor, show some personality but make sure it’s not pulling the attention from the focus.
So, You Already Have a Studio. Make a Business with it!
Now that you are a top makeup artist, why not turn it into a business?
Once you know your makeup skills are successful and you have a potential list of clients that want your services you need to come up with a business idea that you can get money from by doing what you love the most.
Choose your niche: Now that you have everything you need, choose your career options. Maybe you love bridal, dramatic, editorial, or casual. There will be a sweet spot for you that you’ll love and be great at.
Build a portfolio: Turb your business sense up. Taking pictures of your work and uploading them to social media will build an amazing portfolio to showcase your skills and style.
Prepare a portable makeup trolley or kit in case your work takes you away from your home base: Like a doctor’s bag, you might need to grab your kit and run out the door in the case of a makeup emergency! (Include basic lighting, makeup brushes, organizers, etc.)
Whatever the path you find yourself on in the makeup industry, enjoy your ride, try all the products you can get your hands on, watch videos to get inspiration, and always learn new techniques. You’ll be putting your new makeup room to good use in no time at all.
