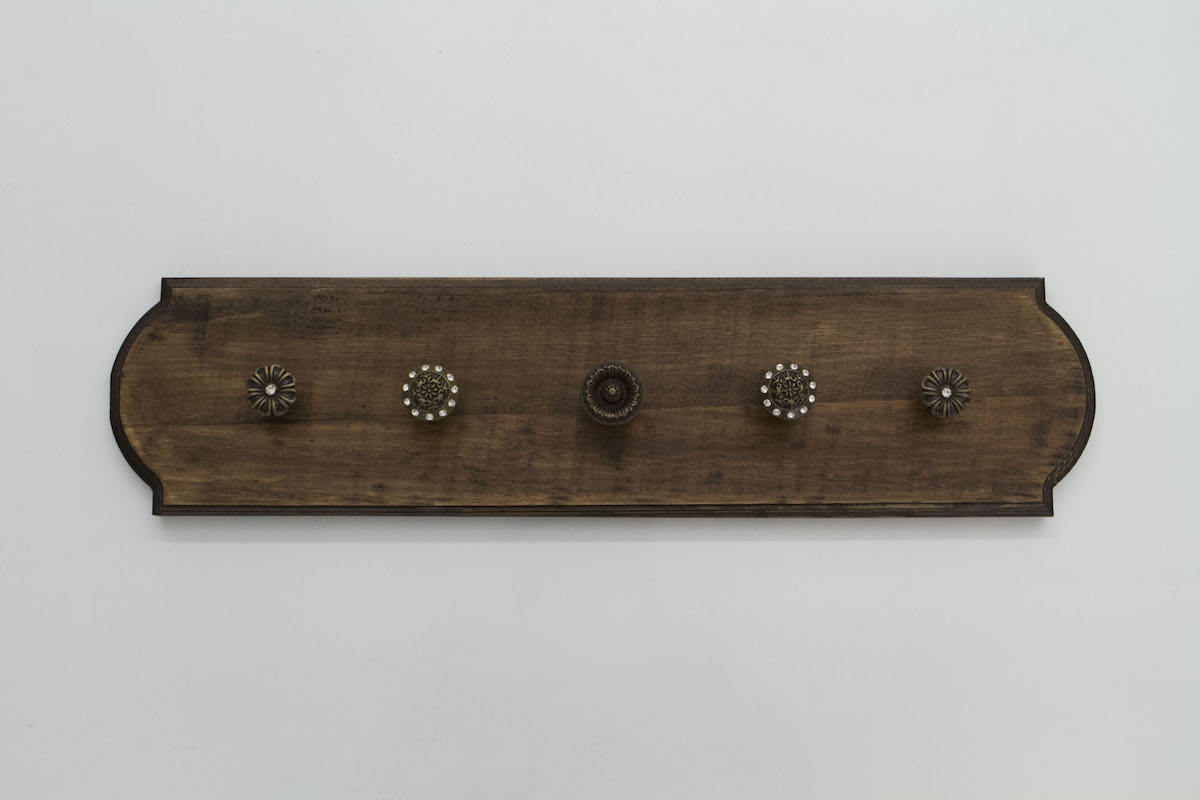
Are you looking for a fun weekend project that you can get done in a day? A DIY jewelry organizer is an easy wall organization rack that you can hang and display jewelry, bracelets, keys, and other light weight items in your home. The best part about this DIY is it’s affordable! You can choose to spend as much or as little money as you want, depending on whether you want to buy new items, use old things you have around the house, or upcycle and reuse items. You can start this no drill project in the morning and be done with it by night.
Whether it’s for your entryway or bedroom, follow our step by step guide on how to make your own DIY wood jewelry organizer!
Materials
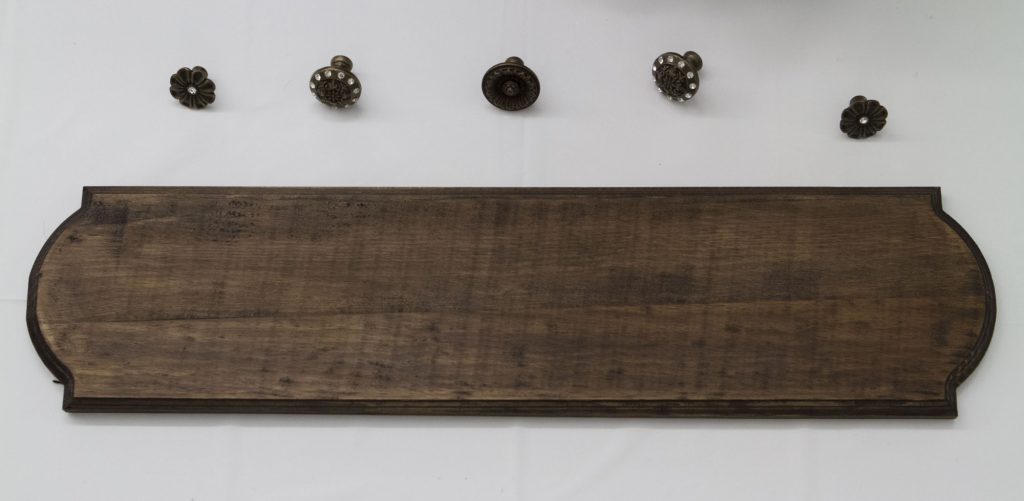
- 1 wood board
- 3-5 knobs or hooks
- Wood stain (and optional sealant)
- Wood glue
- Paint brush
- Tape measure
- Pencil or pen
- Sawtooth hangers
- Hammer
- Newspaper or table cover

Step 1
Lay the drop cloth or newspaper across a flat and even surface.
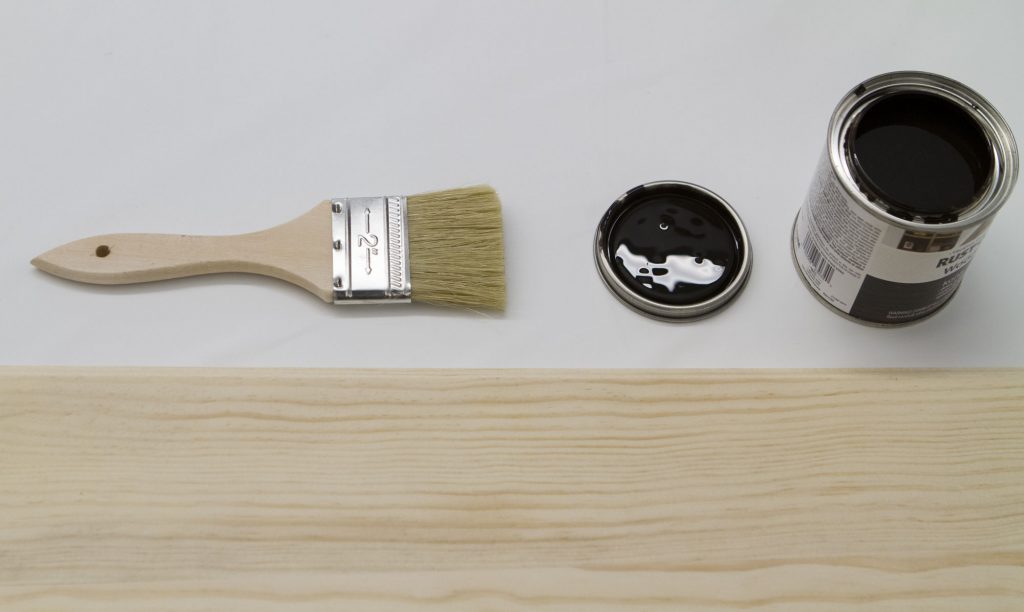
Stain the wood board by using your paint brush. We recommend using 2-3 coats of stain. If the stain paints on darker than you wanted or expected, don’t worry!
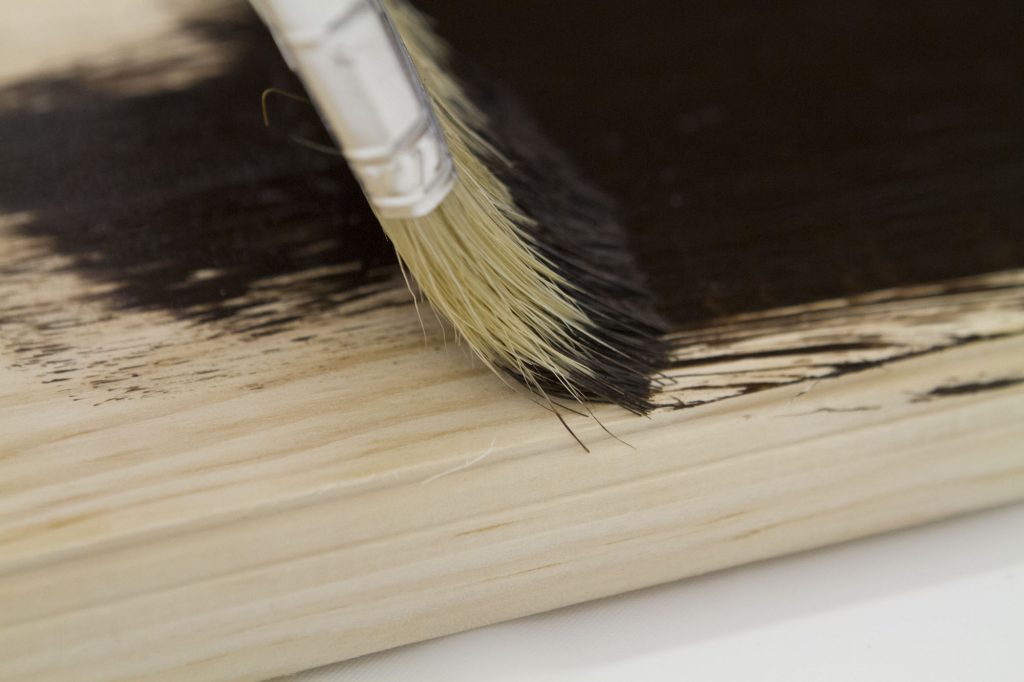
Rub the stain with a paper towel or rag. This will remove some of the color and give the wood a more natural, worn look. Let it dry for an hour (or more).

Optional: Add a protective sealant to protect wear and tear.
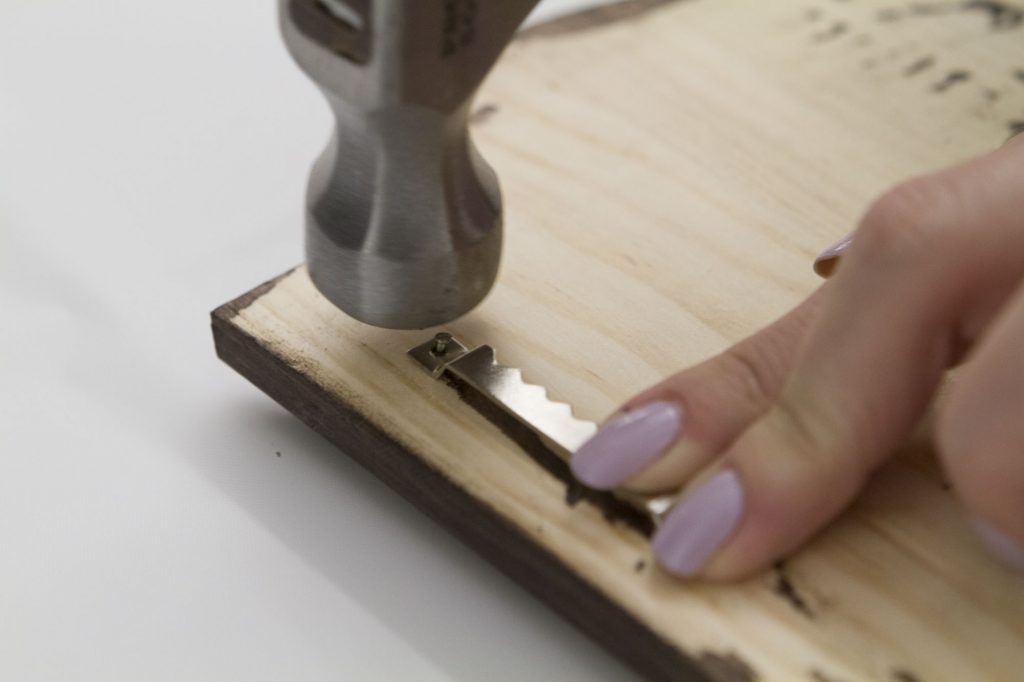
Step 2
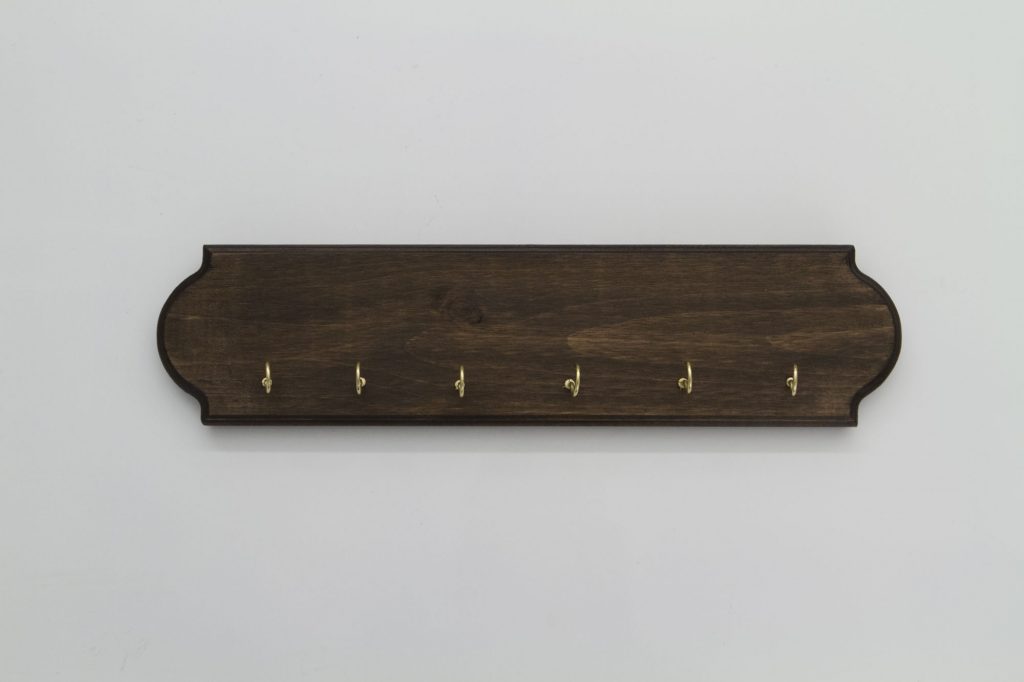
Nail a sawtooth hanger on each end of the back side of your wood board.
Flip your board over to the front side, and find the center of your wood board by measuring the length and width.

Evenly space out where you want your knobs to be placed on the board, and make marks with your pencil or pen.
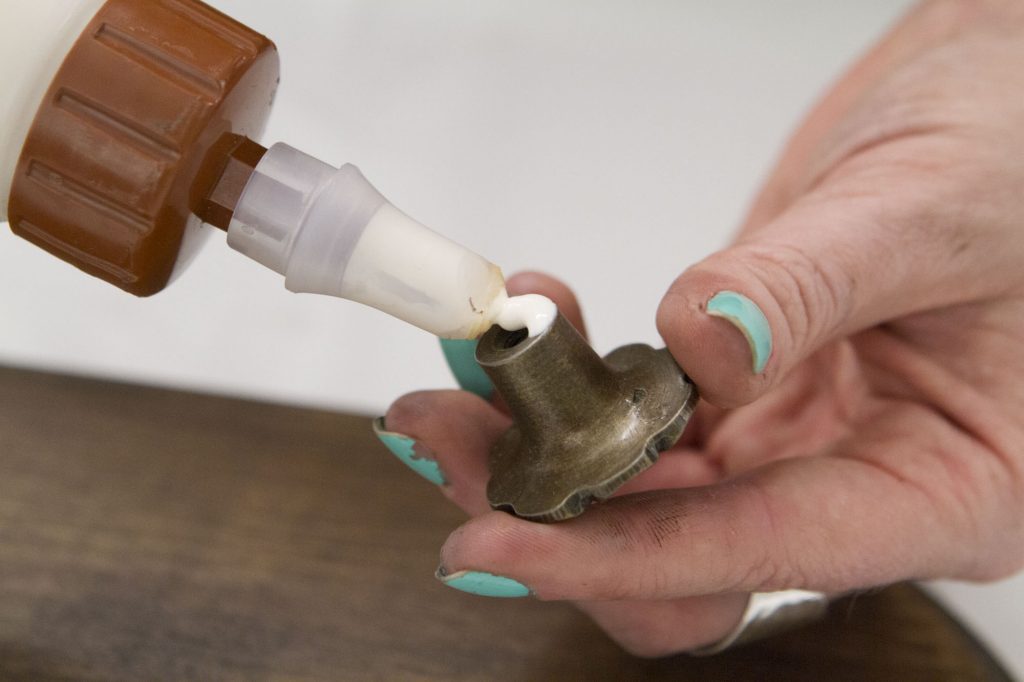
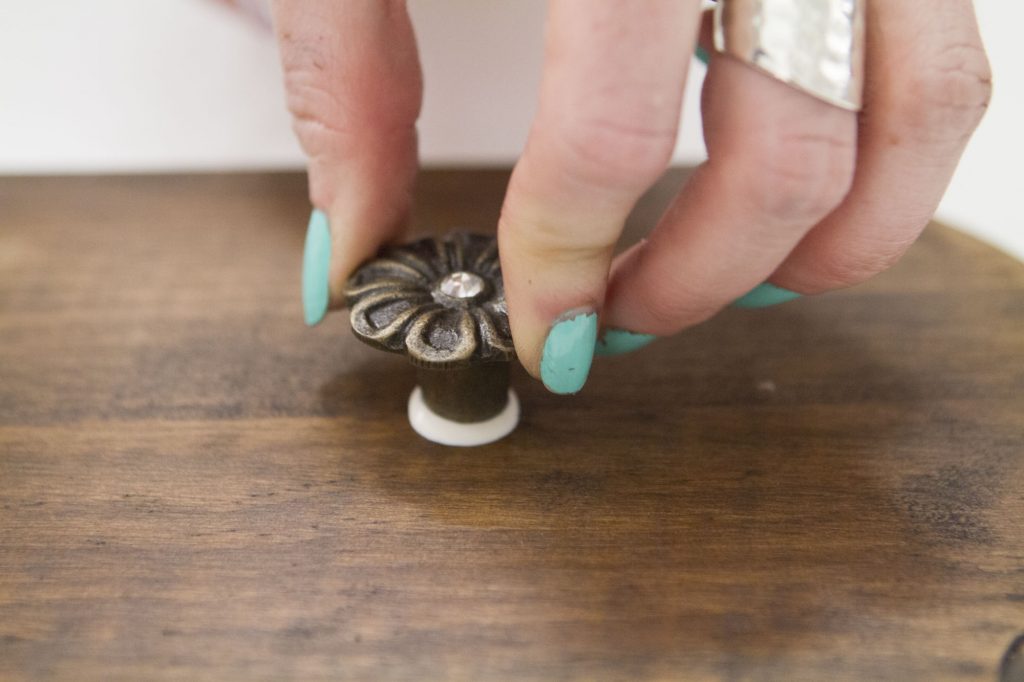
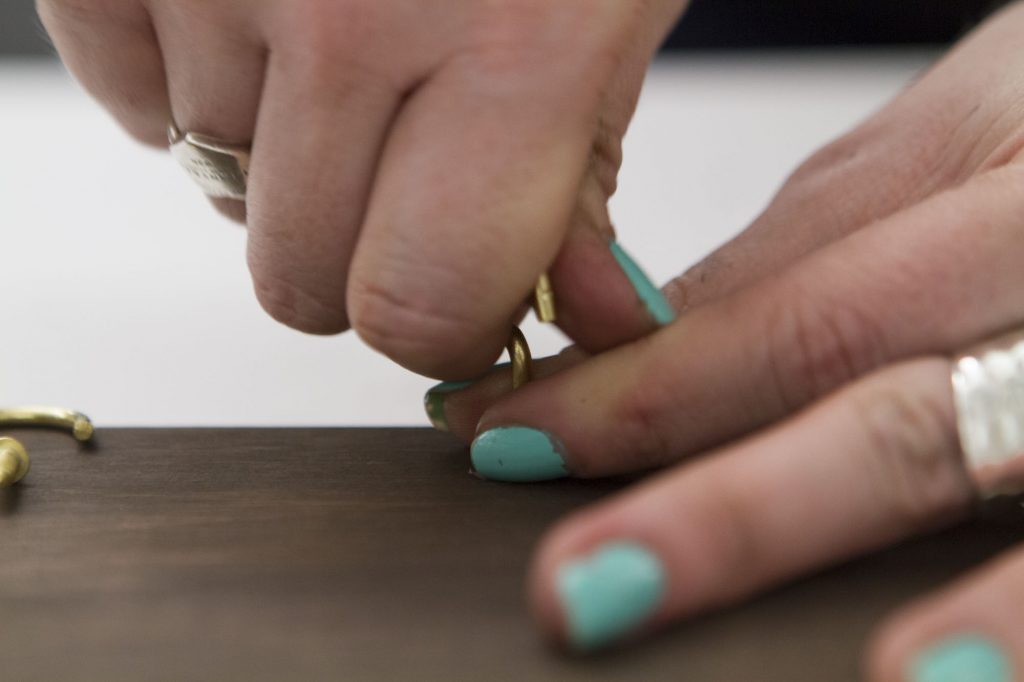
Glue each knob one at a time. Make sure to hold and press each knob for a few seconds before moving on to the next. Wood glue typically takes a long time to dry and set, if you want to use a more quick dry glue, you can try hot glue, Krazy Glue, or any other you prefer.
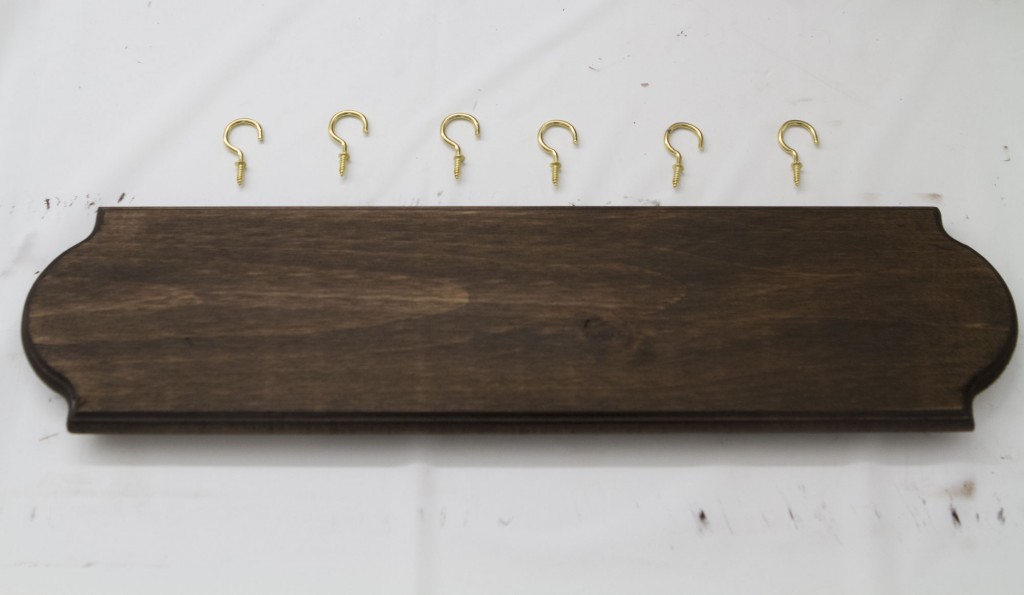
You can also choose to use hooks instead of knobs! Do the same steps listed above, but instead of using glue on knobs you will screw in one hook at a time until the hooks are firmly set into the wood.
If you chose to glue on knobs, let your board dry until the knobs are entirely sealed. Once your wood board is completely dry, hang your new display board on your wall and give your jewelry, keys, or other items a place to call home!
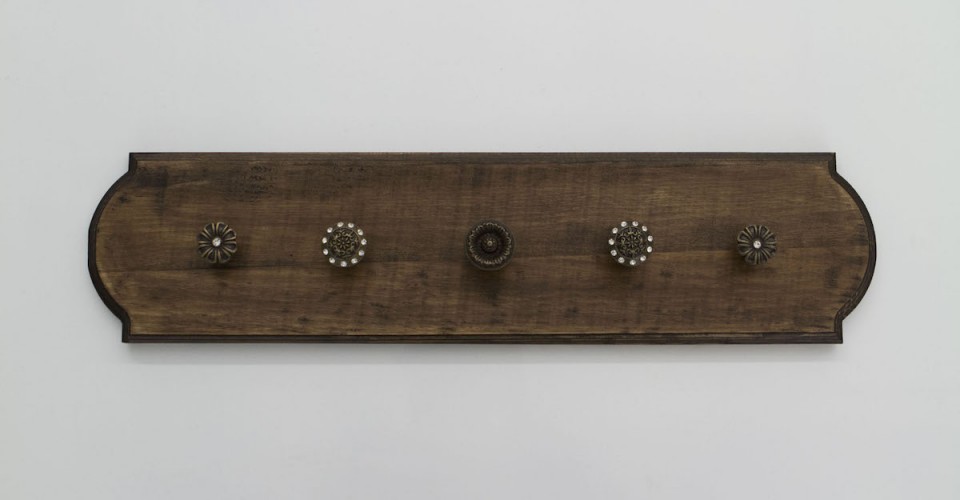
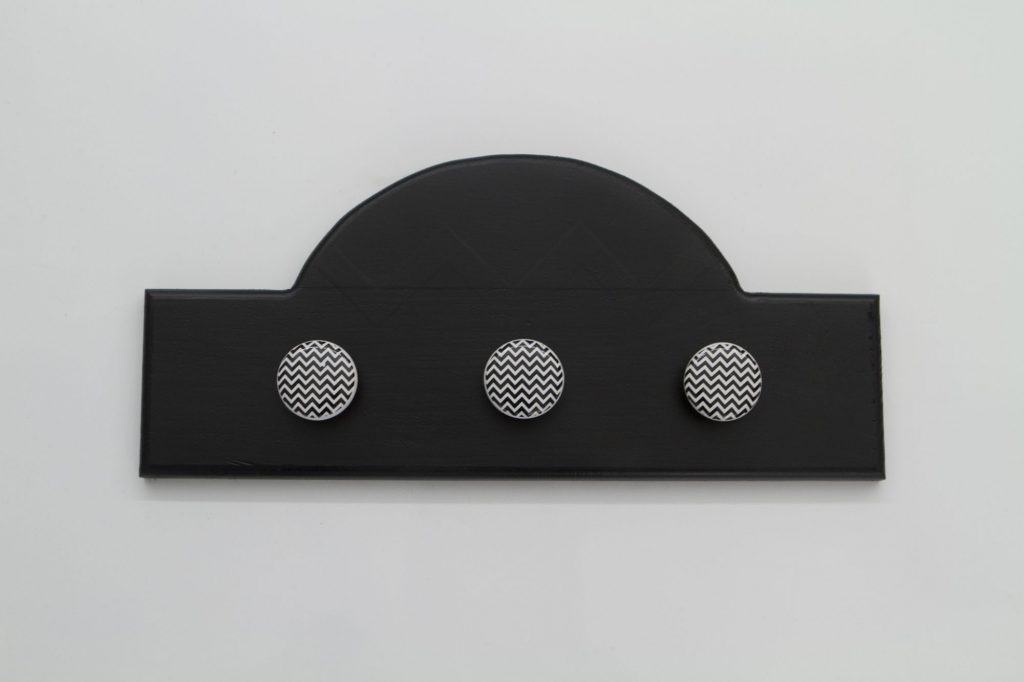
If you want to personalize your jewelry organizer, you can paint your wood board your favorite color, add a stencil, cover it with fabric, or choose funky and fun knobs!
Would you make your own jewelry organizer? Give it a try and share your photos with us in the comments below!

