You don’t need to be a professional photographer to take dazzling, high-quality photos. Smartphone photography has made it possible for even the most novice photographer to take outstanding pictures at home to share with family and friends. We’ve gathered all the photography tips you need to start taking Instagram-worthy photos today that also you can sell by launching a photography website.
Choose the setting
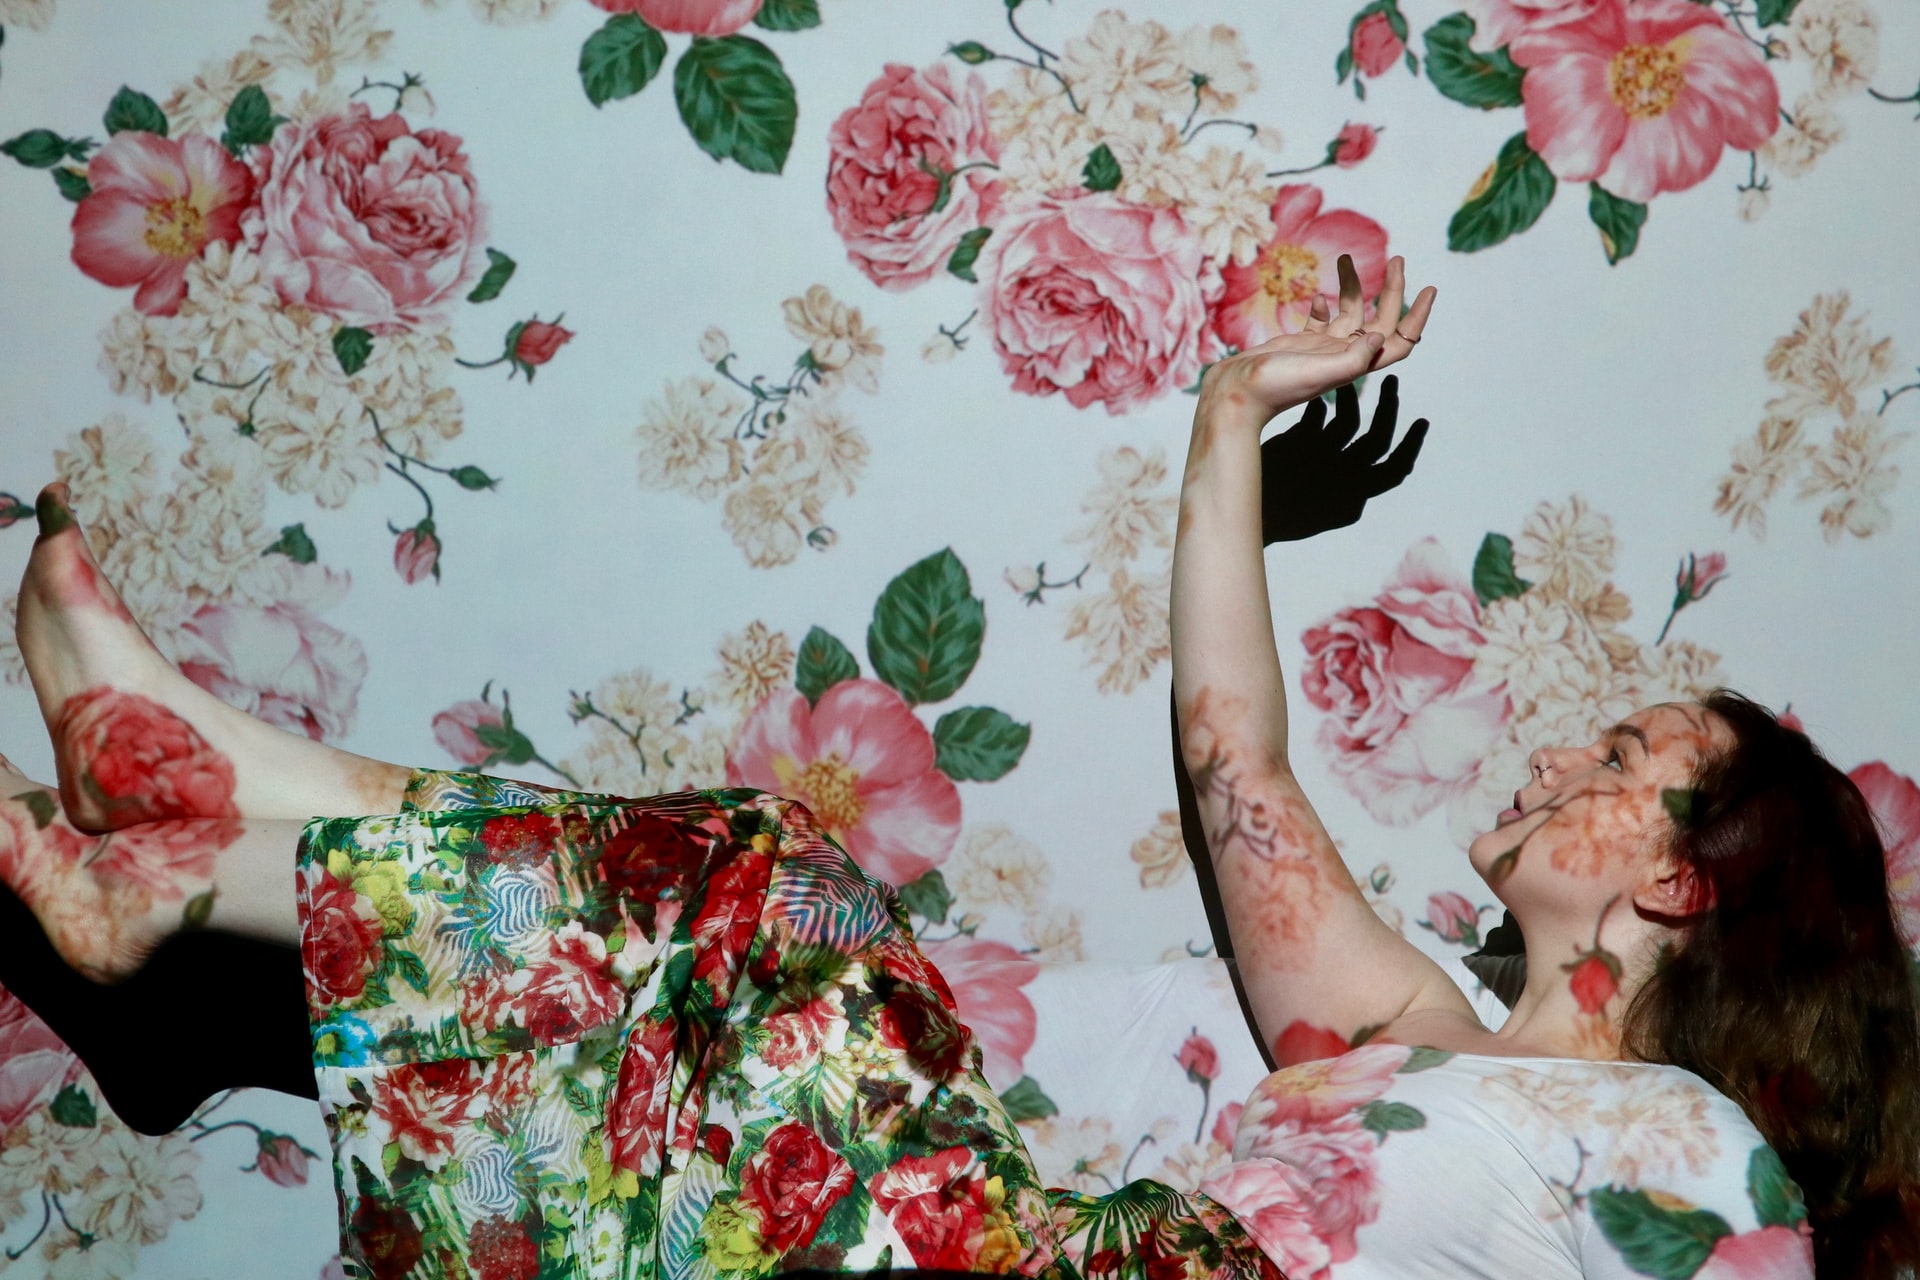
Your setting can depend on where the best natural lighting is in your home, or it can be based on the aesthetic you’re after. Is your living room painted a gorgeous color that would make an intriguing background? Have you recently remodeled your kitchen and want some candid photos to show it off? Anything goes for your home photoshoot setting — a backyard garden full of wildflowers, your own professional headshot, the tile wall in your shower, your cozy, pillow-strewn bed, or the creepy, cobwebby basement. Manipulate your setting in any way you see fit.
Find a backdrop
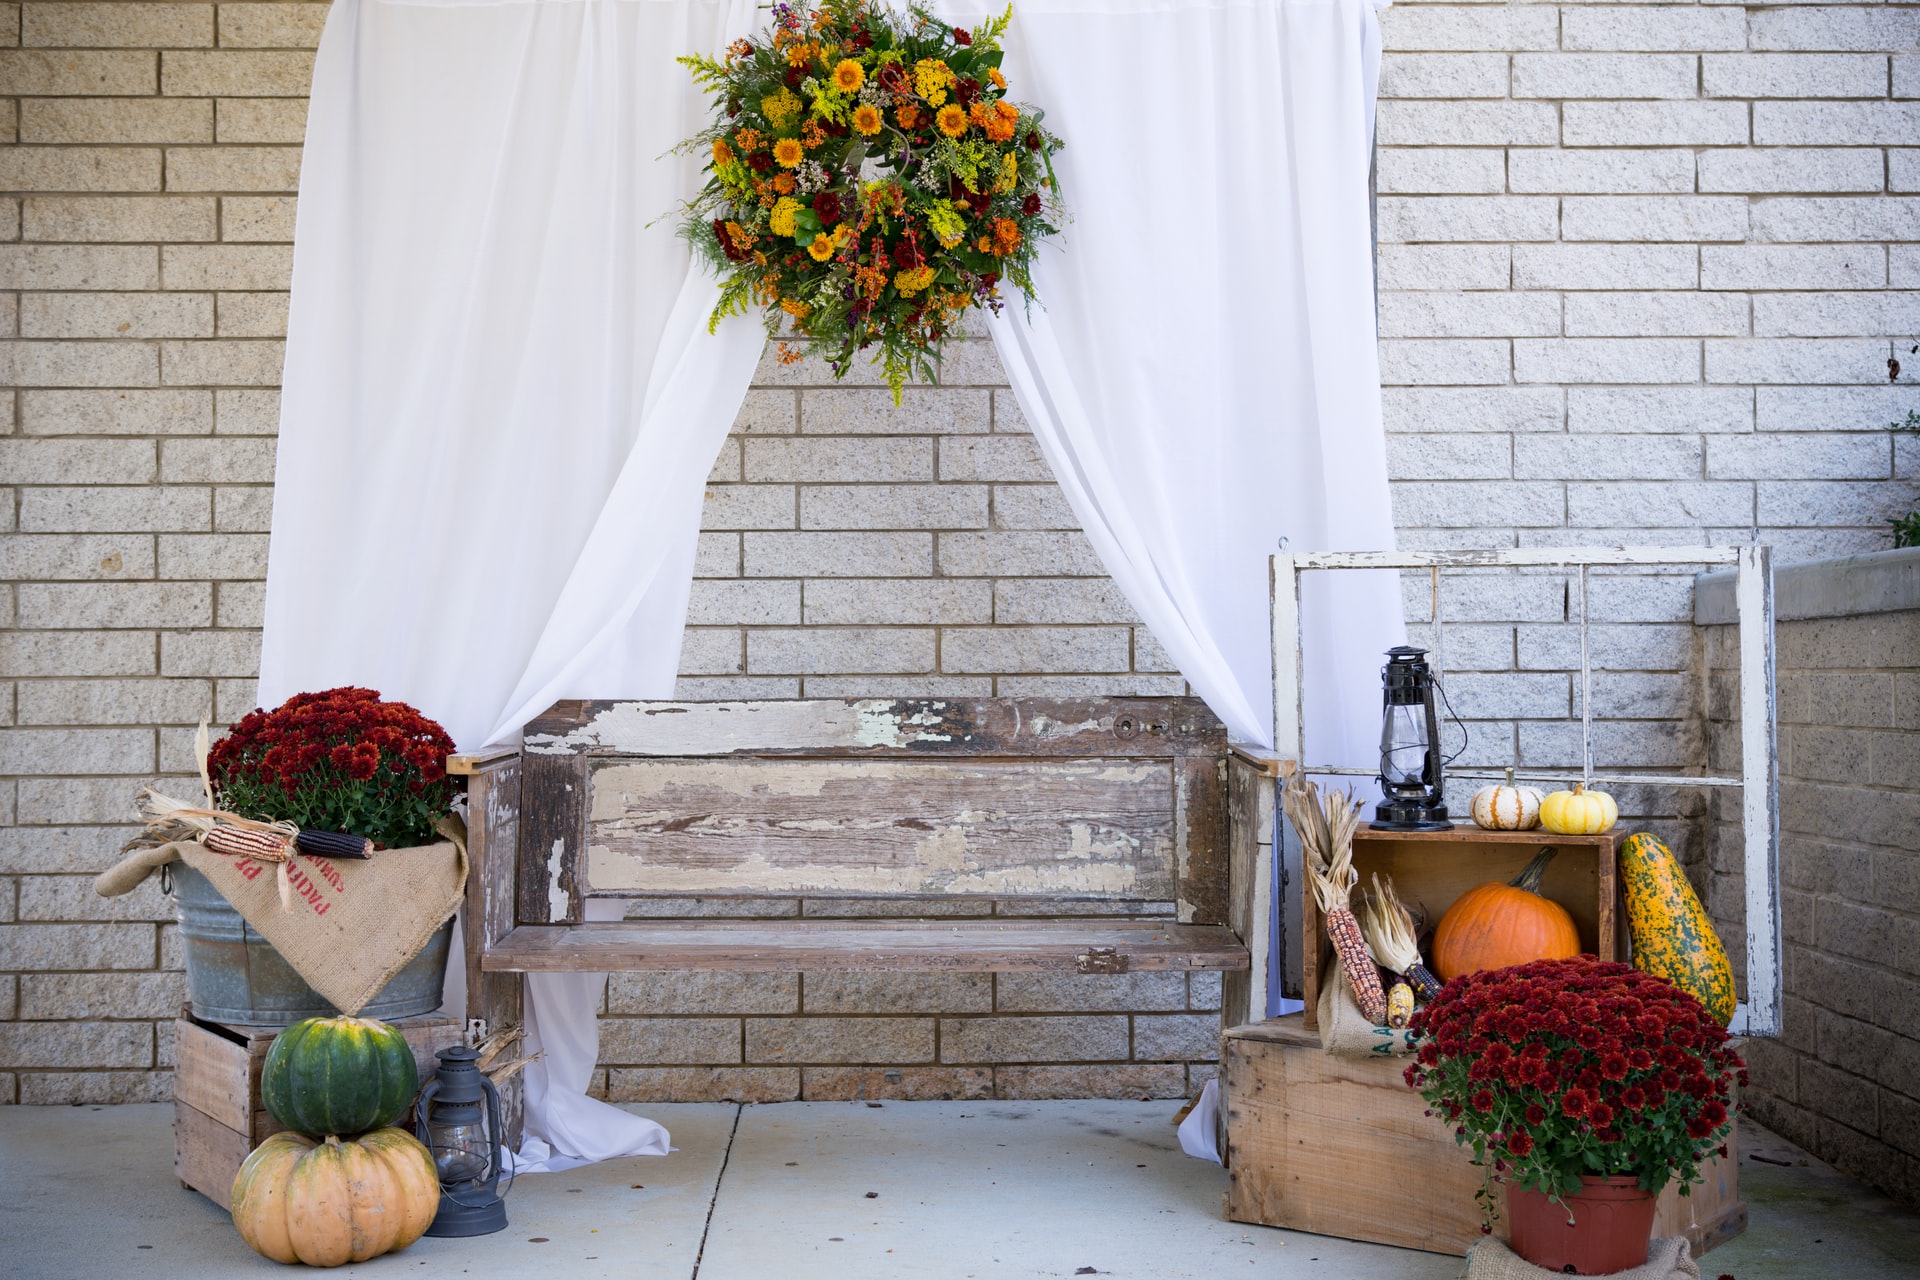
Backdrops can turn a drab setting into a dazzling scene. Perhaps you rent and are stuck with beige walls, but you want something colorful and bright for your engagement photos. No matter your situation, we’ve got ideas. Grab a chair to stand on, and secure these DIY backdrops high up on your wall so the tape or pins are out of the picture — literally.
- Fabric. Tapestries and printed fabric or blankets will add interest to your background. White sheets or curtains can also be hung to give you a neutral backdrop.
- Streamers. Hang ribbons of streamers from the wall. Choose streamers that are all one color for a cool monochrome look, or pick multiple colors to make your backdrop really pop.
- Tinsel. This simple backdrop yields impressive results. Long garlands of tinsel will shimmer beautifully in the background of your photos.
Photography lighting
Lighting is everything in photography. If your lighting isn’t right, your pictures might come out too orange, too dark, washed out, or glaringly bright. Here’s how you can achieve the best lighting for your photoshoot.
- Natural light. The sun streaming through your windows is free, and it’s actually the preferred light source of many professional photographers. Natural lighting is flattering on all skin tones and adds a natural cheerfulness to your photos.
- Golden hour photography. Many photographers gravitate toward golden hour photography because of its glorious ochre hue and the soft light it blesses your photos with. The golden hours are the first hour after sunrise and the last hour before sunset.
- Artificial lighting. Artificial lighting comes from lamps, overhead lights, or your camera’s flash. This type of photography lighting takes a little time to get just right, but it can be done easily. Just take a few test shots with your lighting source in different spots and at different angles to see where it looks the best.
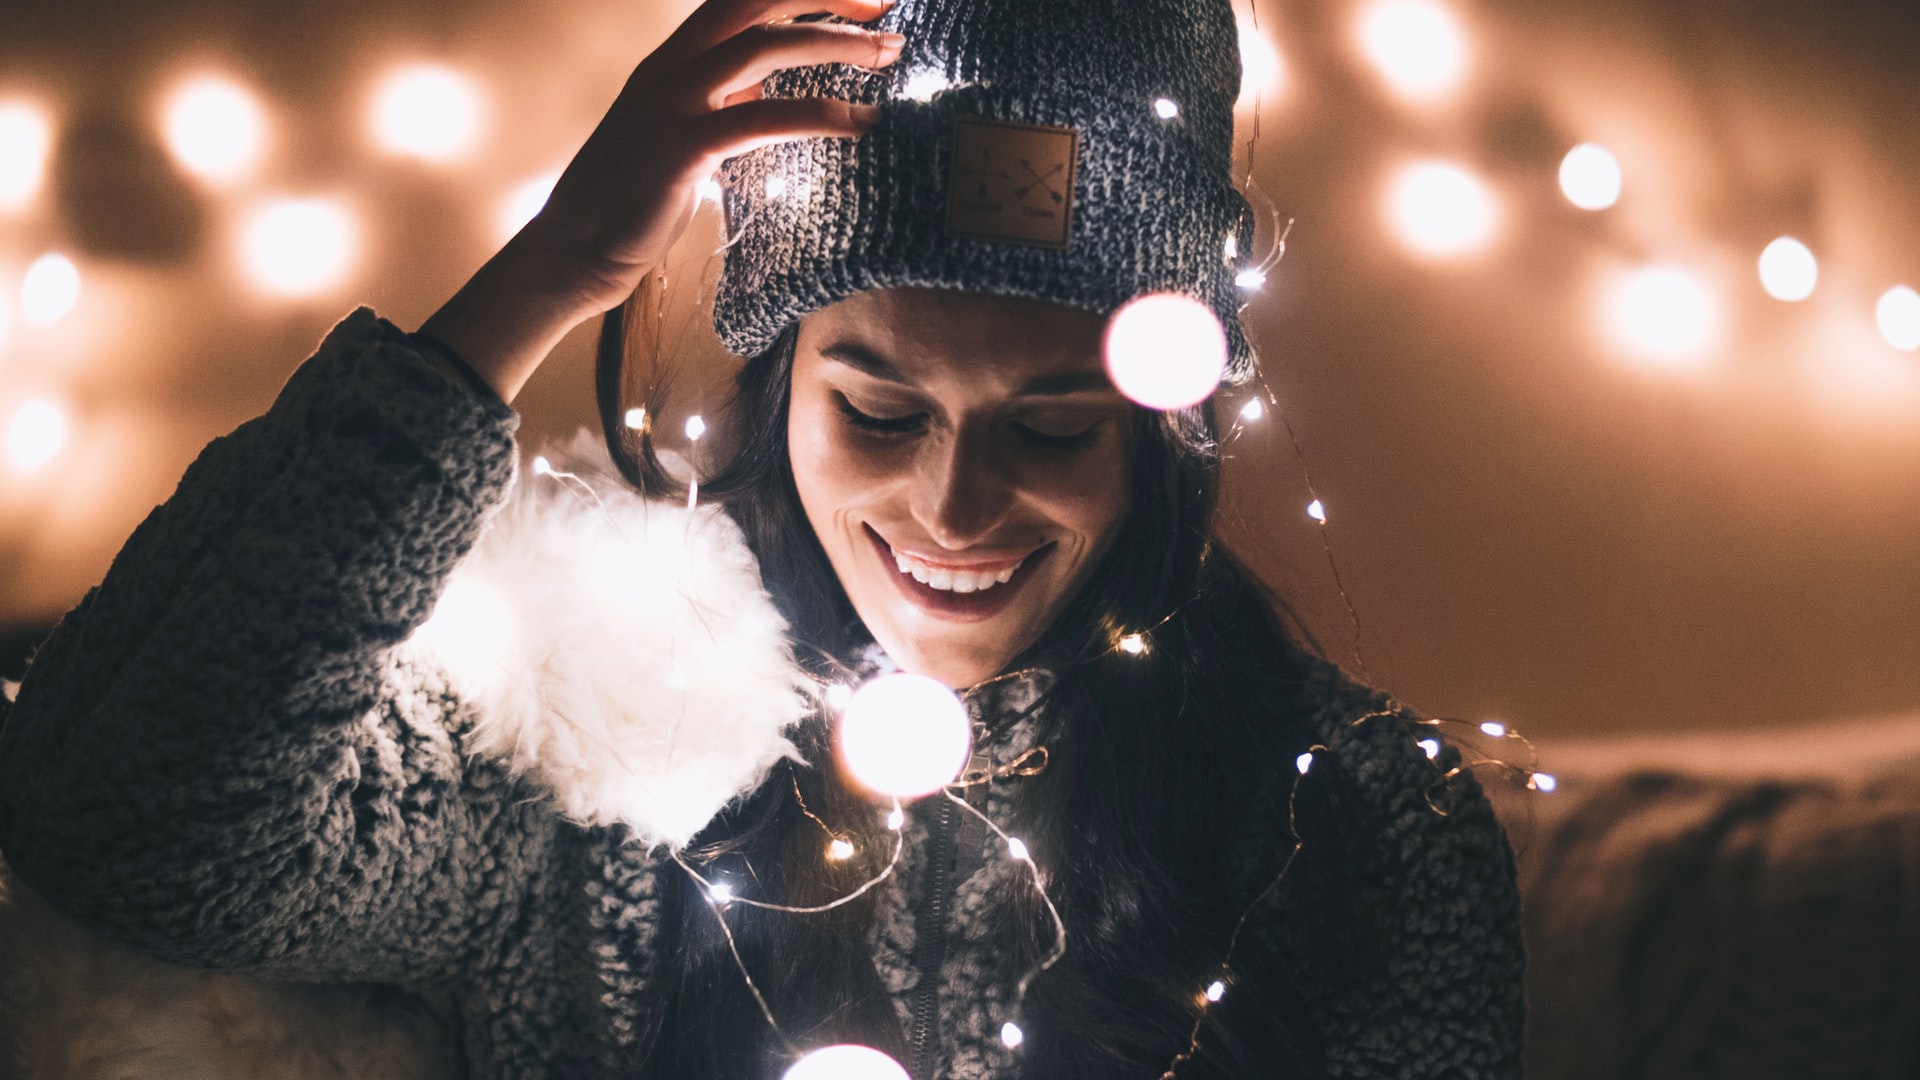
- Creative lighting ideas. You don’t have to wake up at the crack of dawn to get a beautiful photo. Experiment with your light sources by using fairy lights, stage lights, projector screens, color-changing LEDs, or even Christmas lights in your photoshoots.
Photography props
Props are crucial to your photography for a few reasons. They enhance your photoshoot by providing color and interest, and they give character and texture to black and white photography. Props also help the subjects of your photographs feel more at ease in front of the camera. Here are a few photo prop ideas to get you started.
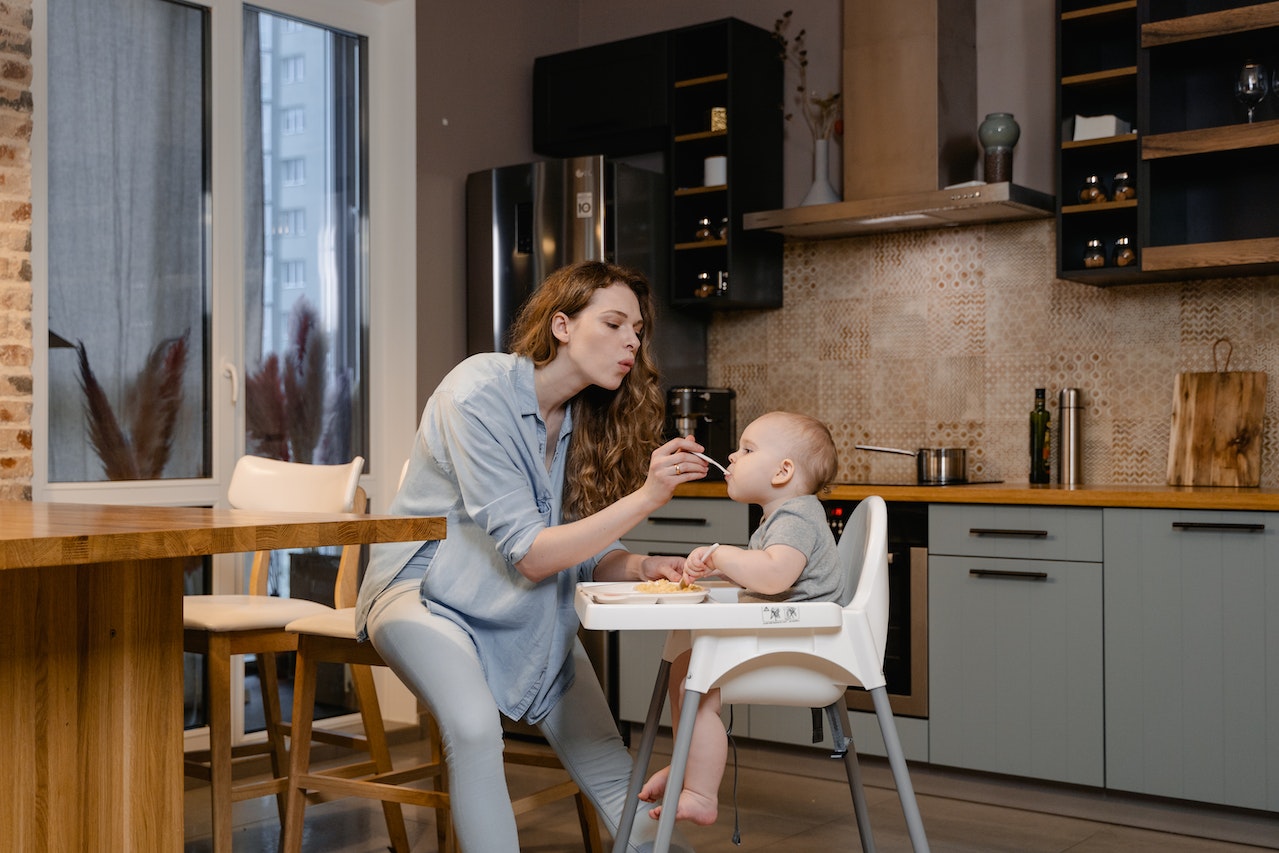
- Cater to your photoshoot. Are you taking sultry bathroom photos? Light some candles, and run a bubble bath. Baking cookies in the kitchen? Don an apron and a spatula. Think about what the theme of your photoshoot is, and pull related things from around the house to use as props.
- Portrait photography. Props can add meaning to portrait photography. Have your subject pick one or two items that are important to them to be used as props in their portrait, like a pet, a guitar, or a football. Neutral objects in the background, like flowers or a Rembrandt-style fruit bowl on the table, can add interest and beauty to a simple portrait.
- Plants. House plants have never been more popular, and they make great props. Gather all your plant children in the living room for a family photo backdrop, or take a selfie with the orchid you got last year that’s finally in bloom.
- Make up – If you love doing your makeup, definitely use your passion as a prop. Go all out, and try a look that might be too much for lunch with friends, but which will make a super cool photo.
- Instruments. Maybe the telecaster from your dad’s youth is sitting unused in the closet or you’ve got an upright piano in the living room. Use them!
- Clothes. Try these ideas on for size: put on a fancy dress you bought but never wear, take a selfie in your favorite outfit, or photograph yourself in a pair of shoes you just bought and want to show off.
- Feeling uninspired? Take a trip to the dollar store, or go thrifting. The perfect prop might catch your eye and give you the brainstorm you need to go home and create a stellar photoshoot.
Photoshoot tips
Photoshoots shouldn’t be a complicated affair. We’ve got some hot tips up our sleeves to ensure your photography session goes as smoothly as possible.
Take a video. Resetting your camera timer for every photo can be a hassle. Instead, try taking a video of you striking multiple poses, then go back and screenshot your favorite takes.
Move unwanted props out of the picture. There’s nothing worse than taking the perfect photo and realizing later that there’s a pill bottle on your nightstand or you’ve been photobombed by an overflowing trash can. Not that we’re speaking from experience or anything.
Quick tips on posing. Posing can be a tricky business, and it may take a few throwaway shots before you find your best angle. Here are a few quick tips to get you there faster:
- Smile. Show those pearly whites! It’ll brighten up your photos.
- Look away. Act like the camera isn’t even there. This is great for making photos look spontaneous and natural (even though you totally planned it!)
- Lean in. It sounds weird, but it looks good, we promise. Tilt your upper body toward the camera, and marvel at the difference it makes in your photos.
- Do something with your hands. Photos can look awkward and stifled if your hands are just dangling at your sides, doing nothing. Stick them in your pockets, on your lap, or find a prop to hold, like a plant or a cup of coffee.
Good internet connection
A strong internet connection can significantly enhance your photography experience. Here’s how:
- Online inspiration: Whether you’re researching photography techniques or looking for creative ideas, a good internet connection will give you access to a lot of online resources and ideas
- Instant sharing: Sharing your work on social media or a personal photography website becomes a breeze with a reliable internet connection. You can instantly connect with your audience, if you have one, and receive feedback
- Remote collaboration: If you’re collaborating with other photographers or artists, a strong internet connection allows for strong communication and file sharing
Tips for a strong connection
Here are some tips for setting up a good signal in your home:
- Position your router: Place your Wi-Fi router in a central location in your home, away from physical obstructions. This way your signal can reach all corners of your house, including your designated photography spot
- Choose the right frequency: Most modern routers offer both 2.4GHz and 5GHz frequencies. The 5GHz band typically offers faster speeds but has a shorter range. Use 5GHz for your photography area if possible for quicker uploads and downloads
- Upgrade your plan: If you find your current internet plan lacking, consider upgrading to a higher-speed package, especially if you frequently upload and share large image files
- Reduce interference: Avoid placing your router near electronic devices that can interfere with the Wi-Fi signal, such as cordless phones and microwave ovens
DIY Photoshoot ideas
First things first: Choose what kind of photos you want to take. This will influence everything else you do, from choosing the setting in your home to what photography props you’ll need. Options are as endless as your imagination, so feel free to go ham.
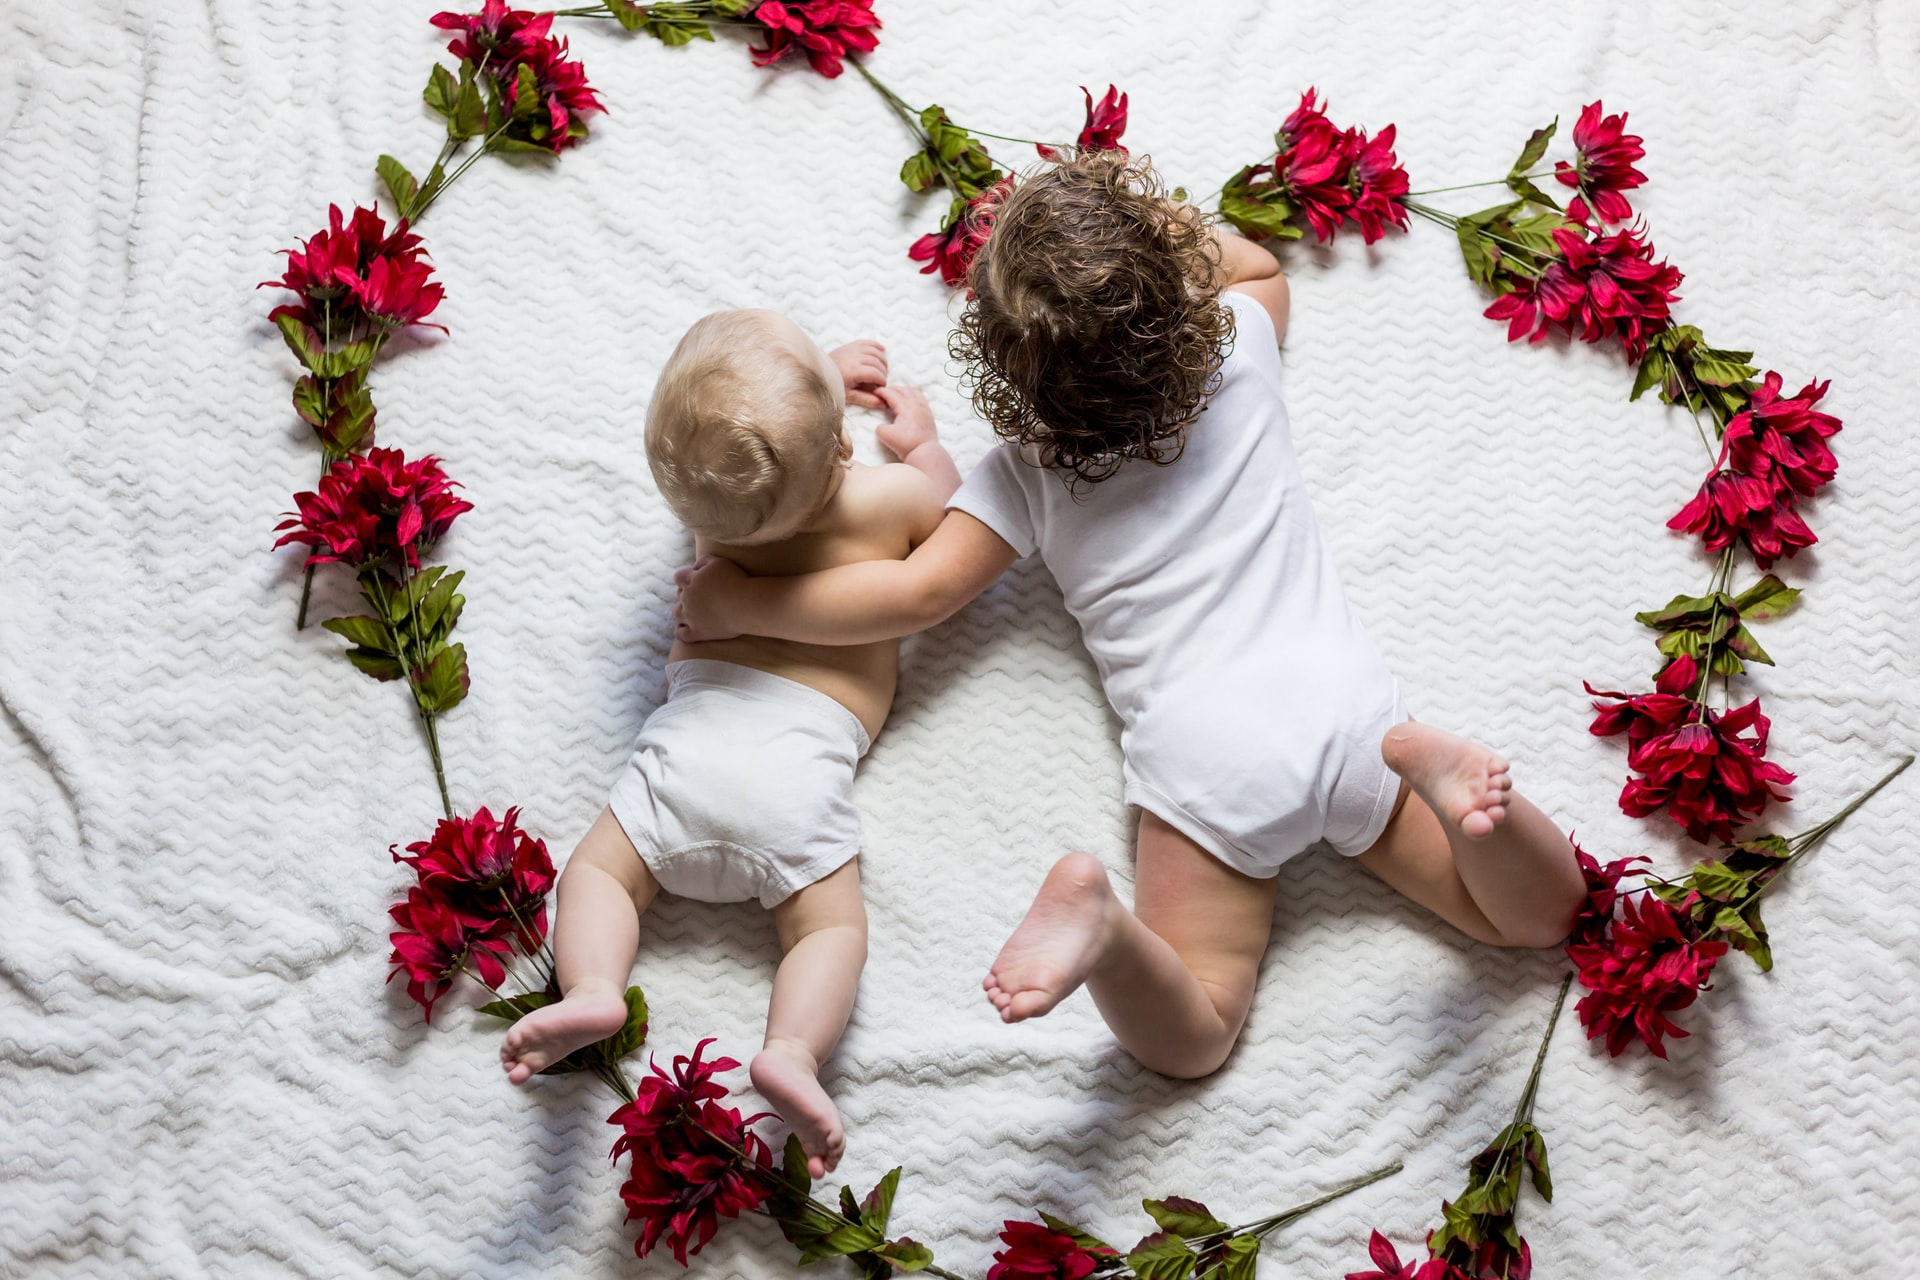
- Pregnancy announcement. These can be as complex as a series of photos showcasing your baby bump or as simple as a onesie photographed with the ultrasound picture.
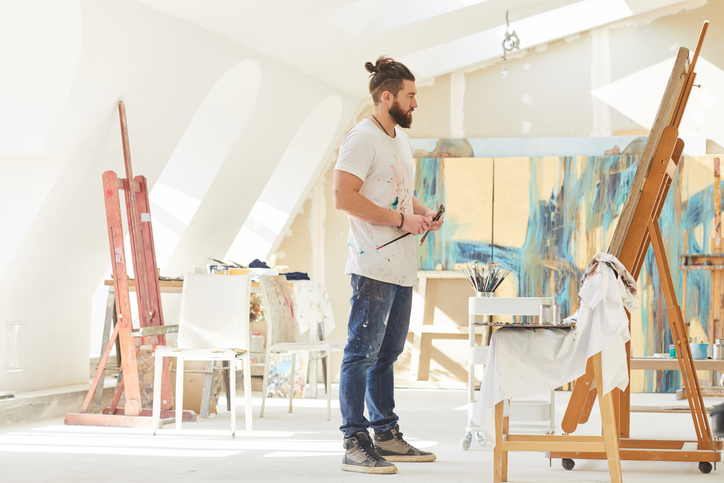
- Recreate a famous work of art. This idea comes from an Instagram challenge created by the Getty Museum. Pick a famous piece of artwork, and recreate it using only things you find around your home.
- Dress up from different decades. Whether you collect vintage clothes or are simply a clotheshorse, try this one out. Pick two or three eras, and photograph yourself wearing clothes common to each decade. Think rock ’n’ roll or disco for the 70’s or a classic, black-and-white look with perfectly coiffed hair for the 50’s.
- Headshot photoshoot. Need a new headshot for personal or professional use? It’s important to have a good headshot so you don’t look unprofessional online. However, getting a professional headshot can be quite expensive and time-consuming. Set up a simple background, get a tripod, a light source, and you can capture a professional headshot.
- Family photoshoot. Gather the fam for some quality time, and take photos in your blooming summer garden or next to the Christmas tree.
- Life’s big events. DIY photography is fantastic for capturing life’s milestones. Engagement photos, newborn photography, save the date pictures, graduations, and birthdays can be documented stylishly at your leisure, right at home.
DIY photo gifts
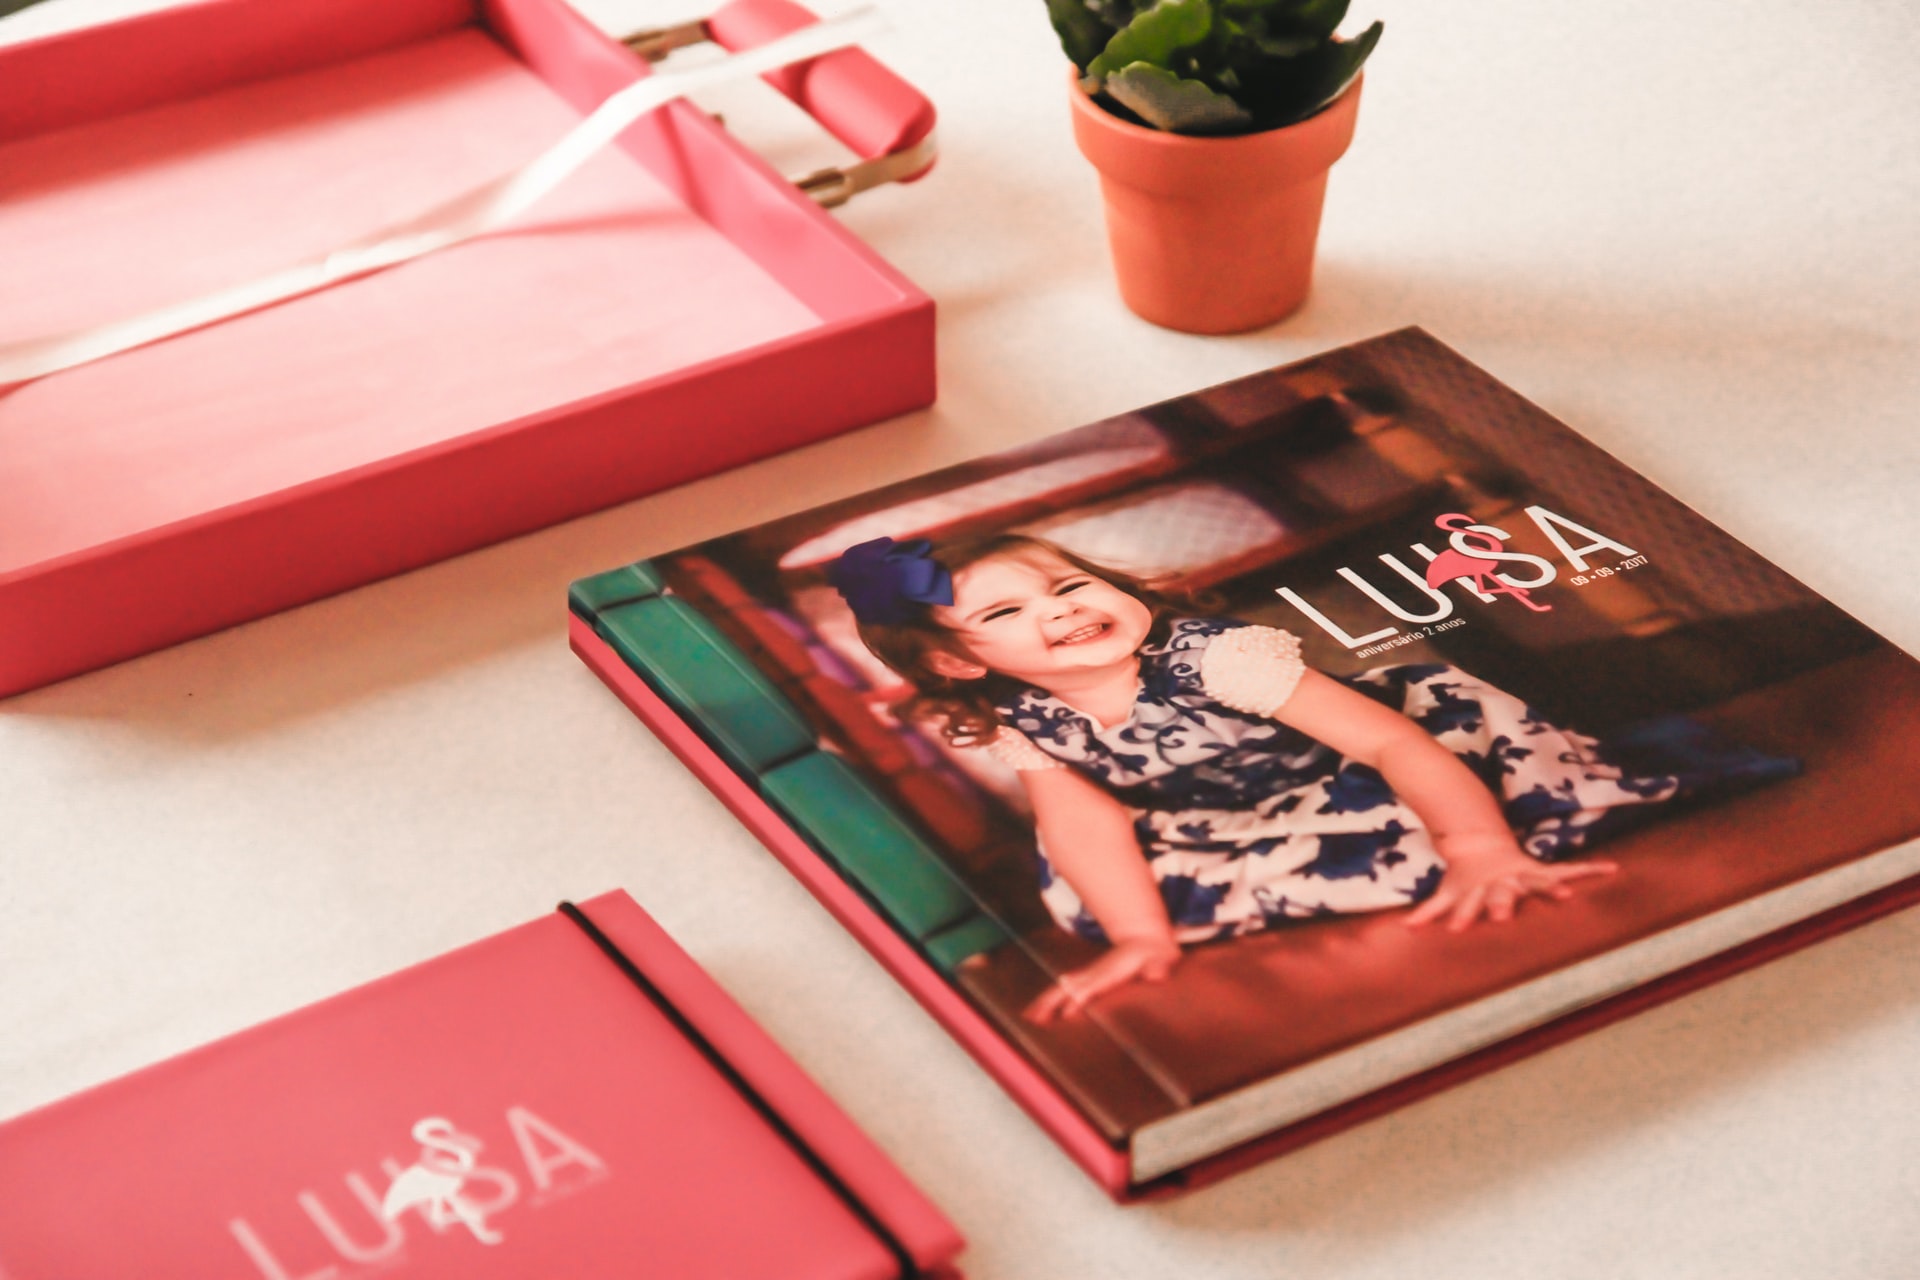
You probably don’t want to give grandma and grandpa a photo album from your boudoir shoot, but the pictures from your son’s graduation or daughter’s recital would make a great gift. Here are some ideas for DIY photo albums to share with your family and friends.
- Homemade album. Assemble a photo album using construction paper, card stock, or artisan craft paper. Take a hole puncher and make two or three holes on your pages. If you don’t have a hole puncher, fear not. Just carefully carve a hole into the pages with scissors, then string the holes together with ribbon or twine. Once you’ve constructed the album, print your photos and either glue them onto the pages or use washi tape on the corners.
- Professional photo book. Your photos are already in a digital format, so it makes sense to just keep them that way. There are websites that will turn your pictures into hardcover or softcover photo albums for relatively cheap. All you have to do is upload your photos, organize them in the sequence you want them printed, and add optional captions.
- Magnets. If you don’t have enough photos for a full album, but there are a special few you’d like to share, head to the craft store and buy a pack of round magnets, some super glue, and some Modge Podge. Resize your pictures so they’re no bigger than a matchbook, hit print, cut them out, and paint them, front and back, with the Modge Podge to harden the photos so they don’t bend. Once dry, super glue the back of the photo to the magnet, and voila! DIY fridge magnets to mail off to your nearest and dearest.
- Shirts, mugs, mouse pads, pillows, etc… There are tons of websites out there that will print your photos onto pretty much any object you can imagine. You can get really creative and dial in the best photo gifts ever for your friends and family.
Ready, set, shoot!
Photography is a fun, creative, and inexpensive way to express yourself and share the fruits of your labor with those around you. Follow the information provided in this guide, and you’ll be snapping photos like a pro in no time.


