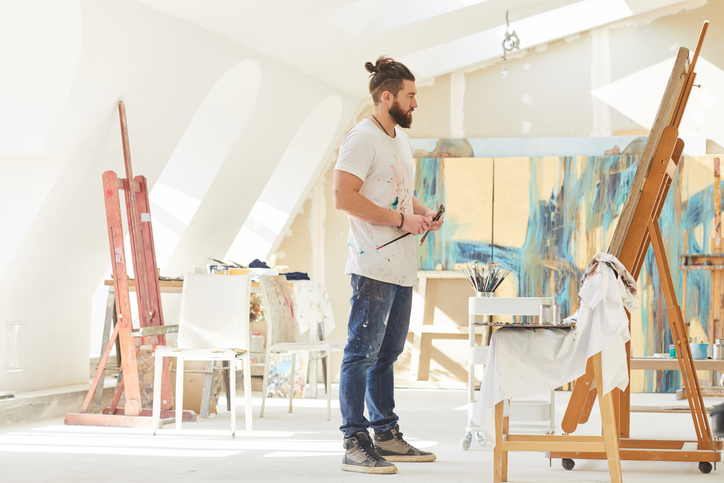
Whether you enjoy doing some oil painting, sketching, or creating sculptures, it’s essential to have a place at home where you can be creative. If you don’t have an art studio at home, it’s easy to set one up in just a few easy steps. No matter what type of arts or crafts you love to make, having your own area to express yourself is key to letting your creative side shine. This guide explores ways to help you get started creating art at home with your own studio. Read on to learn some helpful tips and tricks to begin setting up your very own creative space.
Considerations
Before you start planning your art studio, there are several important things to consider, including:
- Budget: You don’t have to spend a lot of money to enjoy an art studio at home. However, it’s important to set some cash aside and create a budget, so you don’t end up spending too much. Think about what you’ll need, including lighting and supplies, so that you’re prepared for these costs as you go.
- Lighting: When it comes to creating art, natural light is best. However, you’ll also need ample lighting to work on your art at night and at different times during the day. Look at the area where you want to set up your art studio and ensure that it has enough lighting. If not, consider adding some brighter overhead lights or a few task lights, such as a floor and table lamp with an adjustable shade so you can direct the light as needed.
- Ventilation: Proper ventilation is crucial, especially when working with paints, glues, and other potentially volatile mediums. Be sure that you have enough windows in your art studio and consider installing a ceiling fan for extra air circulation.
- Sink and water: Working with paints and other supplies can be messy, especially if you’re dealing with oils or watercolor painting at home. If possible, choose a room with a sink or have one installed. A utility sink is an affordable, durable choice. These sinks have a deep basin and are perfect for busy artists who need quick access to water.
- Workspace: Consider how much room you’ll need to work. You may only need a small studio if you like to draw, but a larger one if you’re working with massive sculptures. Think about your workspace before you designate a place to set up your studio, so you’ll have enough square footage to create your masterpieces.
- Privacy: It can be tough to get creative if you’re in a noisy part of the home. Choose a studio location that’s quiet and private when possible. This will allow you to focus and really immerse yourself in your art without outside distractions.
- Floor protection: Carpet is not recommended for an art studio since it will absorb paint and other materials, leaving stains behind. Make sure you install flooring that’s easy to clean, like linoleum or vinyl material, for quick and easy maintenance.
- Chair: A comfortable chair is a must when working on your art. Look for chairs with ergonomic support so you don’t end up with a sore neck or back. Chairs with wheels make it easy to move around the studio as needed, too.
Where to set up the studio
When you’re ready to set up your art studio, think about where you plan to get creative. Here are some ideas to consider when setting it up at home.
- Shed: A separate outdoor shed is an excellent spot for art. Set this area up with new lighting, all of your supplies, and more. Sheds are also great for drying paintings and sculptures or for storing your larger pieces.
- Spare room: A spare bedroom is a perfect place to set up your art studio. It’s easy, convenient, and gives you quick access to the studio from anywhere in the home.
- Garage: Your garage is a fantastic place to set up an art studio, and many already have utility sinks in place. The garage door lets lots of light in, and concrete flooring is perfect for dealing with spilled paint. They also offer plenty of ventilation and storage space too.
- Patio or outdoors: If you’re feeling inspired, have some fun creating your artwork outside. A screened-in patio or a well-planned garden studio is an excellent choice for working with art and being in touch with nature at the same time.
- Attic: The attic is an excellent area to work on your art. However, make sure that it has proper heating and cooling to keep you comfortable and protect your artwork from extreme temperatures.
- Basement: Your basement can quickly transform into an art studio. Use this space to get creative while enjoying some quiet and privacy. Make sure your basement is dry and free of water issues to protect your artwork and supplies. Paint the walls white to create a brighter room and a nice blank canvas to work in.
- Corner: If you don’t have an extra room, consider designating a corner of the living or dining room to become your art studio.
- Under the stairs: Reserve a spot under a staircase for a small art studio. This is ideal for sketching, drawing, or for making smaller paintings. Attach a wall-mounted easel or some shelving to the wall to give you more room.
Creativity and Coverage: Art Studio at Home and Home Insurance Considerations
Creating an art studio within the comfort of your own home is a dream for many artists. Whether you’re a painter, sculptor, or any other type of creative soul, having a dedicated space to bring your artistic visions to life is both inspiring and convenient. However, along with setting up your creative haven, it’s important to consider how your home insurance coverage might need to be adjusted to protect your art studio and its contents.
1. Assess Your Home Insurance Policy: Start by reviewing your current home insurance policy. Understand what it covers in terms of personal property, structures, and liability. Consider how your art supplies, equipment, and finished pieces might fit into the coverage.
2. Value Your Artistic Investments: Art supplies, tools, and finished artworks can accumulate in value over time. Make a detailed inventory of your art-related possessions, estimating their worth. This will help you determine whether your current personal property coverage adequately protects your artistic investments.
3. Specialized Coverage for Artwork: Standard home insurance policies typically have limits on coverage for high-value items like artwork. If your art collection is particularly valuable, you might want to consider adding a rider or endorsement to your policy specifically for your art pieces. This could help ensure that you’re fully reimbursed in case of damage, theft, or loss.
4. Liability Coverage: If you plan on having visitors to your art studio, such as clients, students, or fellow artists, it’s important to consider liability coverage. If someone gets injured while on your property, liability coverage can help protect you from potential legal claims.
5. Home Business Considerations: If your art studio is also the place where you conduct your art-related business, such as selling your creations or offering art classes, you might need additional coverage. Home insurance policies generally don’t cover business-related liabilities or property. In such cases, you might need to look into a home business insurance policy.
6. Studio Equipment and Tools: Artists often invest in specialized equipment and tools for their craft. Whether it’s an expensive easel, high-quality brushes, or sculpting tools, consider their value and whether they’re adequately covered under your policy.
7. Upgraded Security Measures: Investing in security measures can lower your insurance premiums and offer added protection. Consider installing security alarms, surveillance cameras, and secure locks for both your art studio and the rest of your home.
8. Document Your Work: For artists, their creations are priceless. Document your finished artworks with photographs and keep records of the creative process. In the unfortunate event of damage or loss, these records can help substantiate claims and facilitate accurate compensation.
9. Consult Your Insurance Provider: To ensure you have the right coverage for your art studio at home, consult your insurance provider. They can help you understand your options, recommend necessary adjustments, and guide you through customizing your policy.
Turning a portion of your home into an art studio is an exciting step for any artist. However, protecting your creative space and the fruits of your labor is equally important. By considering the unique insurance needs of your art studio, you can ensure that your artistic journey is safeguarded and your creativity can flourish without worry.
Popular types of art to make at home
The type of art you choose to make at home is entirely up to you, but it often depends on what type of space you have to work with. Here are some of the most popular types of art to make at home, even if you don’t have enough space to make art, there’s always an option.
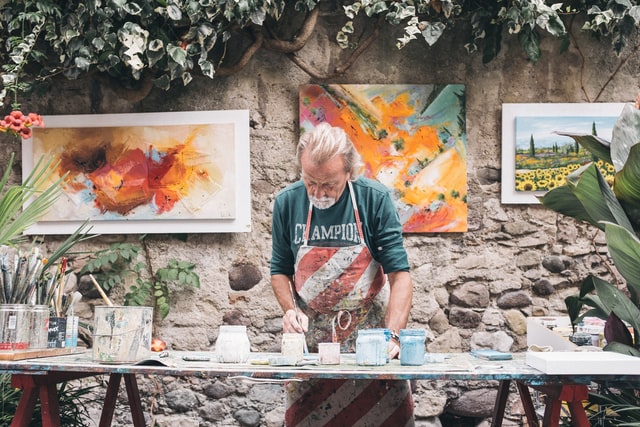
- Painting and drawing: Whether you’re doing oil painting at home or using watercolors, this is one of the most popular art forms to enjoy. Sketching and drawing are also popular mediums, and none of these require a lot of extra room unless you’re planning to paint a mural or work on an extremely large canvas.
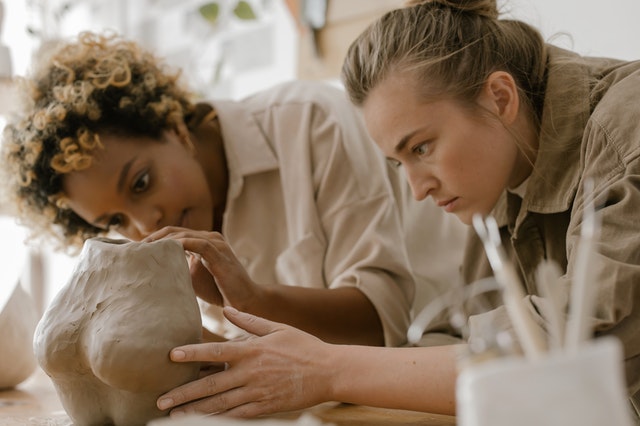
- Sculpting: From clay to wood carvings, creating sculptures is a wonderful medium to enjoy making at home. Be sure you have all of the tools you need while allowing plenty of extra room to get creative. Easy cleanup is also important for this type of art, so look for the right flooring material when you set up your studio.
- Jewelry making: Custom jewelry is a beautiful art form that’s perfect for a home studio. A spare bedroom or attic is ideal for this type of art. Organize your jewelry-making materials and label them clearly so you can find everything you need as you go.
- Sewing: From beautiful quilts to custom clothing, sewing is a true form of creativity. Set up a sewing room where you can use your sewing machine, cut fabrics, and get as creative as you want without interruption.
Painting/drawing materials required
Here are some key materials you’ll want to have on-hand if you enjoy painting or drawing at home, there are different painting styles and techniques and each one requires different materials, choose the style you like the most before purchasing the supplies:
- Drawing: Make sure you have a good variety of graphite pencils, colored pencils, and pencil sharpeners. Stock up on paper and get a few quality sketchbooks to work in. A durable table and comfortable chair are also key items to include in your drawing studio.
- Oil Painting: Gather lots of beautiful oil colors to get started on your artwork. Make sure you learn some oil painting techniques and have a quality artist palette, if you are not sure how to achieve certain tones, you can use a color mixing tool to make sure which color mix will give you the desired color for your paintings, you should also have several different-sized brushes, a sturdy easel, and canvas in several sizes. A drying rack is also important to allow your artwork to fully dry before you display it. A paint extender can be helpful, too, especially if you want to change the texture of your oil paints when applying them to canvas. Primer isn’t required, but it can help provide a good base before you paint.
- Water Painting: Watercolor painting is a very popular medium, there are many watercolor painting ideas you can make at home. Make sure you have plenty of brushes on hand and containers to hold your water as you go. An easel is highly recommended, however, you may also paint while working at a table or desk. Don’t forget to stock up on canvases or quality watercolor paper too.
Sculpture Materials Required
Sculpting at home is a great way to decompress and get creative. Here are some things you’ll need to start sculpting in your new art studio:
- Modeling clay: When working with clay, you’ll need to make sure you store it properly to prevent it from drying out. Stock up on clay in different textures and colors and gather tools like carving knives and a V-tool for relief carving. Ensure you have access to water since clay dries out quickly and needs to stay moist while working. Armature wire, shaping tools, and calipers are also necessary modeling clay tools to consider.
- Wood carving: Working with wood can be messy, so make sure you’re in an area that’s easy to clean up the sawdust. Choose different species and colors of wood to work with. You will also need sandpaper in different grit levels to help smooth and sand your sculptures. Hand chisels and gouges are also crucial when you’re working on the fine details of wood sculpture. Wear a mask and make sure your studio has proper ventilation, so you’re not breathing in the sawdust as you work.
- Ice Sculpture: You’ll need a deep freezer if you plan to work with ice, and a garage or shed is ideal for this type of art studio. Choose large, clear blocks of ice that are at least 50 pounds or more. Look for quality permanent markers to draw your design onto the ice. A rubber mat is great for holding the block in place. Other items to include are durable rubber gloves, an apron, and safety goggles. You’ll also need sharp carving tools or a small chainsaw and a sharp chisel to make ice sculptures.
How to organize the space
No matter what type of art you enjoy, it’s essential to keep your art studio organized.
- Shelves and racks: Freestanding shelves, wall shelves, and racks are a must for an art studio. Use them to stock and store cans of paint, brushes, clay, and tools.
- Folding table: A folding table frees up space when you don’t need it. They’re also portable, making them a handy item if you want to do some artwork outside.
- Plastic containers: Clear plastic bins make finding all of your art supplies easy. Make sure you separate your art items by type, then store them in the bins. A plastic container with a lid will keep your things clean and free from damage.
- Mason jars: These handy organizers are great for paintbrushes, pencils, and much more. You can place them on a desk or table, on shelves, or hang them on the wall for quick access.
- Wine rack: Repurpose a wine rack and use it to organize your art items. It’s a perfect way to hold small jars of paint. You can also fill the wine rack with the Mason jars to keep each one separated and organized.
- Pegboard: This handy accessory is a perfect addition to an art studio. Mount some pegboard to the wall, then add hooks and small bins to hold everything neatly in place.
Whether you love to paint, draw, or sculpt, setting up an art studio in the comfort of your home will let your creative juices flow. Think about your budget, the best lighting, and which part of your home you plan to use before you get started. With some patience and creativity, you’ll be able to enjoy your at-home art studio in no time, and maybe you can even create a wall gallery with your own art pieces or make money as an artist in the long run if you dedicate your time and talent to this.


