Welcome to Spring Cleaning Bootcamp, our room-by-room guide to everything you need to clean once a year, and how to do it right.
We asked Rebecca Gill, our resident clean-house guru, to share all of her secrets for getting a tidy, gorgeous home in as little time as possible—so you can get things clean, then get on with your life.
These guides are thorough. But with our step-by-step instructions, you can get them done! Turn on some music, put on some comfy kicks, and get ready to get your house cleaner than it’s ever been before.
We’ll be posting a floor-to-ceiling guide to deep-cleaning one room in your home every week.
This week’s bootcamp: Your bathroom. Happy cleaning!
Step 1: Clear out the trash and organize
- Remove all towels, rugs, linens, and shower curtains from the room. Shake rugs outside and hang them up while you clean the rest of the room. Toss the shower curtain in the washing machine. If you have a vinyl liner, consider replacing it with a cotton one, which will acquire much less mold and mildew growth.
- Throw dirty towels and washcloths into an extra-hot wash; if your towels smell like mildew, make sure to toss in a cup of white vinegar to kill the stubborn mold.
- Empty medicine cabinet and drawers, disposing of old cosmetics and toiletries (make sure to discard expired medications properly).
- Wipe out the shelves and re-organize the medicine cabinet and drawers by keeping all the items you use daily, closer at hand. Throw away half-empty bottles, makeup, and toiletries that you haven’t used in more than a few months. Re-purpose small drinking glasses, bowls, and little baskets to neatly store and organize your daily toiletry items like cotton swabs, cosmetic pads, and makeup brushes.
- Take out the trash, and wipe out the inside of the can with disinfectant.
Step 2: Toilet, sinks, showers and tubs
- First, put on a pair of oh-so-glamorous dish gloves. If you want to go fully retro (which can be fun!), then put on a pretty apron as well. Now you’re all suited up to deal with both cleaning agents and bathroom messes, without damaging your hands or your clothes.
- Run the shower and tub water on hot for a minute or two to allow built up soap scum to soften. Then, spray the inside of the shower, the tub, the toilets, and the sinks with a mild cleaning detergent (water mixed with Ivory dish soap works great). Finish by sprinkling with a mild abrasive like Bon Ami. Avoid harsh or acidic bathroom cleaners, which contain chemicals that will corrode to the surfaces in your bathroom over time.
- While the cleansers are soaking in, tackle the toilet. Start by wiping down the outside from the top to the base with your mild soap and water solution. Dry the outside completely with a terrycloth rag. Then, move on to the inside of the toilet bowl. Start by cleaning with a regular toilet wand; for many toilets, that will do the trick. For tough toilet rings, there’s no getting around it: you’ll have to scrub. Use a pumice stone for a quick and easy job—wet the stone first, then use long strokes to move up and down, keeping the stone wet as you go. Work around until the ring is removed. Ta-da! Clean toilet!
- Scrub, and then dry, the rest of the surfaces that you sprayed with detergent cleanser. For sinks, showers, and tubs, we recommend Mr. Clean Magic Erasers, which are non-abrasive, but work wonders in grabbing soap scum. For grout lines, use a tootbrush and some Bon Ami mixed with a bit of water to create a soft scrub that will gently remove mildew and stains.
- Lastly, polish up fixtures and faucets. A drop of dish soap in warm water, followed by a polish with a dry rag, is all you’ll need.
Step 3: Walls, trim and ceilings
- Use an extension duster or a t-shirt tied around the end of a broom to sweep dust and cobwebs from corners, ceilings, and vents. If the ceiling fan cover doesn’t come clean with a dry dust, use a step stool to remove the cover and wash it.
- Working in small sections from top to bottom and left to right all the way around the room, spray all purpose cleaner on the walls and trim, and use a terry cloth towel to wipe down and dry. When you get to eye level, use glass cleaner or vinegar on the mirrors and inside of any windows, and a mild dish soap with warm water to wipe down counters and cabinet fronts.
- Now, move on to baseboards and trim. Do a first pass with the dry rag to remove dust that has accumulated on the tops and fronts of baseboards. Next, using warm water with a few drops of a neutral detergent like Ivory, or an all purpose cleaner, wash baseboards in sections until clean, and dry immediately.
Step 4: Refresh surfaces and and floors
- If you have marble or stone surfaces, re-seal them; if you have vinyl or linoleum floors, now’s the time to strip and wax them. This process seems like a big deal, but it’s actually very easy to DIY. If you’d rather not deal with it, call a pro, but do make sure to get this done once a year, or you’ll see long-term damage to your surfaces that can’t be fixed by any amount of cleaning.
- Pro note: never use acidic cleansers, such as ammonia or vinegar, on ceramic or stone surfaces. These acids will etch and erode grout and stone over time. Instead, use detergent cleansers or gentle abrasives.
Step 5: Enjoy your new bathroom!
- Pull the towels from the dryer and the rugs from where you’ve had them hanging, and return them to their places in the bathroom. Rehang the shower curtain. Replace the ceiling fan cover if you’ve removed it.
- Consider keeping a stack of white terry cloth rags handy in a basket in your bathroom, and using these to wipe the inside of the shower, the counters, and the sinks whenever you feel like it. Toss these towels into a basket or extra trash bin and launder every week. It’s a small step, but having cleaning supplies handy can go a long way towards keeping your bathroom clean long-term.
- Decorate your spring-cleaned bathroom with some simple day spa ideas. Diffusing essential oil, adding a potted plant, or adding some organizational tools will do wonders to help freshen up your space!
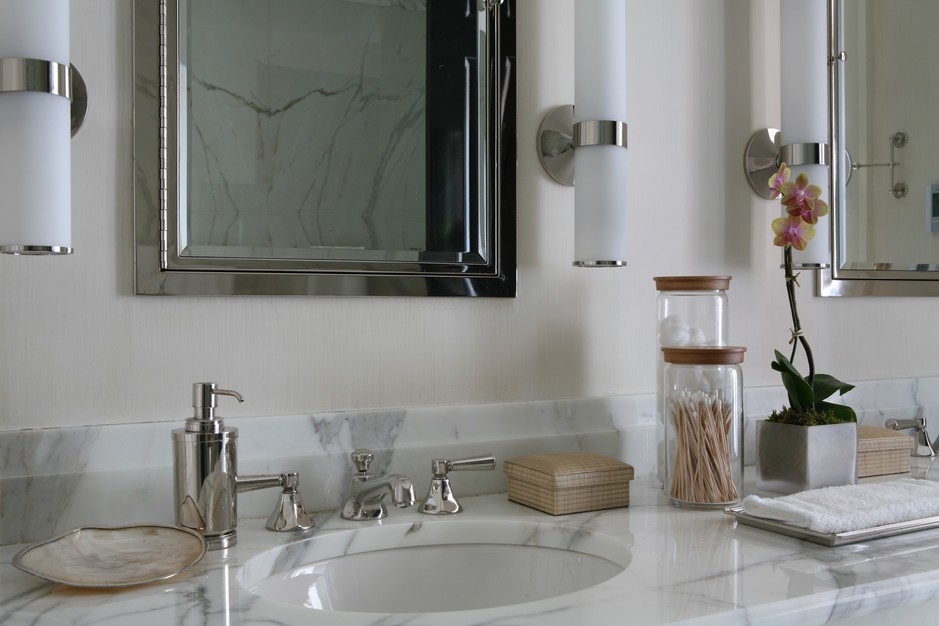
Top Image Credit: DeForest Architects
In the next Spring Cleaning Bootcamp, we’ll tackle the toughest job of all: the kitchen.
Don’t miss the rest of our Spring Cleaning Bootcamp series!
