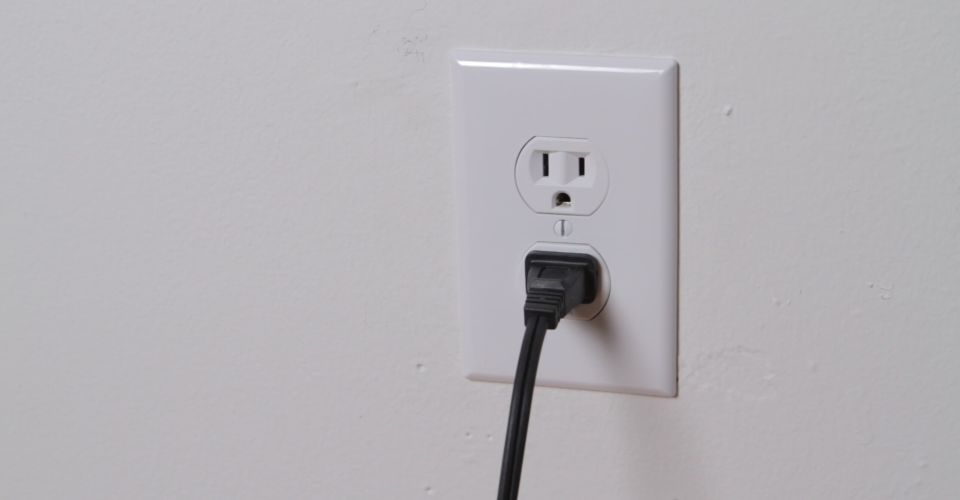
One of the pains of living in an old or well-used house is worn out electrical outlets. Having strong, safe outlets installed can make a big difference in both the safety and usability of your house. Though working on electrical fixtures can be daunting, it’s actually an easy task for any homeowner to perform. Of course, safety needs to be of utmost importance when working with electricity so if you aren’t confident in your home’s wiring or are unsure of any of these steps, contact an electrician to do the work for you. Working with electricity can be very dangerous – even deadly – if not done right. If you’re well prepared, this video should make replacing your old outlets a breeze.
Materials and tools needed
- Screwdriver
- Needlenose pliers
- Wire cutters
- Voltage tester
- Replacement outlet
Step 1: Turn off the power
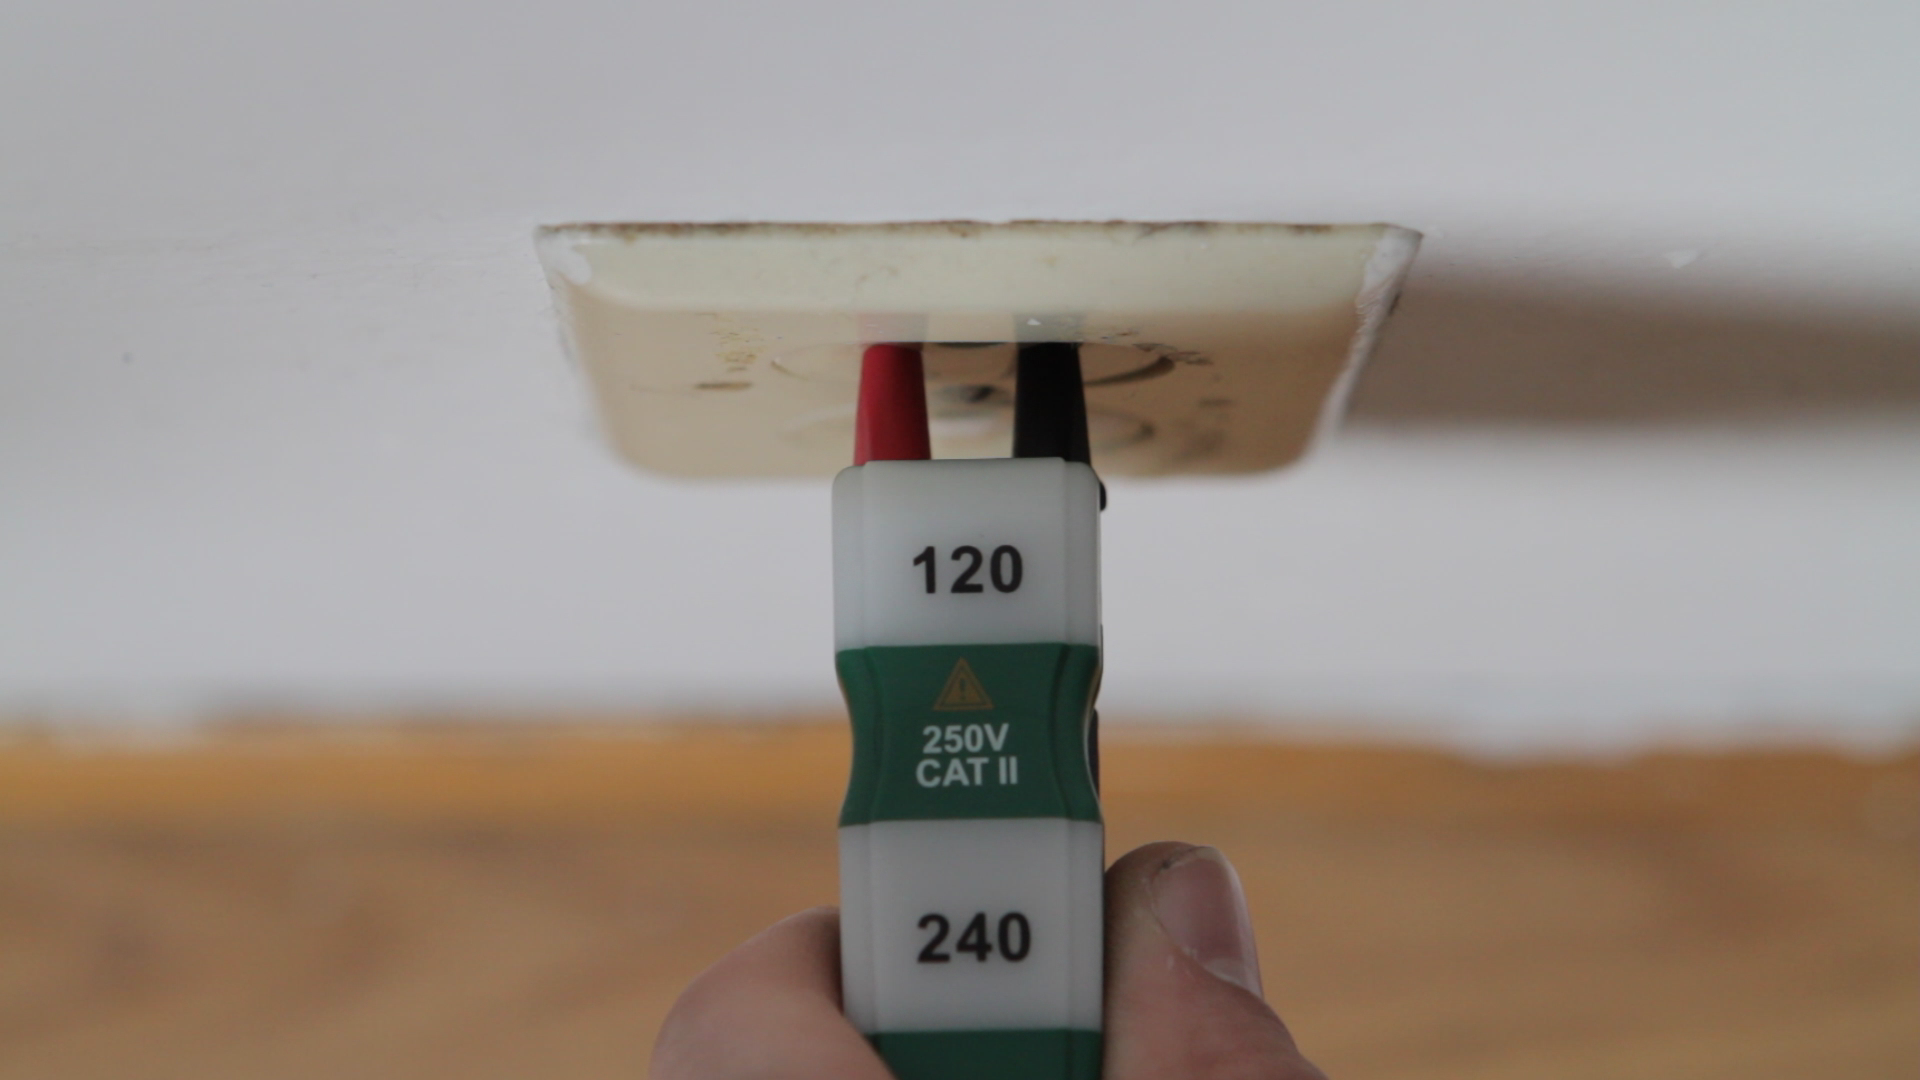
First, and most importantly, make sure the power is off. Go to your breaker box and flip the circuit for the outlet you’re planning to replace. If you aren’t sure which switch to flip, plug a radio into the outlet and flip switches until the radio turns off. You can also turn off the main breaker to be extra sure, but this will turn off all power to your house. Insert a voltage tester into the outlet and make sure there is no power flowing.
Step 2: Remove old outlet
Once power has been shut off, remove the faceplate and unscrew the outlet from the junction box. Pull the outlet from the wall to expose the wiring. This is a good time to confirm power is completely off, which you can do by touching the side screws with the voltage tester.
Step 3: Take note of the wires
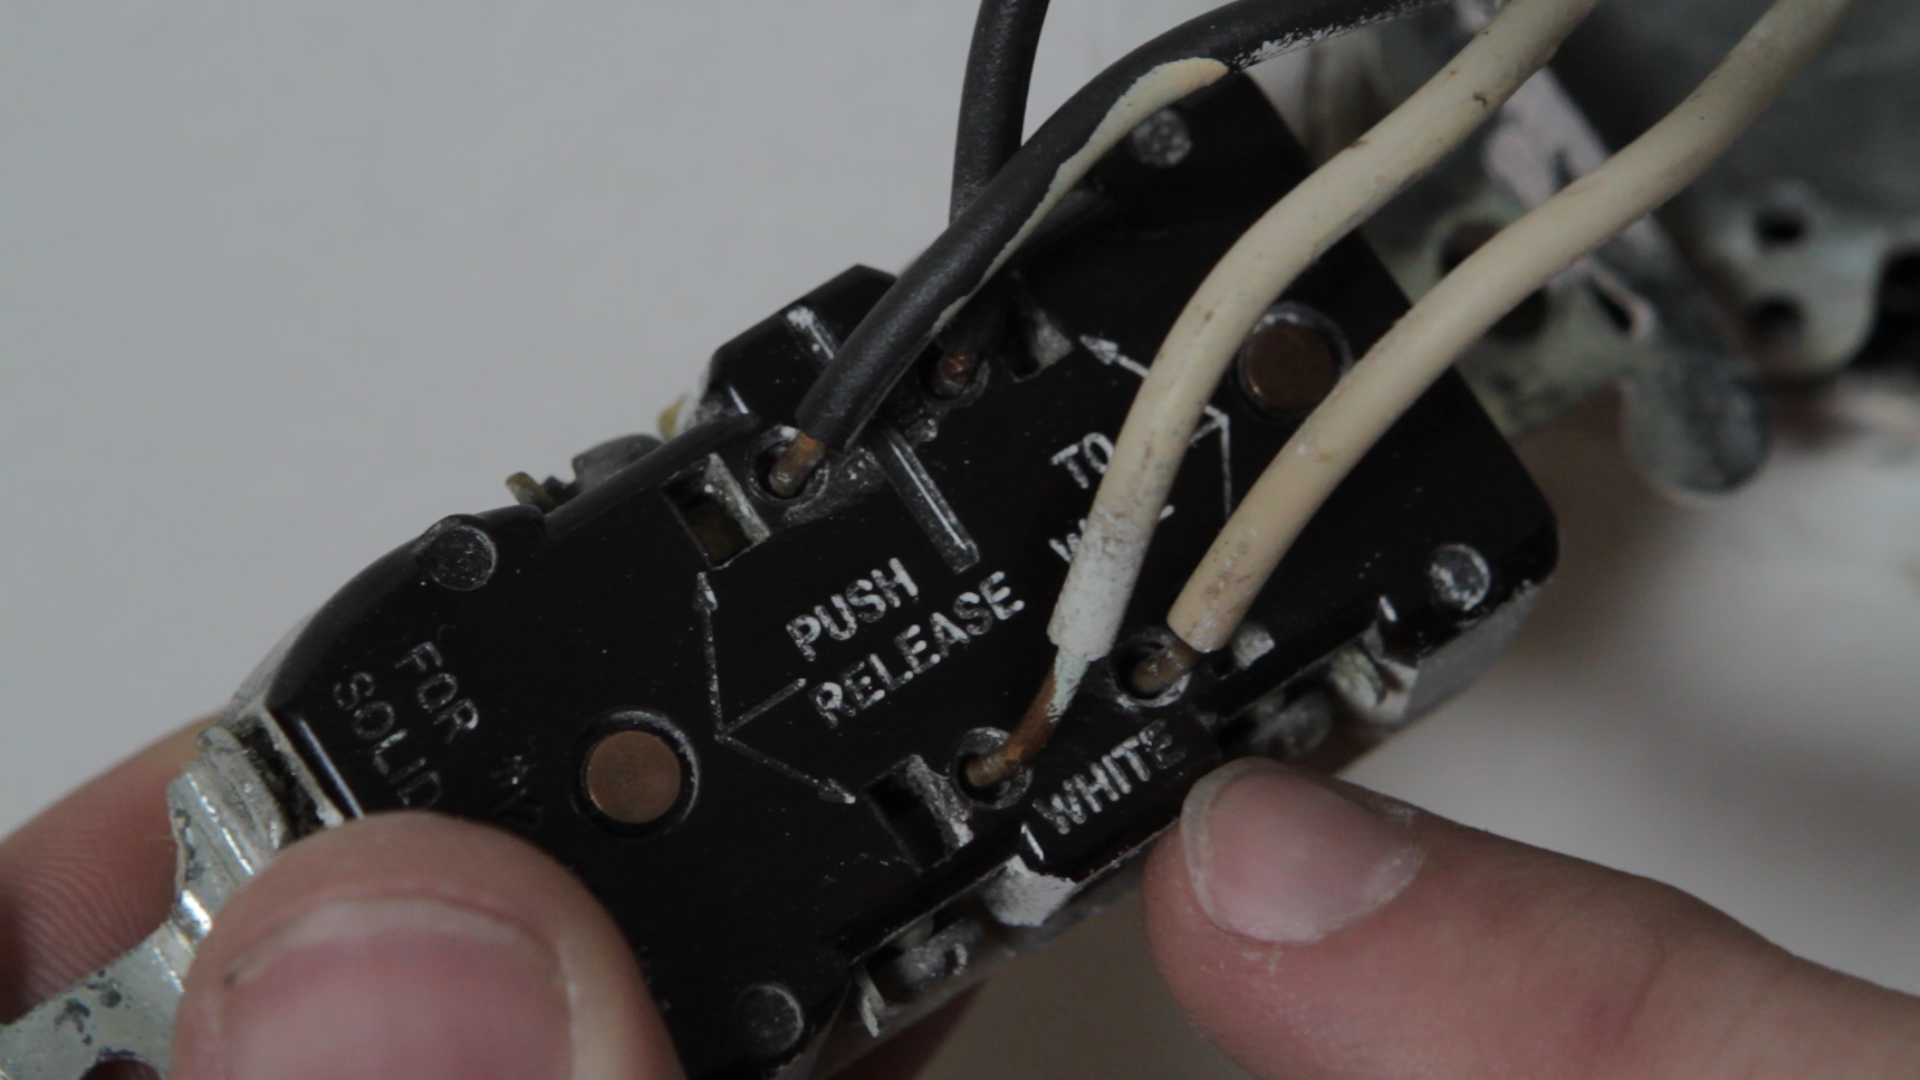
Before disconnecting any wires, look at the back of the outlet to see how it was wired. Black wires should be the hot wires, and white wires labeled as white.
Step 4: Cut the connections
Using wire cutters, cut the connections to the old outlet. Remove the ground wire last.
Step 5: Strip the old wires
Strip the ends of the wires to expose clean copper, this will be your new connection point.
Step 6: Look for the break-off tab
Before connecting the new outlet, inspect it to see where the wires should attach. If your old outlet was missing the break-off tab, you need to break this off of the new outlet as well. To do this, pry it back and forth with pliers until it snaps off. Before wiring the new outlet make sure the break-off tabs match the old outlet’s arrangement.

Step 7: Connect the wires
Connect the ground wire to the green screw on the corner of the outlet. Next, connect the white and black wires, either by looping them clockwise around the side screw or plugging into the back-wiring holes. Confirm the wires are snug and make sure the screws are tightened before mounting the outlet.

Step 8: Attach new outlet
Screw the outlet to the junction box and make sure it looks level. Attach a faceplate – this is a great time to update your faceplate as well – and you are all set.
Step 9: Turn on circuit
Turn your circuit back on and confirm power is flowing with your voltage tester. If everything looks good, plug in your devices and you are all set.

You can do this task to your entire home, but many outlets are more complex – some are wired through a switch and some have split circuits – so if you aren’t completely sure what you are doing, ask a professional for help!


