Have you ever considered taking up pottery as a hobby but don’t know how? Maybe you want to create incredible pieces to deck out your home, or you’re thinking about selling your wares as a side business. If that sounds like you, then look no further—we’ve got all the information you need. Learn how to set up an at-home pottery studio, read our tips on creating your first piece, and get inspired with tons of ideas on different objects to make. Ready to get your hands dirty?
Pottery for Beginners
So you’ve decided to learn how to make pottery at home – great! Now you’re probably wondering what you need to get your home studio up and running. Here’s a handy list of pottery essentials to get you started.
Clay
Clay is the only essential you can’t make pottery without. It’s cheaper to buy your clay in bulk— and there are a bunch of online retailers that sell pottery clay in bulk amounts. There are three main types of pottery clay, each with its own distinct properties and characteristics:
Stoneware Clay
Stoneware clay is the best clay for beginners learning how to make pottery at home for the first time because it’s the most versatile and easy clay to work with. It comes in many colors, from white to brown, and the finished product is durable, strong, and non-porous, meaning it can hold water.
Earthenware Clay
Earthenware clay is thicker and heavier than other clay types but tends to have a weaker finished product than stoneware clay. The most common kind of earthenware is terracotta, which has a lovely earthy red color. Earthenware is excellent for tiles and flower pots, but it cannot hold water unless it’s been glazed multiple times because of its porous nature.
Porcelain Clay
Porcelain is very soft and the most flexible of the different types of clay. Because of its malleability, it’s difficult to shape. Porcelain clay requires a lot of water during the creating process to keep it shapeable—otherwise, it dries out too quickly. On the other hand, if you add too much water, porcelain becomes sloppy and collapses. Working with porcelain takes a lot of practice, so isn’t necessarily the best clay for beginners.
Pottery Wheel
If you want to make vases, pitchers, plates, or mugs, you may want a pottery wheel. There are tons of pottery wheels for any budget and skill level, so how do you choose? For novice potters who are wary of making a significant investment, a kick wheel, tabletop wheel, or mini pottery wheel are all great options that can be purchased for less than a hundred dollars. Electric wheels are more expensive, but they’re generally easier to use and can be found for upward of a few hundred dollars.
Kiln
Home potters will need a kiln to fire the clay to make it hard. Kilns are one area where quality shouldn’t be ignored because cheaper, lesser-quality kilns are often a hotspot for dangers like explosions, fires, and improper pottery firing. Invest in a good kiln to save yourself a lot of frustration later on. Things to look for in a quality kiln are:
- Sturdy and well-built
- Correctly calibrated
- Dependable
- Safe to use
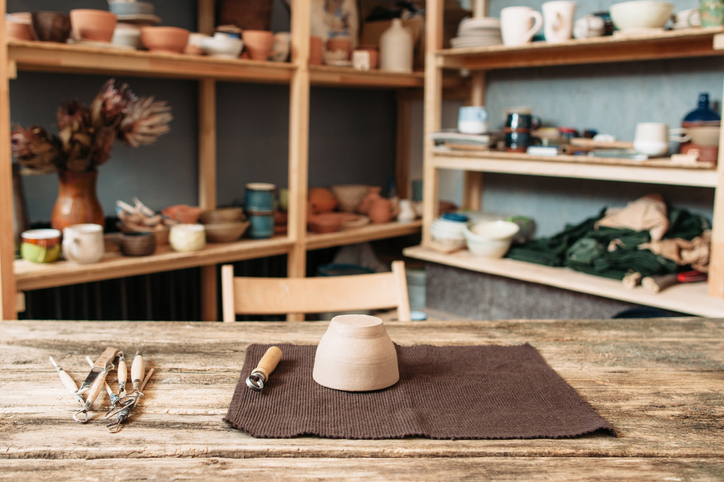
Tools
If you’re focusing on the essential elements of pottery making, clay is all you need. If you want to take it a step or two beyond pinch bowls and coil pots, get yourself some essential sculpting tools:
- Ribbon tool
- Loop tool
- Wirecutter
- Scraper
- Sponge
- Potter’s rib
- Needle tool
- Modeling tool
- Paintbrushes
- Glaze or acrylic paints
Pottery Techniques
Decide what type of pottery technique you want to use before you start creating your first piece. Many potters use a combination of techniques, but as with starting anything new, it’s good to feel comfortable with one approach before moving on to the next. The three main types of pottery are wheel-thrown, slip-casting, and hand-built.
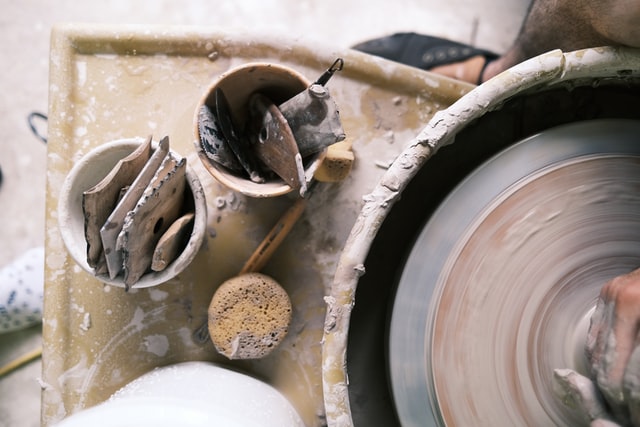
Wheel-Thrown
Wheel-thrown pottery allows you to spin the clay, creating rounded edges you can shape into bowls, mugs, vases, and other vessels. A pottery wheel is used to make wheel-thrown ceramics.
Slip-Casting
Slip is clay that has been mixed with water to create a slurry that can be thin and liquidy or thick and paste-like, depending on your needs. The slip is poured into a plaster mold, where it dries into the mold’s shape.
Hand-Building
Hand-building pottery requires very few tools—your hands are your primary tool for this technique. Pinch pots, coil pots, slab pottery, and molds are used in hand-building to create sculptures, masks, bowls, and plates.
Pottery Design
Pottery can be left in its natural state, or you can apply designs to create a unique piece of art. The sky’s the limit with pottery designs, but here are a few techniques potters use.
Glazing
The most common type of pottery design is glazing. Glazing is a form of paintable liquid glass that’s applied to a dried piece of pottery. Glazing is used to color, decorate, waterproof, or protect an item before it’s fired. When it comes out of the kiln, the glaze is shiny and hard.
Engraving
Pottery engraving is another common form of design. Engraving is done using various carving tools to create designs on clay items before they’re fired. Once engraved, the designs can be filled in with glaze if the potter chooses.
Screen printing
Screen printing is gaining popularity as a new method of pottery design. This design technique is done by applying glaze or slip through a mesh silkscreen or newsprint piece, which is then pulled up to reveal any number of designs.
How to Use a Kiln
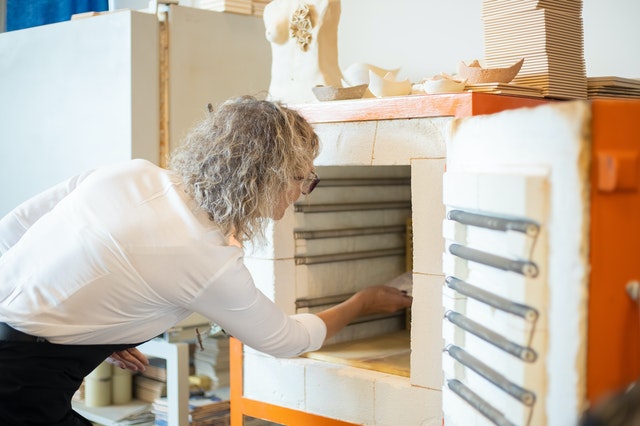
Kilns are where the magic happens in pottery. There are five steps to using most kilns, but always check the manufacturer’s instructions for your particular brand before firing up. Hot tip: never use an oven to fire your ceramic creations—they don’t get near hot enough for firing pottery and will only ruin your beautiful pieces.
- Arrange your pottery on the shelves of the kiln.
- Your clay or glaze comes with a cone firing number – look at your products and choose the correct number to avoid firing your pieces at too high or low of a temperature.
- On the inside of the kiln are three metal prongs. Lift the middle prong, and set it across the bottom two prongs.
- Plug’ er in. Kilns have a wide three-pronged electrical plug that requires a unique outlet to plug into.
- Fire it up. Start your kiln, and slowly bring it to the proper temperature to prevent your pottery from cracking. Once your pottery is finished firing, allow the kiln to cool down before opening it. The temperature shock of opening a kiln too soon could break your pieces.
Pottery Ideas
There’s no shortage of clay ideas for your ceramic studio. Do some internet searching to see what you like, or head to your library and rent some pottery books for ideas. If they’re available in your area, consider taking a pottery class to hone your pottery skills. Need a little inspiration ASAP? We’ve got you. Below are some fun pottery ideas for novice ceramicists.
- Plates
- Cups
- Mugs
- Vases
- Bowls
- Busts
- Trays
- Pots
- Masks
- Tiles
- Trinket boxes
- Animal sculptures
- Abstract art sculptures
Creating a Ceramic Studio
Creating a ceramic studio at home is easy. Pick a room in your house to dedicate to your craft, or outfit your garage into your home studio. Whatever space you choose will need to be big enough for a kiln and pottery wheel if you decide to invest in these tools.
Make Your Studio a Creative Sanctuary
To make your studio a special place where you feel relaxed and creative, pick out a paint color that inspires you – blue and green are excellent picks for creativity, but stay away from gray, which lacks energy and could bring the vibe down. If your studio is going to be inside, install inexpensive vinyl flooring for easy clean-up.
What to Stock Your Studio With
Once you’ve got your studio decorated to your liking, it’s time to bring in your pottery supplies. In the beginning, it may seem like a lot, but many of these items are inexpensive, one-time purchases that you’ll be able to use for years before replacing. Here’s a handy dandy shopping list to fully stock the home pottery studio of your dreams:
- Clay
- Bucket with a lid to store clay in
- Small container for slip
- Large work table and chair (or stool)
- Pottery wheel
- Sink or other water sources — or a nearby one
- Sculpting tools
- Glaze
- Paintbrushes (and a jar to store them in)
- Apron
- A mobile cart to store your tools and glazes on
- Shelves for storing drying or finished pottery
Kiln Ventilation
If you’re installing a kiln in your studio, make sure you’ve got an appropriate kiln ventilation system. Kiln ventilation is necessary to create a safe work environment — without one, you could encounter toxic fumes during the first stages of firing — plus harmful emissions that are released when clay and glaze are heated. There are three basic types of ventilation systems used in pottery studios — which style you choose depends on personal preference, budget, and the size of your space.
Updraft Ventilation
Updraft ventilation systems remove fumes, smoke, and heat as they rise. These systems consist of a hood with a fan that’s mounted over the kiln. Updraft ventilation requires a certain amount of space in and around the kiln to install.
Downdraft Ventilation
Downdraft ventilation works by drawing smoke and fumes down from the kiln base via an exhaust tube that vents outdoors. These systems only remove smoke and fumes – none of the heat.
Cross draft Ventilation
Cross draft ventilation consists of numerous fans located around the kiln to move air through the studio and out an open window or door. This method is cheaper and easier to install than other ventilation systems but doesn’t remove as much exhaust.
Making pottery at home is a fun hobby, and it can even be a source of side income. Start with the most accessible clay to work with and the most uncomplicated designs, and bulk up your skills from there. Before you know it, you’ll be a pottery pro!


