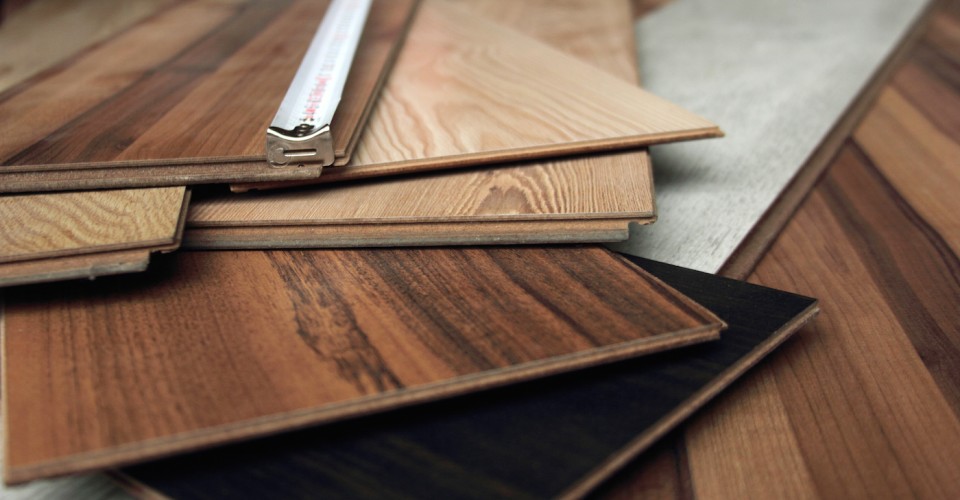
Laminate flooring installation:
Laminate flooring has many advantages over other flooring options such as hardwoods, tile, and stone. As a matter of fact, laminate flooring has caught the eye of many homeowners looking for a cost-effective and easy to install flooring option.
Tools you will need to complete the project:
| Tools | Materials |
|
|
We advise you to follow these steps carefully for a successful laminate flooring installation.
- Prepare your room for installation:
- Remove the existing flooring and molding.
- Check the subflooring to make sure it is solid, smooth, and clean. If not, use a patching compound to make it really smooth, especially for concrete floors.
- If you have a wooden subfloor, ensure that there are no nails or protruding debris.
- Replace parts or the whole of the damaged wooden subfloor before installing your new laminate flooring.
- Use a moisture barrier before installing the laminate flooring in damp and wet areas of your living space, such as bathrooms.
- Allow the new laminate to acclimate to the room’s humidity and temperature for at lest 48 hours before installing.
- Cut any door jambs to make room for the new floor:
- Mark where you will need to cut the door moulding with a pencil by using a plank of flooring and a section of underlayment as a guideline.
- A jamb saw is helpful in making the horizontal cut. You can rent or buy a jamb saw from your local hardware store.
- Plan your first and last rows:
- Place the laminate parallel to the longest wall or the focal point of the room. This is advisable for aesthetic reasons.
- Measure the width of the room from the longest wall and then divide the room’s width by the width of the planks. This will tell you what the width of the final row will be.
- Leave some room (around 3/8-inch gap) along the walls between the planks to accommodate expansion post installation.
- If the last row appears very narrow (31/2 inches or less), trim the width of the first row of planks to allow for a wider last row instead of putting a narrow strip. This will look better.
- Cutting your laminate flooring:
- Before cutting the laminate flooring, please read instructions carefully to avoid splintering or product loss. Instructions should be included with your flooring.
- Mark where you want to cut with duct tape for accurate measurement.
- Begin to cut laminates keeping the finished side of the product facing up.
- To cut the laminate you can use a table saw, miter saw, circular or hand saw -whichever is convenient and available to you.
- Using clamps while cutting will prevent the laminate from slipping and prevent damage or loss.
- Install underlayment:
- This is required only when the laminate flooring doesn’t have an attached underlayment.
- Cut underlayment exactly to the size of the laminate using a utility knife.
- Avoid overlapping of the underlayment to eliminate bumps forming under the flooring.
- Use duct tape along the seams to hold the moisture barrier and underlayment in place.
- Install your new laminate floor:
- Begin with the door side if the door is on the shorter wall of the room. This is desired to avoid cut edges at the threshold.
- Begin to install the first row of planks placing the tongue side towards the wall.
- Place the next plank adjacent to the first aligning the tongue into the groove and then press the plank down, which will snap it into place.
- Cut the last plank of the first row at the end according to the required space needed, leaving a 3/8th inch gap at the end. You can place 3/8th spacers along the walls to help you remember.
- Repeat the process for the next row using the leftover plank from the end of row one and continue as long as the plank length is more than 1 ft. If it isn’t, use a plank whose length is greater than 1 ft to start the row.
- Make sure to stagger the seams by starting the second row at the same place you started the first. The seams should be at least 6 inches away from any adjacent seam.
- Install a matching threshold and quarter round moulding after laminate installation is complete.


