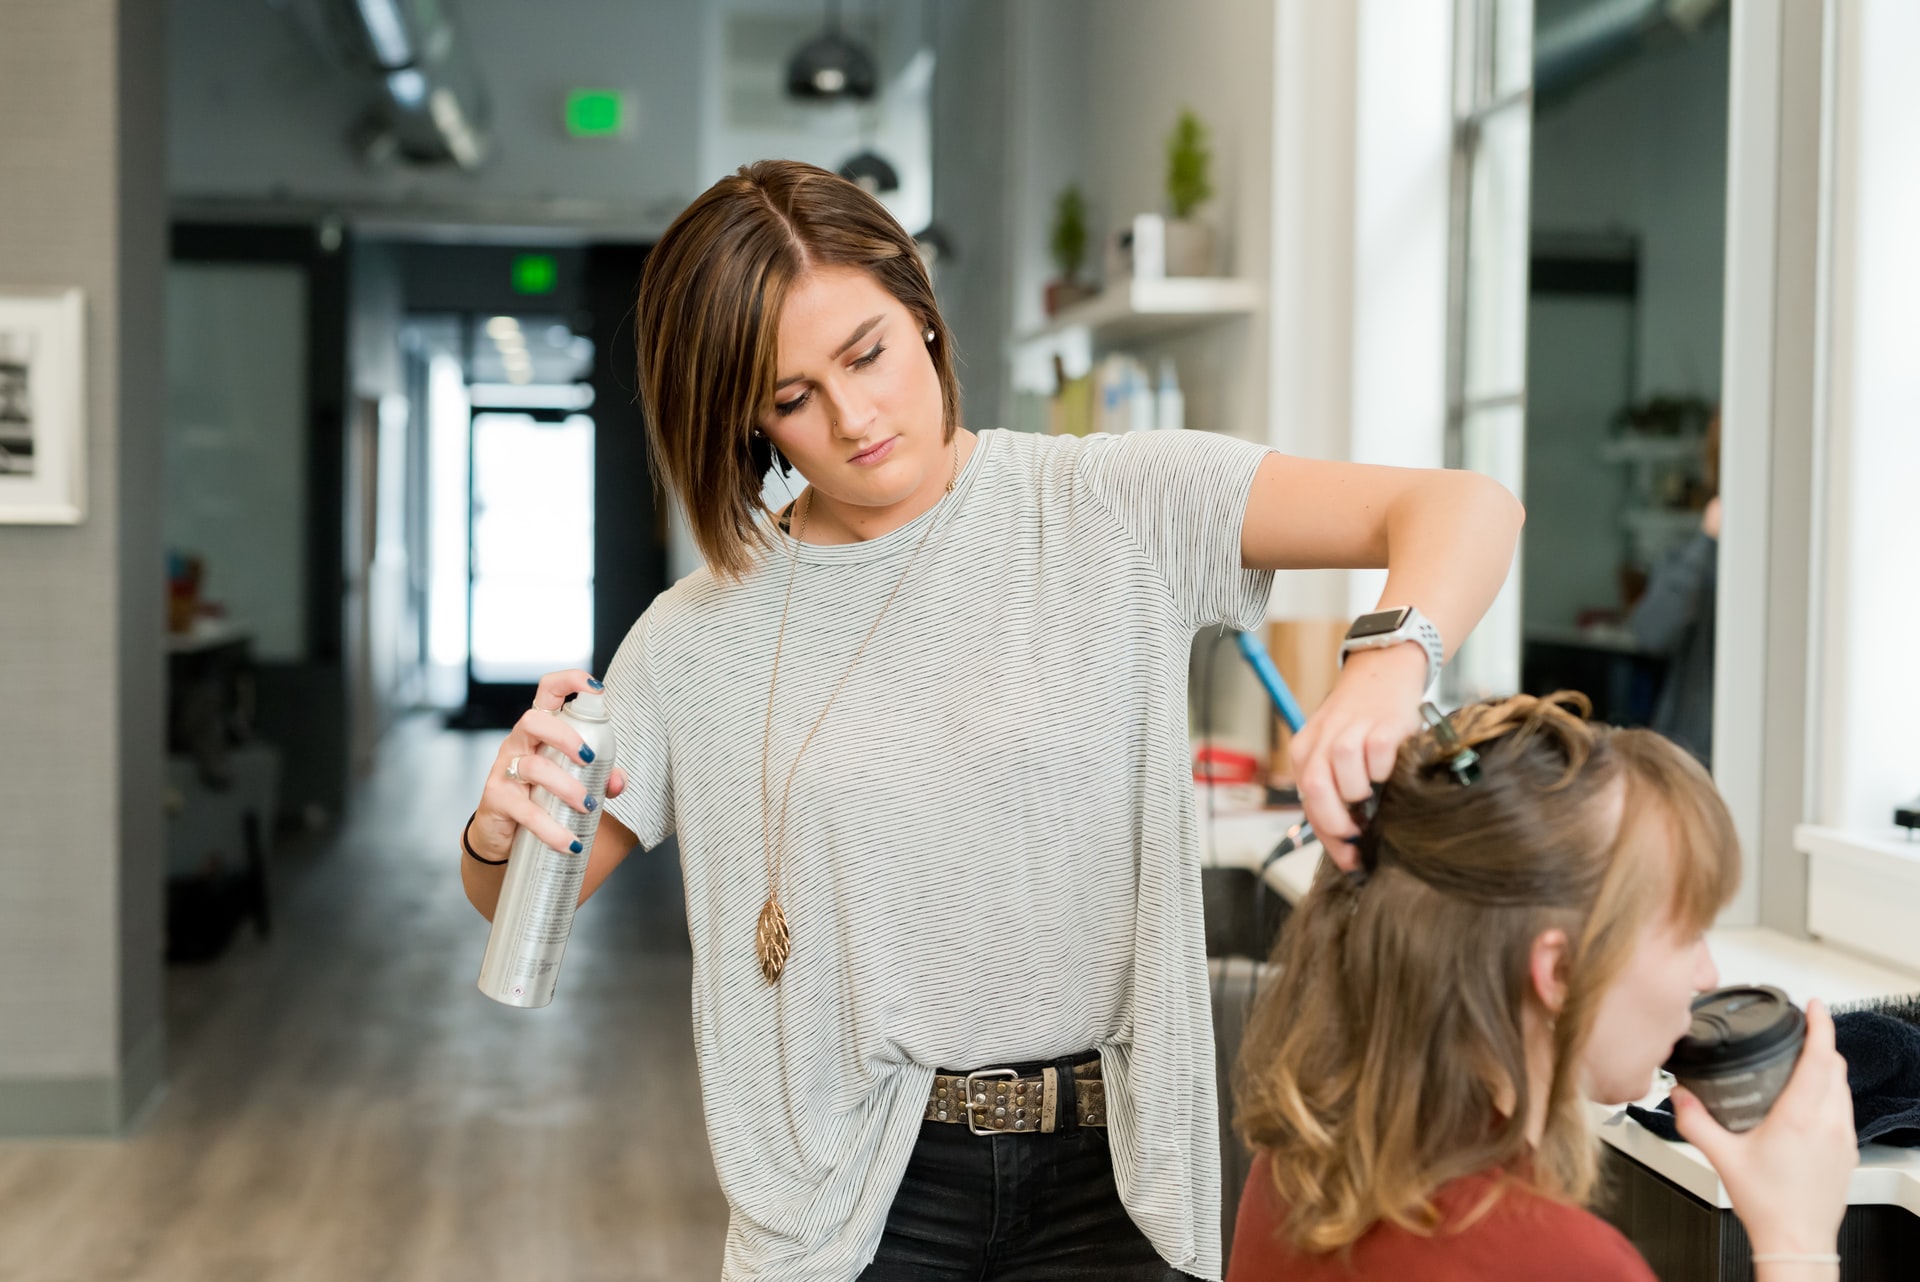
Getting a haircut or a hair color at a salon is a great way to get a fresh, new look, but it can also be expensive and time-consuming. With the right tools and some know-how, you can perform your very own hair makeover at home, DIY-style. Whether you’re cutting your own hair, a family member’s, or dyeing your hair a new color, it’s easy to learn how to color and cut hair at home. Grab your sharpest pair of scissors, and read on for some easy DIY haircut tips so you can create the ultimate style to look like a celebrity without stepping foot in your local salon.
Gather your tools and equipment
Before you can start your at-home haircut or dye session, you’ll need a few essential tools. Make sure that you have these home haircut tools and dyeing tools and accessories on hand before you start your makeover.
Home haircutting tools & accessories
- High-quality scissors. Choose scissors with a sharp edge, or look for a pair of professional hair-cutting shears. These scissors are extremely sharp and do an excellent job at precision cutting. Thinning shears are also recommended if you’re planning to layer your hair, or if you need to add a finished look to thicker or shorter hair.
- Clippers. If you’re cutting short hair, clippers make it easy to trim around the ears and neck, and they’re a great way to finish up your DIY haircut for a precise, close finish.
- Cape. When cutting hair at home, it’s best to cover yourself with a hair-cutting cape to protect your clothing, floors, and counters from hair, which can make you itchy and uncomfortable. Of course, you’ll still need to sweep up any hair from the floor when you’re done, but a cape is an excellent way to prevent excess hairs from settling onto your neck and shoulders.
- Spray bottle. It’s easier to cut hair that’s slightly damp, so make sure you have a clean spray bottle filled with water before you begin.
- Comb & brush. Use a quality, fine-toothed comb, and a good brush to ensure that you’re getting the style you want. These are also great styling accessories once your new DIY haircut is complete.
Home hair dyeing tools and accessories
- Hair dye: You can find DIY hair dye kits at most drugstores, cosmetics stores, big-box retailers, and online. These kits generally come with everything you need. Beauty supply stores also sell a wide range of hair dye, from temporary and semi-permanent to permanent varieties. Choose your color carefully if you’re planning to make a permanent color change. If you’re not using a kit, you’ll need:
- Dye mixing bowl: A bowl with a handle is a great way to mix your dye before application. Most beauty supply stores sell these, and some hair dye kits include them, too.
- Applicator brush: Dye applicator brushes come with a long, thin handle that helps you apply the dye in layers from the root to the tip.
- Gloves: Wear protective gloves when mixing and applying hair dye to prevent accidentally coloring your skin.
- An old towel or robe. You’ll want to protect your clothes and skin from dye, so drape a towel around your shoulders, or put on an old robe to catch drips and spills.
Where to set up your hair cutting and hair dyeing station
Cutting and dyeing hair can be quite messy, so choose a place where you can do some easy cleanup after you’ve finished. A bathroom is an ideal place for haircuts, but you can also cut hair in the kitchen. Any room with hard flooring is best, since you can sweep up the hair when you’re done. It’s not a good idea to cut or dye hair in a carpeted room, since the hair dye can stain your carpet, and it’s much more difficult to clean up hair from it. If you must cut hair in a carpeted space, lay a large plastic bag or tarp underneath your chair before you begin. The backyard is another great space to set up your station if the weather is nice. Cutting hair outside is the easiest way to avoid a mess.
Cleaning tools and tips
Once you’re finished with your haircut or hair dyeing job, you’ll need to clean up the area. Use a broom and a dustpan to sweep up the biggest sections of hair, then vacuum to get the tiny bits. A damp rag or paper towel is another easy way to clean up any stray hairs you find lying around. Vigorously shake all of your clothing outside after the haircut, then toss it in the washing machine to get it clean. If you end up with a bit of hair dye on the floors or countertops, use rubbing alcohol and a cotton pad to wipe it clean as soon as possible.
Simple tips to cut hair at home
- How to cut your own hair. When cutting your own hair, it’s best to start slowly and cut off just a small amount. Remember, you can always cut more if you want it shorter, but you can’t reverse a haircut that’s too short. Make sure you have a large mirror in front of and behind you so it’s easier to see every angle. If possible, ask a trusted friend to help you cut the back of your hair. Never cut your hair when it’s soaking wet, since it will shrink once it dries. However, it’s easier to cut damp hair than dry hair, so use your spray bottle to keep it from getting totally dry.
- How to cut someone else’s hair. Communication is key when cutting someone else’s hair. Find out exactly what length and style the other person is aiming for before you begin. Divide the hair into sections, and cut a small amount at a time, brushing it out after each go-around so they can see what it looks like. It’s important to take your time when doing any DIY haircut so that you don’t cut too much or cut things unevenly.
- Long hair. Decide how much length you want to cut off before you begin. Divide long hair into sections using hair clips, and bring each section forward, one at a time. Cut one-quarter to a half-inch to start, but remember to cut less than you think you should if this is your first time. Trim the length of the hair first, then snip the ends at a perpendicular angle to add more texture and “blend it out.”
- Short hair. Lightly dampen the hair with a spray bottle, and comb it straight before you cut. Start at the sides, and work around the head if you’re using scissors. A comb is a great way to help guide the cutting shears so you know where to cut. Take special care when trimming around the ears, and use thinning shears once you’re done to add more texture to the top. A pair of clippers will trim around the neckline after you’re finished.
- Curly hair: Cutting curly hair can be tricky, so start with small cuts. Section your hair and detangle it, then use firm pressure to keep your hair in place as you cut. Only cut curly hair when it’s completely dry. If you’re not sure about cutting curly hair, check out a few tutorials online before you begin. Curly hair is highly textured, so cut it in small sections, and remember to take your time.
- Male haircut. Use a high-quality pair of clippers, and start with the highest number guard. You can always reduce the number for a closer cut as you go. Cut the hair in sections at an angle, making sure that you’ve cut every section before you trim it closer. Comb the hair before the clippers pass over each section so you can see exactly where the cuts are made. Use gentle pressure when applying the clippers, then finish the haircut with a good pair of scissors and a comb to style and add the finishing touches.
- Children’s haircut. When cutting children’s hair, it’s best to just do a little bit of trimming on the ends or top to start. You can follow the same tips as listed above for children, but you may need to cut less, since kids have a tougher time staying still. Cut your child’s hair a small amount at first, and tell them they can always return for another haircut on another day if they want it to be shorter.
- Seniors’ haircut. If you’re doing haircuts for seniors at home, it’s important to make sure that you give them the style they want. Ask them to tell you exactly what type of haircut they prefer, and be gentle and patient as you cut and trim. Look up some photos of different styles, and ask your senior friend or family member which one they like best if they’re unsure.
Simple tips to dye hair at home
- How to dye your own hair. Once you choose a color you like, follow the directions exactly as listed on the packaging. Always wear protective gloves when mixing hair dye, and drape a cape or towel over your shoulders before you begin. Wear clothing that you can throw away afterwards, since you’ll probably end up with dye on them, or use the same clothes every time you dye your hair.
- Buy two hair dye kits. To avoid running out of dye when you’re halfway through the dyeing process, always get two kits of the same color. Depending on the hair thickness and length the amount needed varies. If you have thick hair, or if your hair is medium-length or longer, you’ll probably need two boxes if you’re aiming to dye your whole hair. Perform a patch test before you dye your own hair to check for a possible allergic reaction. If you pass, apply a stain guard of petroleum jelly along the hairline all the way around your head.
- Do a strand test. Before applying the dye all over your head, do a strand test since you cannot be sure of what kind of reaction your hair colour can have with the dyeing formula. To be sure of the outcome colour, make a test on a strand of hair before starting the whole process.
- Brush and detangle your hair. Even the slightest hair knot can cause a problem, make sure to detangle all your hair before starting the process.
- Section your hair. Start by sectioning your hair down the middle and across the crown, then, apply dye to the front sections first. For more controlled application, use a mixing bowl and brush to apply the dye rather than the bottle. Start at the top, and work your way to the roots. Let the dye sit for the recommended time. Rinse your hair thoroughly with lukewarm water (no shampoo at first) until the water runs clear. Apply a high-quality sulfate-free shampoo, after this, apply conditioner and let it sit for three minutes before the final rinse.
- How to dye someone else’s hair. Follow the same hair dye tips as listed above when dyeing someone else’s hair. Make sure that they’ve chosen the color they want and that they’ve done a patch test beforehand to ensure there won’t be any negative reactions. Apply a stain guard along the hairline using petroleum jelly to keep the skin from getting stained. After you section the hair and apply the dye, set a timer, and wait for it to finish. Use your bathtub or kitchen sink sprayer to rinse their hair thoroughly until the water runs clear. Shampoo the hair with your sulfate-free shampoo, and apply a good quality conditioner, let it sit for three to five minutes before rinsing, then dry their hair with a hairdryer.
Whether it’s your own hair or someone else’s, it’s easy to do a DIY hair makeover at home. With the right tools and some patience, you can create a beautiful look without going to the salon. Follow these haircut and hair dyeing tips, and you can change your look any time.

