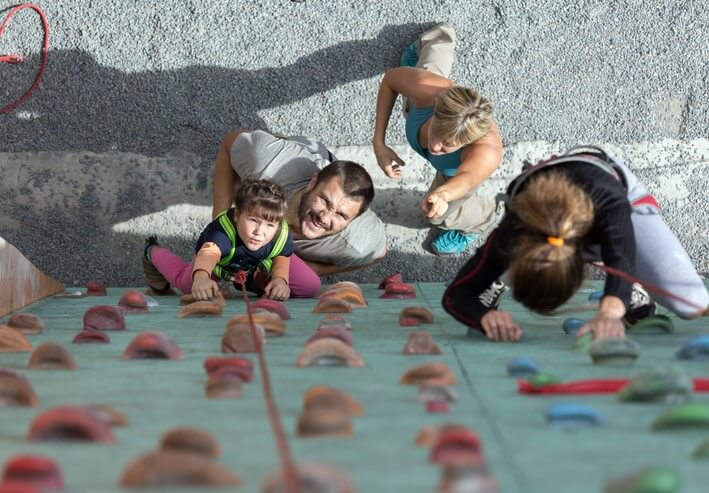
Building your climbing wall can be an enjoyable experience, and there are many benefits for the whole family to having a rock climbing wall in your home. Strength and core training, physical activity, and confidence building are just a few benefits of having your own climbing gym. With this climbing wall installation guide, you can plan, design, install, and maintain your climbing wall for years to come.
Plan your climbing wall
Building your own climbing wall is a great way to carry your passion for climbing into your everyday life. When you plan out your climbing wall, think about the skill level of everyone who will use it. Plan to scale up.
Plan out what kind of wall or walls you want. A vertical wall at 90º to the floor or an obtuse vertical wall (any angle over 90º) are good for beginners. Acute angled walls and overhangs increase the difficulty, and ceilings are the most challenging.
Choose your location carefully. If you build it outdoors, it might not last as long, and you won’t be able to use it year-round. On the other hand, an indoor space may not be an option for a rock climbing wall if you don’t have anywhere to put it.
Not everyone has a 20’ wall for a climbing gym at home, but if you do, that’s where you want to put your climbing wall. A garage or attic space makes great alternatives. The garage offers high walls and horizontal space, while the attic provides a natural overhang and transition to the ceiling.
Don’t be afraid to get creative and include moving parts like walls on hinges that you can shift to increase the overhang angle and the difficulty. For young climbers, keep it low and put it on a wheel system so it can roll out of the garage or storage shed.
Measure your space out carefully and create sketches to capture your ideas. If you are planning on constructing something inside your home, contact a tradesperson. They have skills in framing and carpentry to ensure you are not causing damage to your home, changing the structure so much that a permit is required, and can offer advice on options you may not have considered. When you are measuring and sketching, visualize your possible climbing routes.
It is easy to get overzealous when planning your DIY climbing wall because there are so many creative ways to do it but don’t forget to give yourself a budget and stick to it. Having the project half-finished and running out of money is not fun. Write out a detailed list of materials, and don’t forget to include 2’’ and 3’’ deck screws – you will need more than you think.
Climbing wall framework
The priority when planning your climbing gym should be safety. Your first step is framing. Measure twice and cut once to ensure clean, square joints. If you have picked an indoor location for your climbing wall, your frame should be anchored into wall studs and/or ceiling joist. If you have selected an outdoor, detached climbing wall, keep the bulk of the weight low to the ground to prevent it from tipping over. If possible, anchor the wall directly into the ground with a concrete pad.
With your frame built and secured, you can start to attach your panels. Using painter’s tape, mark on the floor where your studs line up – you don’t want to make unnecessary holes in the panels trying to drill them into the studs. Square your panels against your frame, leaving a small space, less than an ⅛ of an inch, for swell between each one. Both plywood and OSB will swell and shrink depending on the humidity. With your frame and your panels securely attached, you can set to prepping and painting your climbing wall.
Prepping and painting your climbing wall
Finishing your wall is the last step before mounting your holds. The finish will take up to 10 days, depending on your space, the humidity, and how many coats you do. Do not predrill your T-nut holes before finishing. It can cause the wood to swell at the holes, and you want a clean flat surface to paint. Wipe down your surface between each step. Sand all edges and areas where the wood could lift and splinter. If you used plywood or dry recycled wood, this is likely to happen wherever you predrill for your holds, so take good care here.
Don’t skip the priming step because it prepares the wood to receive the final sealant or paint evenly, so you won’t need to do as many coats. It can also block odors and prevent mold growth. This is particularly important if you selected an area prone to moisture.
Pick durable paint to withstand the foot traffic from climbing shoes in a satin or flat finish. Choose paint with texture already in it like microbeads, rubber, or sand. The heavier the additive, the more likely it is to sink, so we don’t recommend sand because it is so heavy.
If you want to DIY your textured paint, add ground walnut shells or something similar or purchase Shark Grip, a ready-to-go silicate additive for antislip floors. We recommend using a four-inch brush to spread the grit during application evenly. Follow the manufacturer’s recommended time between coats.
Paint can remain tacky or sticky for days and even weeks. You don’t want the holds to stick to the paint and peel off your work when you move them. For this reason, we recommend a few coats of water-based satin varathane to finish your wall.
Holds
T-nuts are a type of nut that fastens into the wood. A hole is pre-drilled into the wood, and the T-nuts are inserted and secured. There are two main styles. One can be screwed in, which has the advantage of spinning less but does not lie flush with the wall. The other has hooks or serrations that dig into the wood when the bolt is twisted. These lie flush with the wall. These two styles are not always interchangeable. Make sure you confirm the size of the pre-drill hole you will need and the size of bolt they will take.
Bolts are needed to secure the hold to the T-nuts. Many pre-fabricated holds come with the required bolts, but if those bolts have become threadbare or you are making your own holds, you can pick these up at most hardware stores, outdoor climbing stores, or online stores.
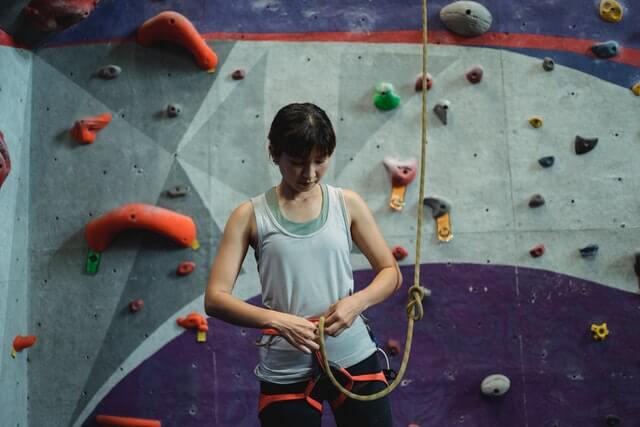
A common choice for anchors for your carabiners is stainless steel pad eyes. They can have a moveable D-ring, o-ring, or a fixed eye. When picking out your anchors, you’ll want to make sure they can withstand at least 200lbs, and classically, a fixed eye is more sturdy.
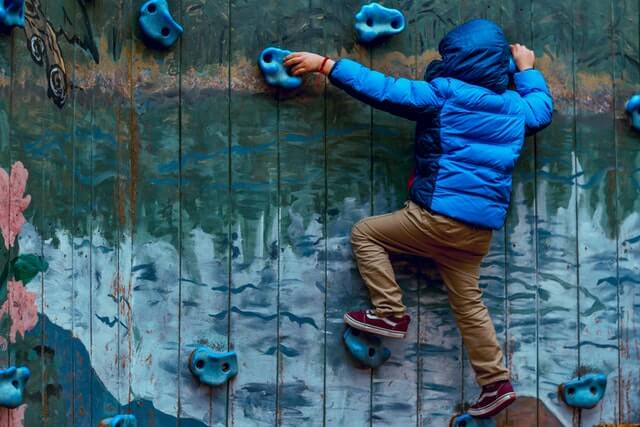
Climbing wall holds come in a variety of materials, shapes, and skill levels. Bolt-on and screw-on, micro holds, macro holds, colonettes, roof holds, and wood holds are all styles of holds. They can come in different difficulties as well. Jug holds are considered a very positive hold that is easy to grip. Slopers are the least positive hold. Many climbing wall holds are available for purchase online or at your local recreation outlet.
You can also DIY your own climbing wall holds. Make sure you pick materials that are study enough to support your weight. Pay close attention to the grain direction of your wood and any sharp edges for wood or metal. If you are considering molding your own pieces out of recycled plastic, check out Precious Plastic for how-tos and useful tips.
Route tracing and practice tips
With the wall properly sealed, you can set to planning your routes — mark potential routes with painter’s tape before you drill. Whether you are using T-nuts and prefab holds or drilling your DIY holds directly into your structure, you don’t want to ruin your nice surface with a bunch of mistake holes.
Consider the climbing level of everyone who will be using the wall. If you are unsure how far apart to set your holds, try this tip — stand on a foothold and extend your arm all the way. Then place the next handhold somewhere between the natural line between your elbow and wrist.
When designing your route, another tip is to not forget about footholds. A great bolder problem or route will have ease of flow. Part of that is footholds. Avoid making the routes too ladder-like and linear. Encourage side movement.
Last but not least — safety. Position your belay anchors in such a way that the pendulum of the climber will not contact any dangerous obstructions like a tree, electrical line, or window.
Climbing wall maintenance
A well-maintained climbing wall can last for years. Do a visual inspection at least once a month, depending on how often your wall gets used. Look for bowing and listen for squeaking. These are signs the panels are coming loose.
Inspect for splinters and defects on the surface of the wall. Sand and seal the area if you find any splinters or weak spots. If a large area has become severely damaged, you should replace the whole panel.
Check your anchors and make sure they can still support the weight they are supposed to be able to hold. If there is any doubt, replace them. The last thing you want is a lifelong injury caused by a fall.
Remove all the holds, and inspect the security and threads of your T-nuts and bolts. Check your holds for significant damage. If you decide to wipe down your wall and clean your holds, use a solution of mild dish soap like Dawn and warm water. Any harsh chemicals can degrade the plastics in your molds.

A well-planned and designed climbing wall can challenge anyone from a beginner to an expert climber. With proper care and maintenance, your DIY climbing wall can reward you, your family, and fellow climbing friends for years to come.


