If you’ve ever heard the phrase, “they just don’t make things like they used to,” it’s usually true, especially when it comes to antiques and old furniture. Although newer trendy products for the home are popular, older objects tend to be built using more durable methods and materials. What if you have a lot of old furniture that’s simply no longer in style, or antiques that you just don’t know what to do with? The technique of restoring old furniture is a great way to try out your skills and do some DIY. Not only does restored furniture look beautiful, but upcycling furniture is also a great way to save money instead of tossing it out and spending more cash on brand-new furniture. Many older items you have may be sentimental, but a lot of them could also hold quite a bit of value, too. And, even if your favorite design style is modern, you can still add a touch of charm and vintage style to your home décor with a few restored pieces of furniture and antiques, read on to learn a few ways you can bring your items back to life and enjoy them for many years to come. If you want to find out the value of your antique furniture, you can check an online antique furniture appraisal website, where you can find experts that will help you determine the real value of your furniture and antique items.
Restoring Old Furniture
With a few simple steps, you can easily restore old furniture, from tables and chairs to cabinets. If you don’t have the time available to commit to this project, but still want to give new life to your old furniture, you can hire a professional on furniture repair and refinishing, that way, you’ll make sure your furniture will have the treatment it deserves after all those years of use.
Cabinets and Cupboards
- Cleaning: Start your cabinet restoration by removing all of the doors. Place any hardware in a sealed bag for later use. Remove gunk and old finish by applying a paint stripper, and brush it on with an old paintbrush, letting it sit for about 30 minutes. It’s best to use a paint stripper outside on a tarp so you have good ventilation and won’t ruin your floors. Once the paint stripper has been sitting a while, use a scraper to gently remove the dirt and old layers of paint or finish. Using 150-grain sandpaper, gently sand the cabinet doors by hand. You’ll also need to repeat these steps outside the cabinets too. Always sand in the direction of the grain.
- Restore with paint or finish: You can paint over your old cabinets or re-apply a new coat of wood stain. Painting the cabinets allows you to create a more modern, custom look than a standard wood finish will. Think about whether you want to paint or refinish them in a light or dark color, depending on the color scheme of the rest of your kitchen. Light colors always make rooms look larger, while darker colors create a more intimate, cozy feel. If you want lighter cabinets, apply a bit of chlorine bleach to the wood and let it dry before you finish them. If you’re painting them, always apply a coat or two of primer first and choose a high-gloss paint that will be easy to clean and wipe down, especially if these are kitchen cabinets. Consider cabinet refinishing as an alternative option to painting over your old cabinets or applying a new coat of wood stain.
- Renew handles and hardware: You can make older metal handles look shiny and brand new by soaking them in white vinegar for a day to remove rust. If there’s any rust remaining, gently scrape it off using a stiff-bristled brush, then polish the hardware with a soft cloth. It’s always a good idea to replace cabinet hinges so that they function more smoothly. And, if you don’t like the old hardware, you can always replace it with new handles and knobs to give your cabinets a fresh, modern look.
Tables and Chairs
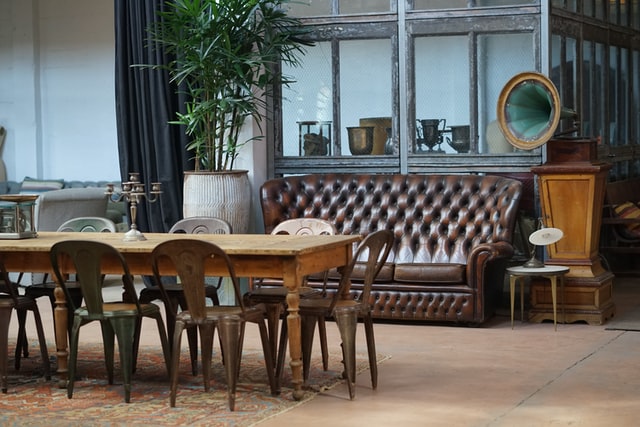
- Wood revamping and refinishing tips: When refinishing wood furniture you can also use paint stripper since it works well on antique tables and chairs. Again, remove all drawer or cabinet hardware before you begin, and strip the furniture outside if you have the space. Allow ample time for the old finish or paint to fully dissolve, then gently scrape it away with a scraping tool. You might need to repeat this step on stubborn areas or furniture with lots of layers of paint. Next, soak a steel wool pad in wax and polish remover, then gently rub it on your furniture following the grain. This will neutralize the wood so that the new coat of finish or paint will absorb and go on in smooth, even coats. Wipe away any dirt or leftover residue, then gently sand the tabletop to a smooth finish. Apply a coat of finishing oil with a lint-free cloth or brush and let it penetrate for 10 minutes. Wipe it away and wait for around five hours, then rub low-gauge steel wool over it to give it a smooth sheen. After applying the new finish and letting it cure, you can make the old table or chairs look shiny by applying a coat of furniture wax.
- Chair reupholstery tips: Sometimes having a professional upholstery cleaning service done to your old furniture is not enough to make it look new again. Instead, having new upholstery can make vintage chairs look completely brand-new.
- Disassemble the chair, then gently remove each section of old upholstery. When you cut out the pattern, you’ll want to keep this as a template for your new fabric, so do this part as gently as possible. If the old batting is worn-out, remove it and replace it. Staple about ½ inch thick new batting to the back and seat, making sure that you fold it around the corners. Lay the old upholstery sections over your new fabric and cut it in the same pattern, allowing about 3 inches to extend outward as you cut. Carefully place each piece over the chair individually, pulling it taught before you staple it onto the frame. When you’re done, trim away any excess and enjoy your new chair.
Barbecue Grills
- Clean and remove rust: Remove the barbecue plate and any internal parts and soak them in warm, soapy water for about 30 minutes. Use a wire-bristle brush to scrape all of the parts clean gently. Remove ash from the inside of the grill with gloved hands, then take a shop vac to remove any excess. A citrus-based cleaner will help dissolve leftover gunk from the grill plate and the exterior.
- Choose the right scraping tools: Use a sturdy plastic scraper when you’re scraping away tough debris. Metal scrapers can damage your grill and leave permanent gouges or marks. Steel wool also does an excellent job of grill cleaning without causing any damage.
- Add finishing coatings for barbecue protection: Once your old grill is cleaned up, remove any rust with some sandpaper or steel wool. If the rust is especially tough, you may need an angle grinder to get it off. Apply a fresh coat of high-heat paint to the outside of your grill, but never paint the inside or any parts that will come into contact with food. Let the paint dry in-between coats and apply at least two coats or more to give your old barbecue grill a brand-new lease on life.
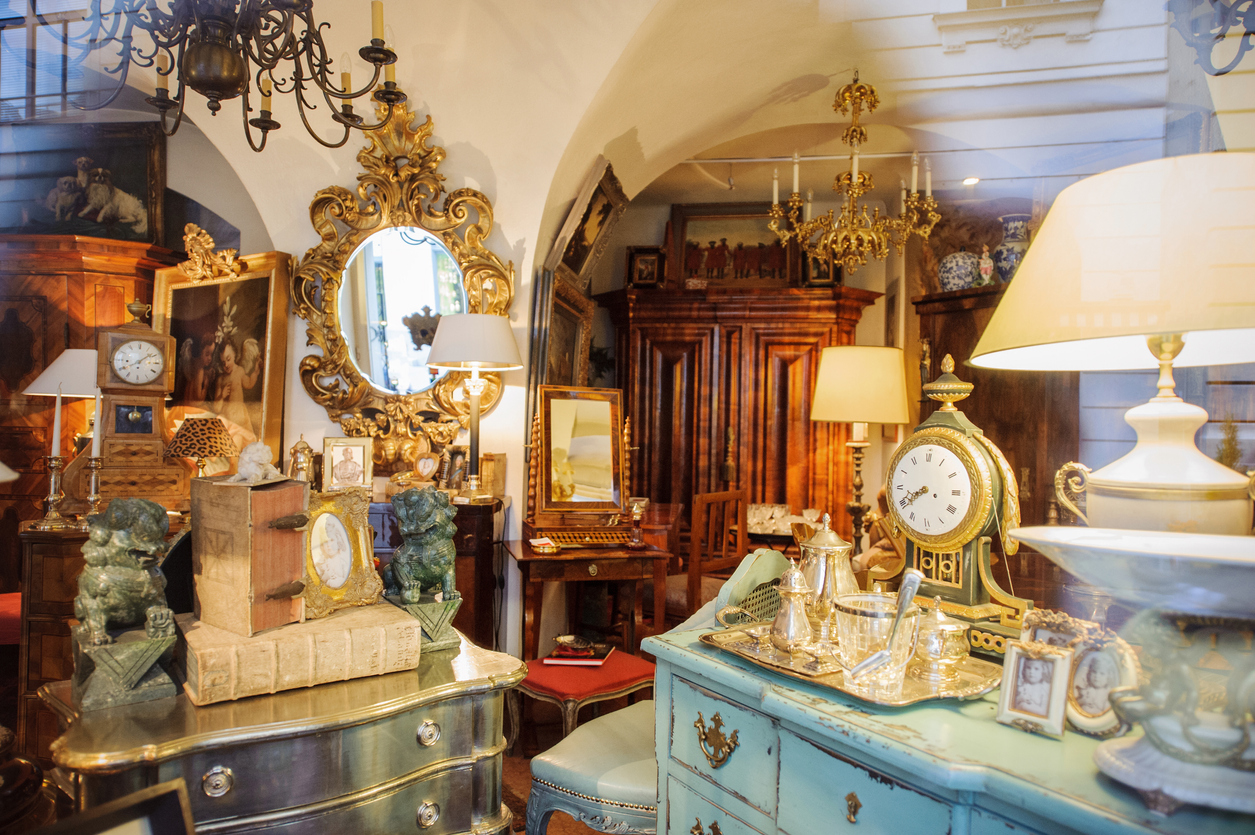
Antiques: Tips for Cleaning, Restoring, and Displaying
From picture frames and vases to mirrors, it’s easy to restore antiques and enjoy them anywhere in your home.
Frames
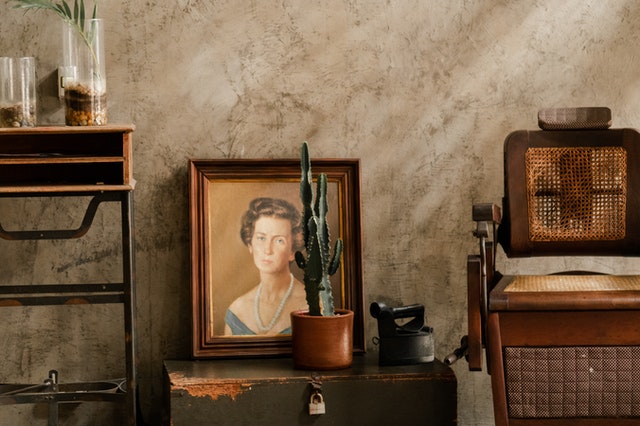
- Which types of frames are better? If you’re looking for valuable antique frames, early American wood frames, Victorian frames, and art deco frames are highly favored. Anything made of wood will be easier to restore if you do a little DIY on your frames. As for value, it depends on the age of the frame, condition, shape, and style, and if a particular designer made it.
- Refinishing and sanding tips: Remove the glass from your frame and gently clean it with a safe general cleaning product, or simply brush dust and dirt out of crevices using a soft-bristled brush. Check all four edges of the frame to ensure that they’re securely put together. You may need to tighten the frame or add new hardware before restoring it so it doesn’t fall apart. To sand an antique frame, you’ll need to go slowly and do everything by hand. Use 220-grit sandpaper until all of the old finish is removed.
- Which type of paint to use: You can apply almost any type of paint to vintage frames. Gold leaf is a beautiful way to make your frames look elegant and luxe. You can also “distress” the frame to keep its antique style by applying paint gently with a sponge, dabbing it on as you go. Chalk paint is another great way to make older picture frames look vibrant, fun, and modern.
- Where to display vintage frames: Vintage picture frames can look beautiful almost anywhere in your home. Hang several together in your living room to make a unique gallery wall or display tabletop vintage frames on bookshelves or wall shelving for an elegant look.
Vases
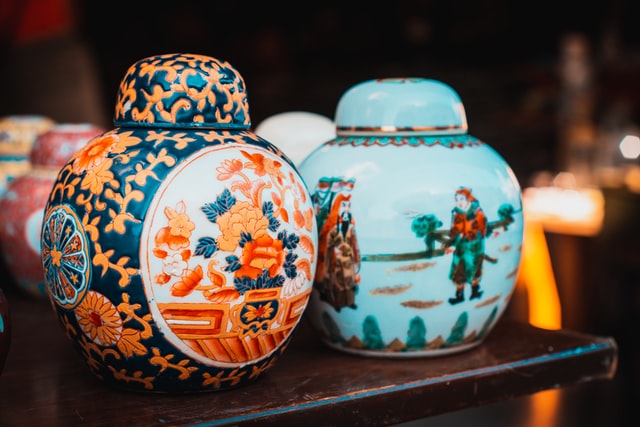
- Cleaning: Most antique vases are made of ceramic or glass, so to clean them, you’ll just need to use a soft, lint-free cloth, some soap and water, and a little bit of patience. Dip your cloth in a mixture of soap and water, then wipe the outside and the inside of the vase clean and allow it to dry completely before your re-paint or restore it.
- Painting techniques: One of the best paint options for vases is chalk paint. The smooth, chalky finish can turn glass vases into “pottery” with just one or two coats. As for the color, it’s entirely up to you. Warm, earthy tones will give the vase a pottery-like look, while vibrant, bright colors can make old vases look fresh and modern. You can also restore intricate vases by painting over the old pattern with some new paint using a small brush. It’s best to apply a coat of primer if you’re painting glass vases over with just one color. For a textured look, try spray paint that has a textured formula, or you can apply a coat of resin or wrap some rope around it to make the vase look more distressed and substantial.
- Plants for your vase: A beautiful bouquet of fresh flowers looks lovely in antique vases. You can fill tall floor vases with branches, pampas grass, or even a small tree. Play around with different flowers, plants, and arrangements to find the style that fits best with your specific vase size and shape.
- Best rooms for decorative vases: Vases always look lovely on a kitchen counter, in the center of your dining room table, or on an accent table in your living room. They also look beautiful in the bedroom on top of a dresser or nightstand, or in the bathroom on your vanity.
Fabergé Eggs

- Cleaning: Faberge eggs have incredibly intricate designs, so cleaning them the right way is vital to prevent damage. The best way to remove dust is to simply brush them delicately using a tiny paintbrush that eliminates dirt from cracks and decorations. Wipe the egg down using a microfiber cloth or duster to restore its beautiful colors and design.
- Types of Faberge eggs: These highly collectible eggs exist in a wide variety of designs, depending on the year and where they were made. Some eggs open up to reveal a gemstone or a small picture frame, while others don’t open at all. Most Faberge eggs are attached to a small stand or come with one for easy display. Original fabergé eggs are normally found at museums since they are considered a work of art and are so expensive that is rare that someone can afford them, but very well done Faberge replicas can be found in the market for a much more reasonable price.
- Best ways to display them: To show off your collection, place the eggs in a sturdy case or cabinet with clear glass doors to protect them from dust and debris. A cabinet with a small light will help to highlight the eggs and showcase their beauty. Never leave the eggs just sitting out, or else they could get knocked over by accident or become dirty over time.
Jewels

- Cleaning: Depending on the material of your jewelry pieces there are different methods for cleaning, there are also a lot of myths out there about how to clean jewelry, but be careful, since some of those methods can even end up damaging your precious pieces of jewelry, which is why it’s important to learn how to properly care and clean jewelry.
- Silver. The best and safest way to clean tarnish from silver and prevent it from coming back is to use silver polish, which leaves a protective coating after applied and prevents tarnish from forming again. There are liquid and paste options but these can be a bit messy, if you are in a hurry the go-to option would be disposable silver cleaning wipes.
- Gold: There are a few simple tips to clean gold jewelry pieces, just let them soak in a solution of a few drops of dish soap and warm water for about 5 minutes for dirt to loosen up, then swish around and take all the pieces out and lay them on a soft cloth, then brush the crevices with a soft toothbrush to remove any grime that may be leftover. Put all the pieces in a small strainer and place them under running water, rinse thoroughly and buff dry with a soft fabric.
- Gemstones. Precious and semi-precious stones can be cleaned with a solution of seltzer water and a few drops of dish soap, the carbonation in water helps remove dirt and grime that may be trapped in the settings. Go over every piece with a soft toothbrush and then place all the pieces in a small strainer and rinse under running water, then buff with a soft cloth. A jewelry cleaning wand is also a good option for fast on-the-go cleaning.
- Proper Jewelry Care: Follow these tips to keep your antique and vintage jewelry in good condition.
- Apply perfume, lotions, or beauty products before you put your jewelry on.
- Be careful not to wear jewelry when swimming since chlorine and saltwater can damage your precious pieces.
- Keep silver jewelry in anti-tarnishing bags, and wear it whenever possible, since the friction slows down the tarnishing process.
- Wipe pearls after every use with a soft fabric to remove perfume and body oils that can yellow them.
Clocks
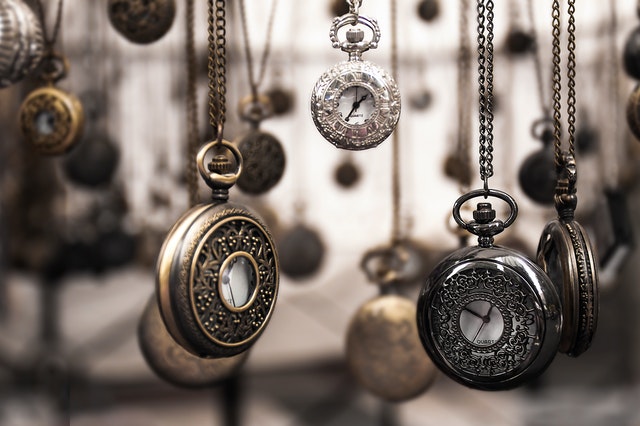
- Restoration tips: Antique clocks use delicate mechanisms to keep them operational, so be cautious when restoring them. You may use canned air to remove excess dust from the “guts” of your clock. Gently remove old layers of lacquer or finish, then polish and buff the clock frame before applying a new sealant or a new finish. Refinish tarnished brass and re-plate any nickel, gold, or bronze. You can remove old glass if it’s discolored and add new glass to give your clock a beautiful DIY restoration.
- Where to display them: A large grandfather clock looks best in a dining or living room corner. Wall clocks can be hung anywhere, depending on the size and material. If you have a lot of old clocks, display them together like you would a gallery wall for a unique feature in your home. Tabletop or alarm clocks also look attractive when grouped on a shelf, table, or desk.
Mirrors

- Cleaning, sanding, and refinishing techniques: Use a microfiber cloth to wipe dirt and dust from the mirror frame gently. When sanding the frame, always use fine-grit sandpaper and go slowly and gently by hand. Wipe the frame again with a clean cloth to remove debris, then use painter’s tape to surround the inner border to protect the mirror glass. Use primer and let it dry before re-painting the mirror frame. Spray paint, chalk paint, or wood finish all look lovely but skip the primer if you’re using wood stain rather than paint.
- Types of vintage mirrors: There are many different types of vintage mirrors that range from Victorian and baroque style to mid-century modern. Most antique mirrors have ornate frames and tend to be ovular or square in shape. Mid-century modern mirrors can be round or feature a starburst design. Gothic mirrors come from between the 12th and 16th centuries and have dark wood frames with scrollwork and many intricately carved details.
- Where to display them: If you have a vintage “dressing mirror,” it looks lovely displayed in a foyer or bedroom. Showcase vintage wall mirrors by hanging them above the sofa or fireplace in the living room. Depending on the size, these mirrors also look beautiful in a dining area or even in a guest bathroom.
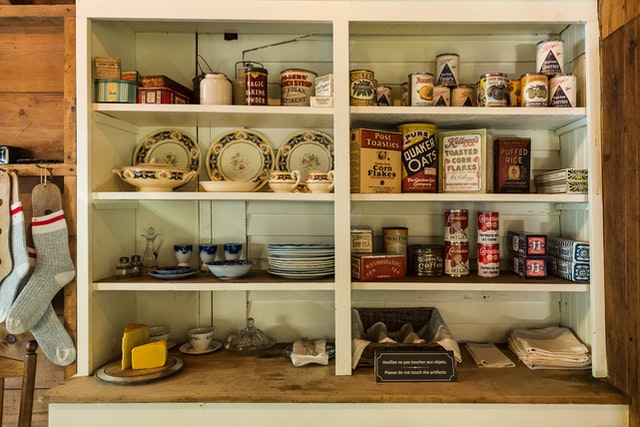
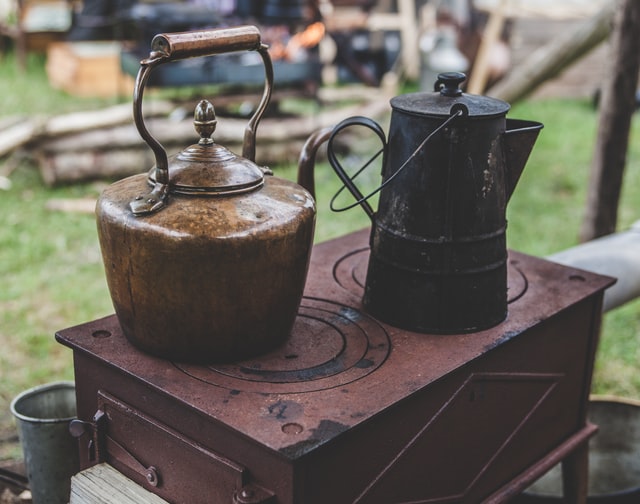
Kitchenware
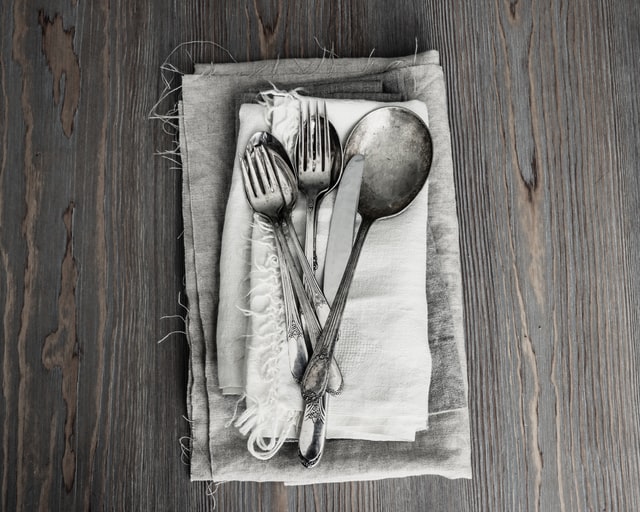
- Rusting prevention for cutlery: Moisture is the main reason cutlery rusts, so always wash it by hand and thoroughly dry it in between uses. You can also oil your cutlery to protect it and keep rust at bay.
- Ideas for old cutlery: You don’t have to just cook and eat with old cutlery. Repurpose it by turning it into cabinet handles or hanging several pieces from some fishing line to create a fun wind chime. Attach vintage spoons to a wooden board and bend them upward to make a unique coat or purse hook. Turn old cutlery into art by attaching it to canvas and bending it into different shapes, or surround a wall clock with spoons, forks, and knives for a vintage twist.
- Vintage mortar and pestle care tips: Wash your vintage mortar and pestle with a soft rag dipped in soap and warm water, and only use unscented dish soap. Scented soaps can leave a residue or scent behind that could get into your food. Always clean the mortar and pestle gently and with just soap and water and never any abrasive cleaning materials that could damage the surface.
- Decor tips for vintage kitchen: Show off some of your vintage pieces by displaying them in a cabinet or hutch. Vintage artwork and table linens can also add charm to your vintage kitchen. Place an antique teapot on the stove and display some of your favorite cookware by hanging it above your kitchen island using a pot rack.
Sewing Machines
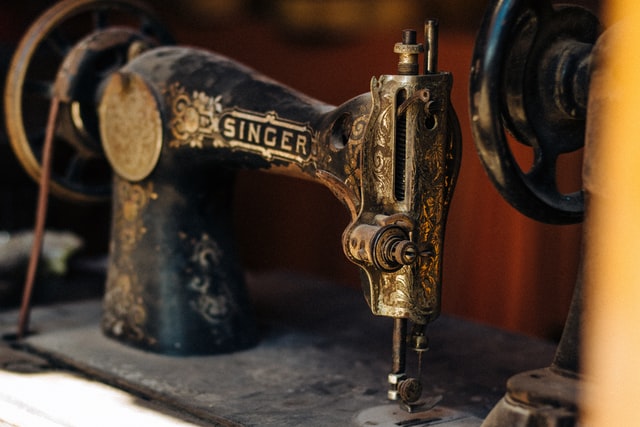
- Cleaning tips: Most vintage sewing machines (particularly the Singer brand) have a layer of shellac on them. Test your sewing machine by dipping a cotton swab in alcohol and rubbing it on a small, inconspicuous area. If the finish dissolves, it’s shellac, and if it becomes tacky, it’s likely a layer of lacquer or varnish. Always use a soft, non-abrasive cloth or brush to clean vintage sewing machines. You can also use a bit of mild dish soap and water to remove dirt and grime. Use an automobile polish if your sewing machine has any chrome parts to help restore its original shine.
- Rusting prevention: To prevent rusting, oil all of the moving parts of your sewing machine after you clean it. You can purchase special oil made just for sewing machines to avoid potential damage. This oil will also remove and dissolve any leftover stickers or marks you see.
- Decor ideas: if you’re just using your old sewing machine as décor, consider making it into an accent table in a foyer, living room, or bedroom. Place a table runner on the top to protect it, then add a potted plant or a few famed photos to add a charming touch.
Chandeliers
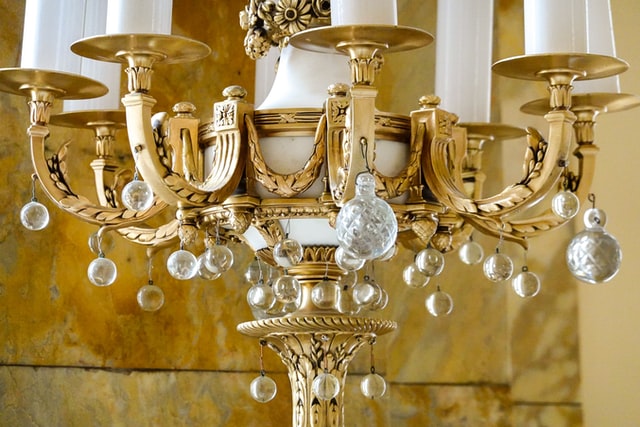
- Types of chandeliers and where to install them: Chandeliers come in many styles, including mid-century modern (sputnik), Victorian, art deco, and more. If your chandelier has lots of crystals and embellishments, hang it above your dining room table or as a focal point in the living room. Smaller vintage chandeliers are an excellent choice for your home’s entryway, a small guest room, or home office area.
- Cleaning tips: To clean the crystals on your chandelier, mix one-part isopropyl alcohol with three parts water, then gently wipe them clean with a soft rag — polish brass or silver components with polishes made for that specific type of metal. Dust the remaining parts of the chandelier as you usually would other light fixtures, and never use harsh chemicals, or they could damage the finish.
- Safety tips for installation: Ensure that your vintage chandelier is wired correctly to prevent possible electrical shock or fire. If you need help, consider hiring a professional electrician. Always double-check that the chandelier is supported by ceiling beams so that it’s securely installed and won’t accidentally fall.
Porcelain Dolls

- Preserving porcelain dolls: Keep porcelain dolls out of direct sunlight, or it could fade or discolor the porcelain and damage the doll’s hair and clothes. Keep your dolls under glass so they’re not affected by dust and debris. Ideally, you should keep vintage porcelain dolls in areas with low humidity levels and at room temperature or cooler.
- Washing and restoration tips: Never put a vintage doll in the washing machine to clean it, and that includes all clothes and accessories. You’ll need to wash the doll by hand using a very gentle soap mixed with lukewarm water. Gently scrub the doll’s body, hair, and clothing clean and make sure it’s completely dry before displaying it.
- Display tips: Never display dolls on bare wood as it could release a chemical that can damage the doll. Display your dolls on glass shelves or wooden shelves with a barrier such as a layer of muslin cloth. The ideal temperature for porcelain dolls is between 65- and 70-degrees Fahrenheit, and they should never be near direct light of any kind. An enclosed case or cabinet is the best place to show them off and keep them away from windows where they could become affected by pollen, dust, and outdoor particles.
You can easily restore and enjoy vintage and antique furniture, décor, and collectibles with some patience and know-how. Instead of throwing old furniture away, consider restoring it to its original glory so you can enjoy it for years to come. Get creative with your beautiful antiques and find new ways to display them in your home for an interesting aesthetic you’ll be proud to show off.
