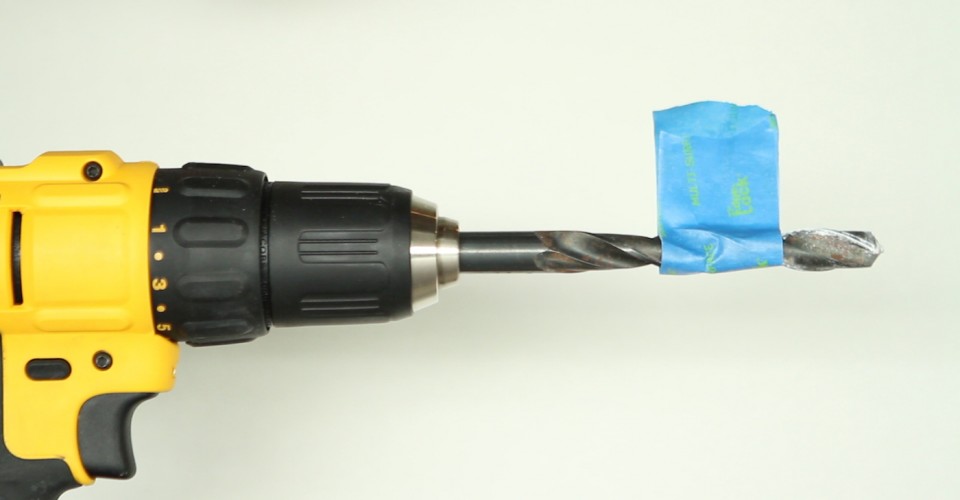
Even the occasional DIYer has had to use, at one point or another, a power drill to complete a project. Low cost models can be had for as little as $30, or you may choose to invest in a more powerful version (like this one). Whichever model you choose, installing a shelf, hanging pictures or mounting a coat rack will completed faster with a power drill. We’ve compiled some easy, and helpful, drilling tips to make your next home improvement project accurate and dust-free.
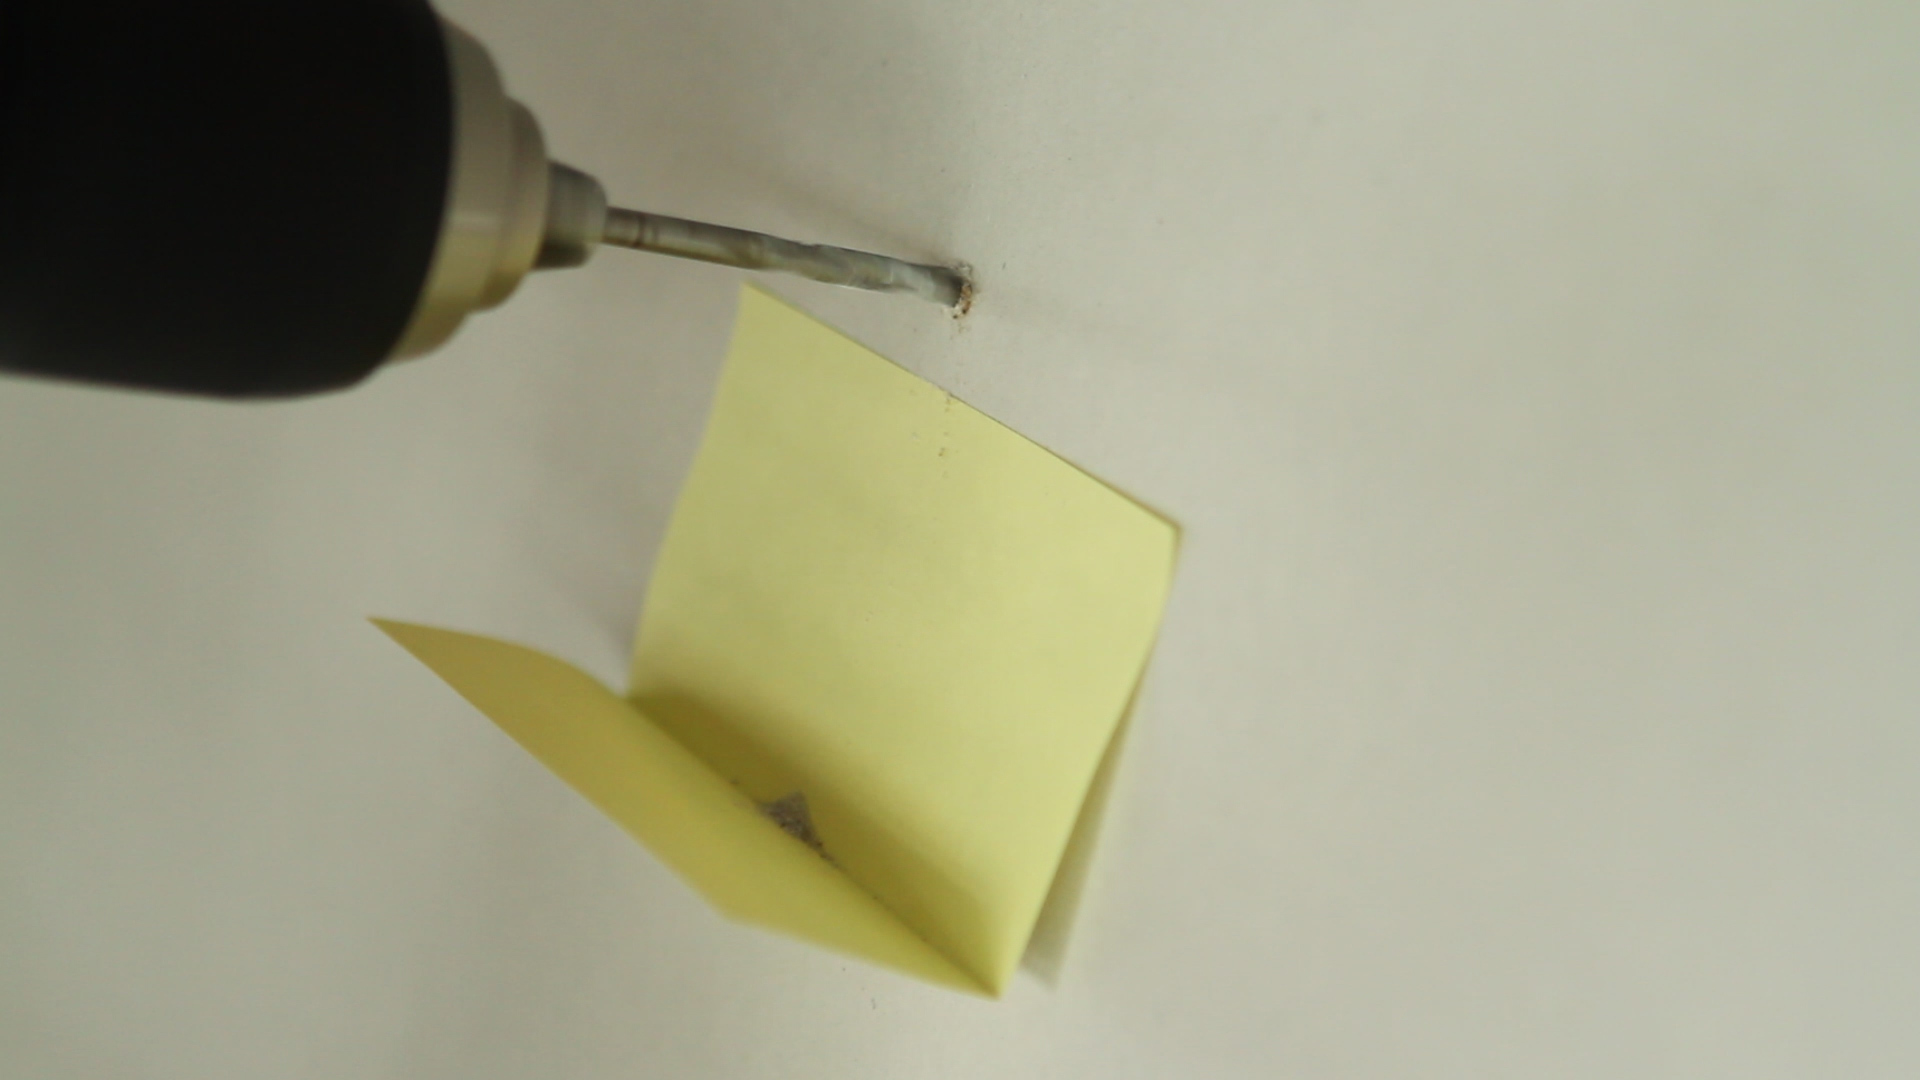
Tip 1: Use a self-sticking paper to catch falling dust.
When you drill a hole into drywall, the resulting dust settles onto the carpeting, flooring and floor molding below. You can save yourself some clean-up time by catching the dust before it flies. Simply post a self-sticking piece of paper onto the wall (fold it in half so the dust is caught on the paper). If you don’t have a sticky available, use a wide piece of painter’s tape, folding it so that a reservoir is created, or fold a regular piece of paper in half and adhere it to the wall with painter’s tape.
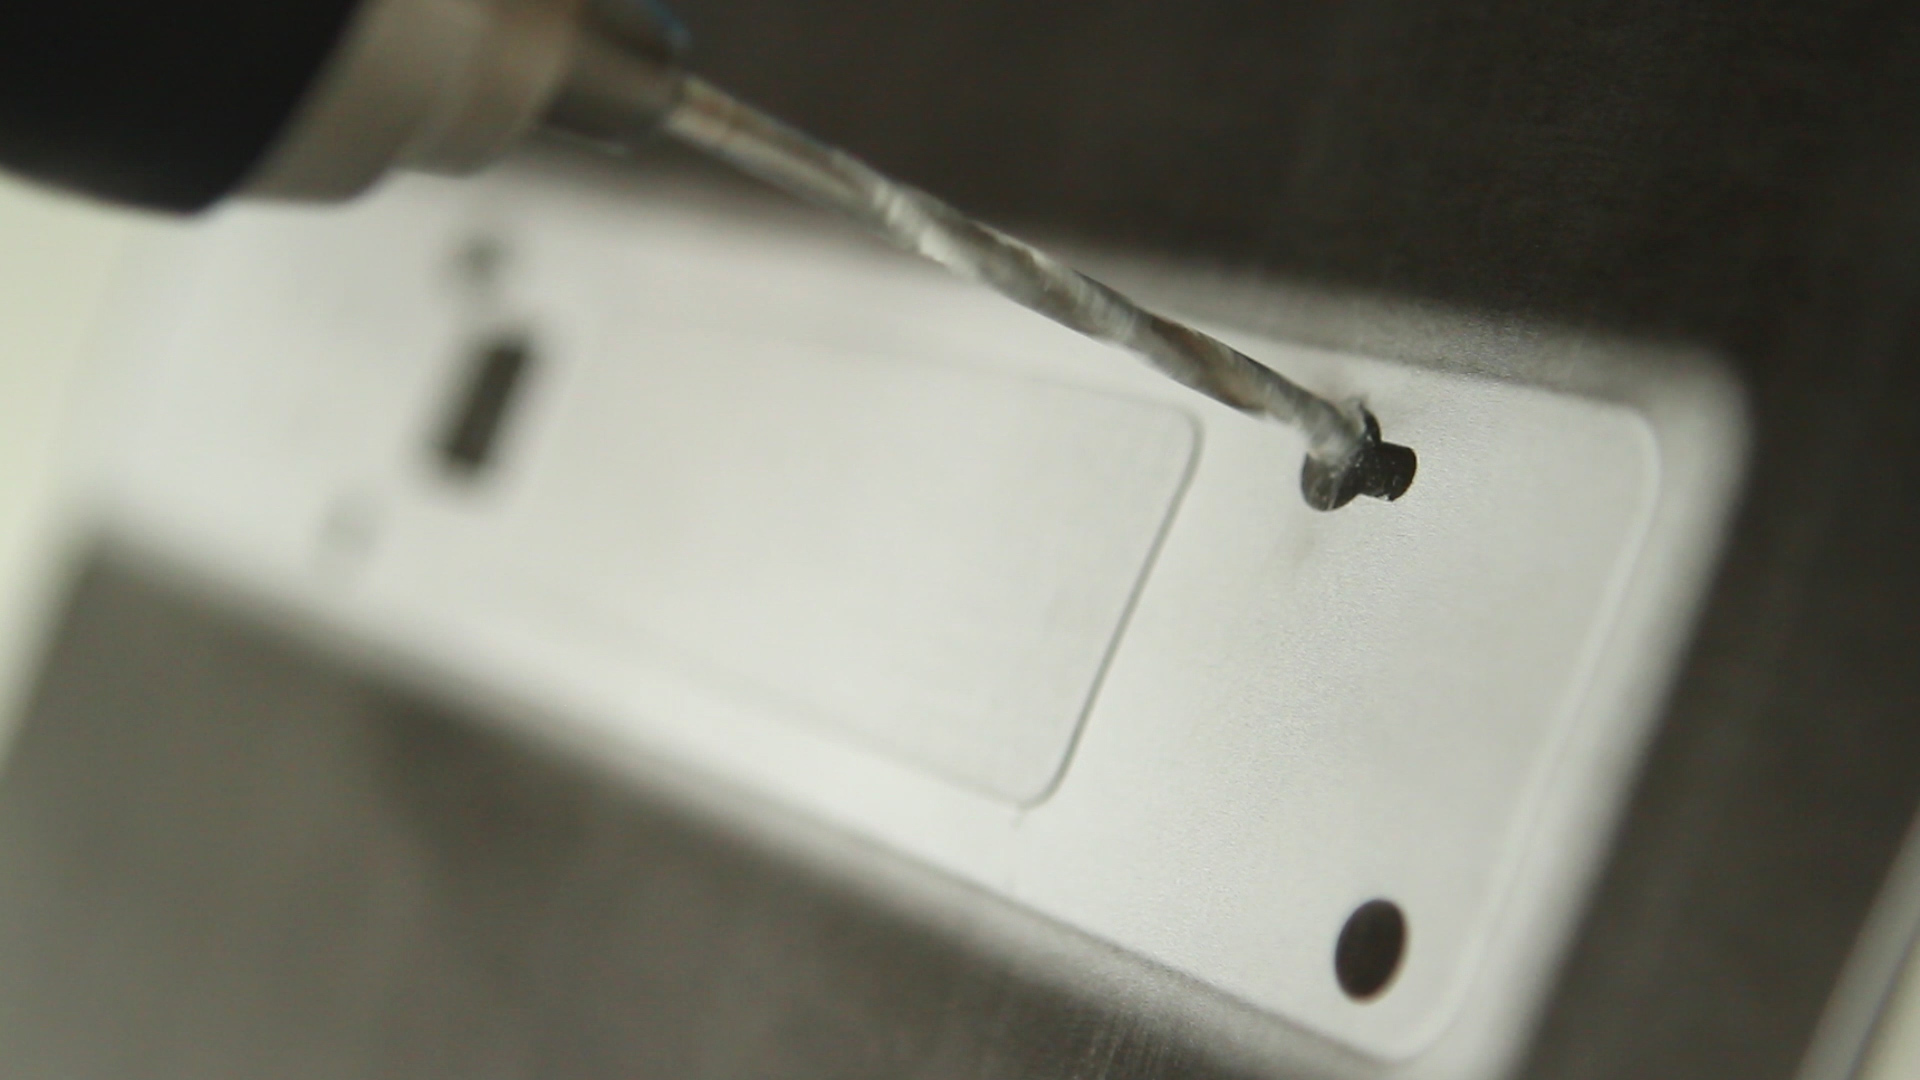
Tip 2: Drill exact holes by photocopying
Need to hang up a picture frame or power strip? Those “hidden” holes are easy to drill when you place the item in question on top of a photocopy machine. Simply take the photocopy, lightly tape it to the wall, and drill through the paper. You may want to place a spirit level on the paper to ensure a level installation.
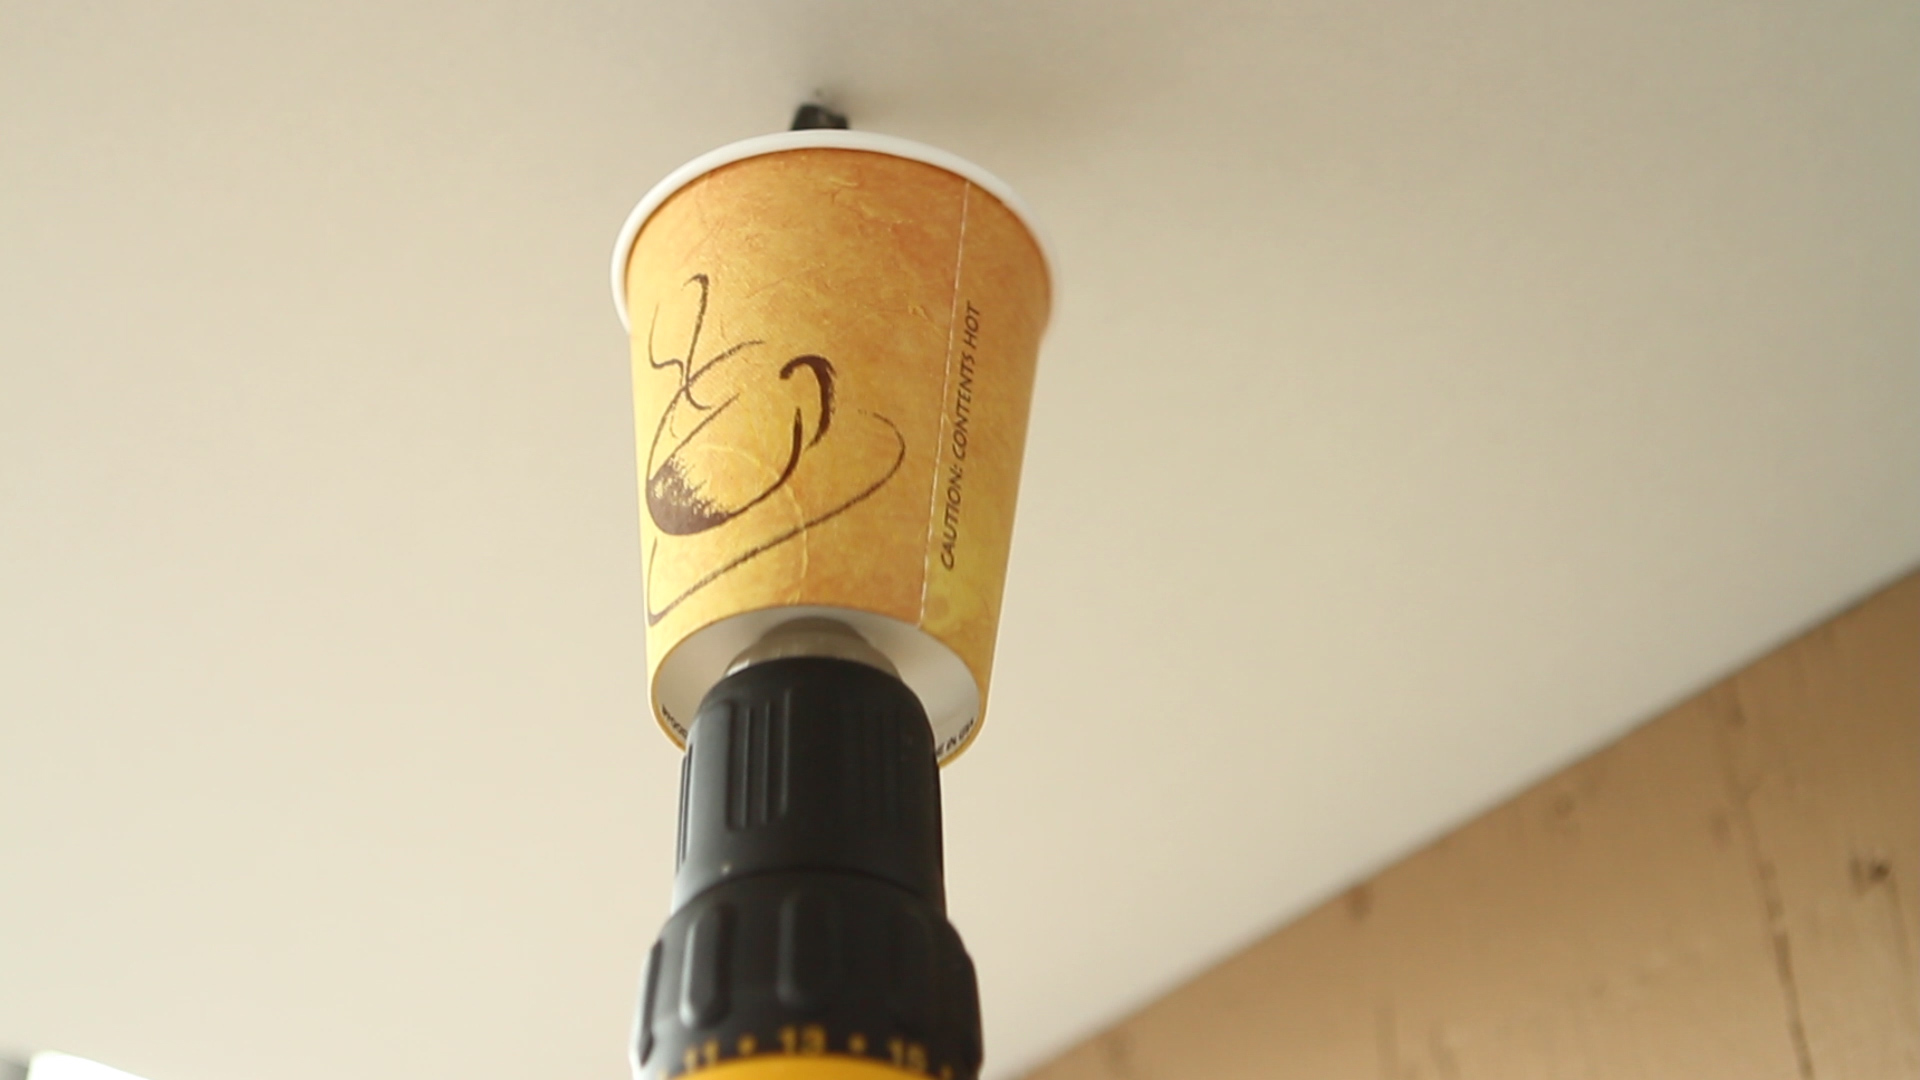
Tip 3: Drill through a paper cup to catch falling dust
Overhead drilling usually means dust falling into your eyes or on your clothes. Give yourself a break by placing a paper cup underneath the hole. Simply drill a hole in the bottom of the cup so that when drilling, the cup is open to the ceiling. If the cup is too tall, use scissors to cut the cup shorter.
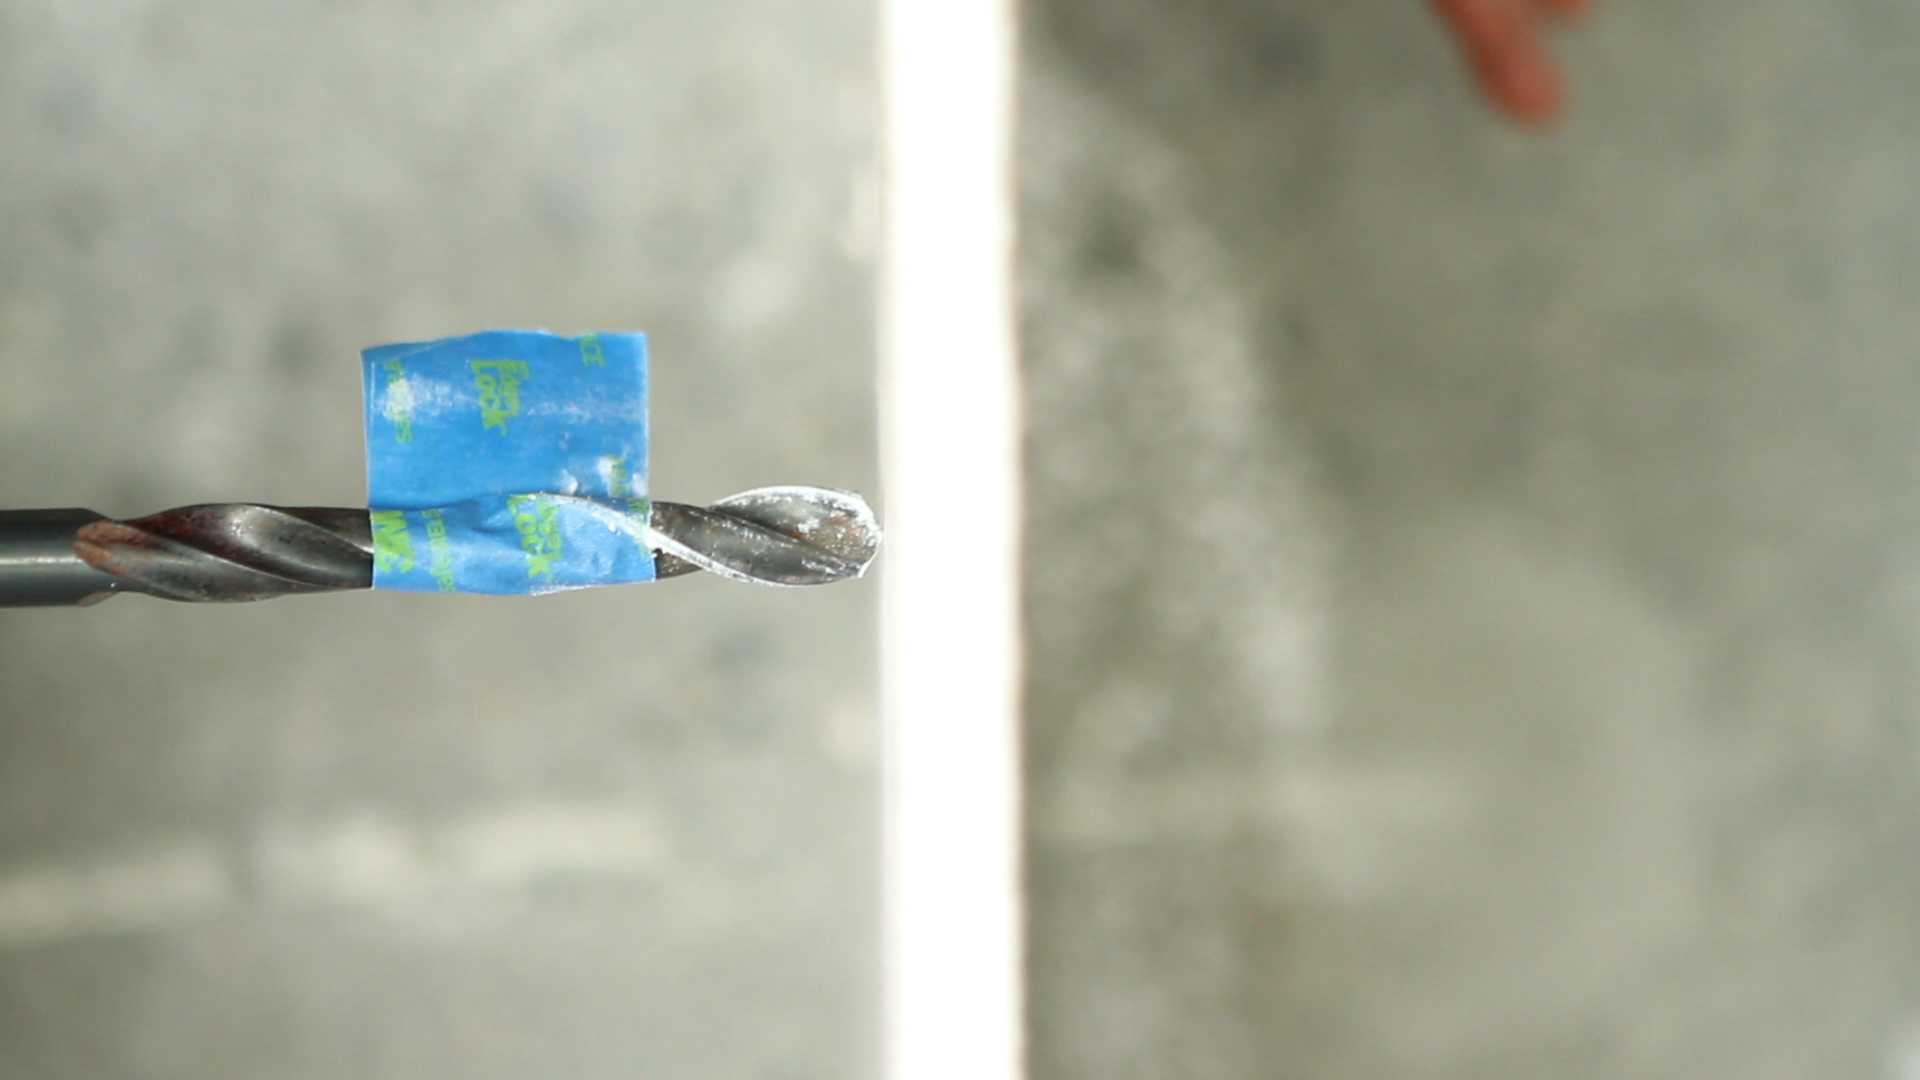
Tip 4: Use tape to mark the depth you want to drill
Some drilling projects require that the drill bit go no further than a particular depth. Obviously this is difficult to eyeball so use painter’s tape to mark off the depth directly on the drill bit. This will help you make the correct hole depth in your project.
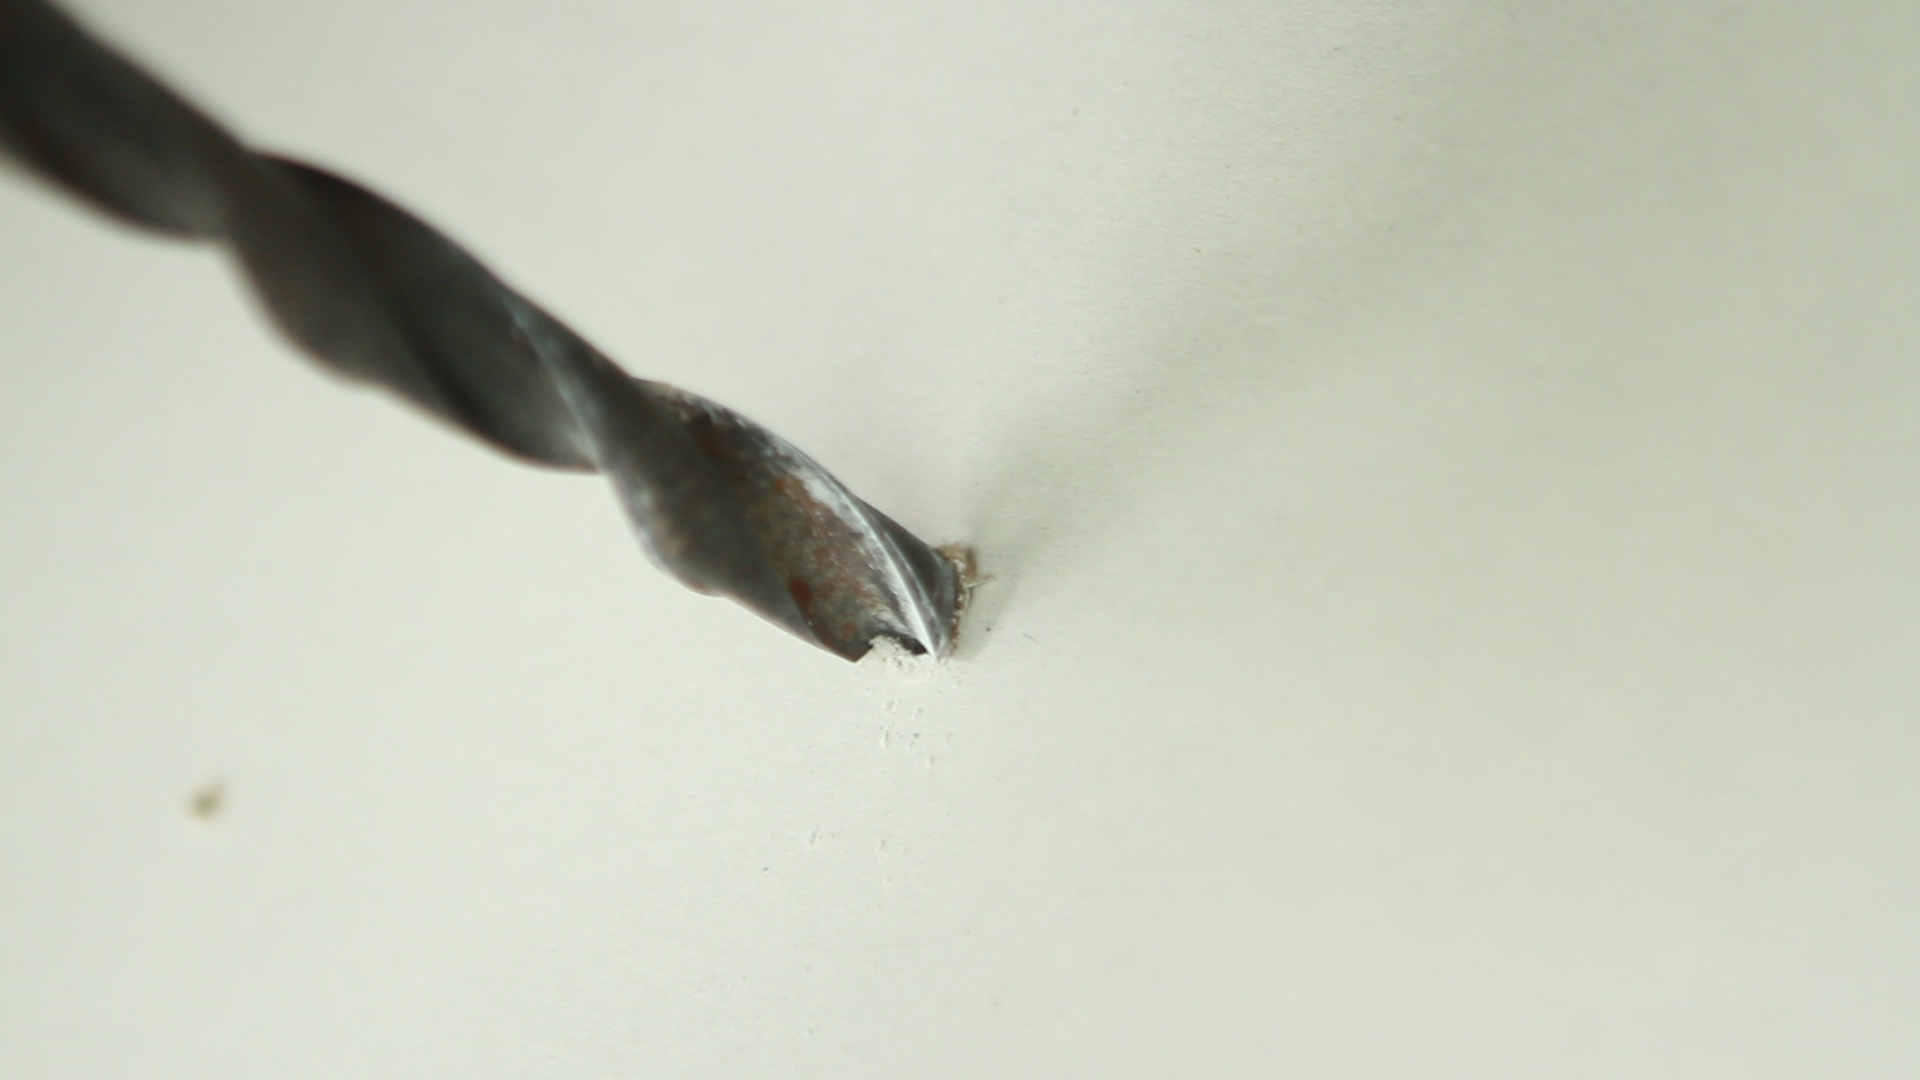
Tip 5: For precision, drill a small hole before drilling a bigger one
When your drilling needs to be precise, mark the target with a pencil. Use a small drill bit first, creating the pilot hole – it’s far easier to be accurate with a smaller bit. Once the pilot hole is marked, use the larger drill bit to create the correct size hole.
