Hey, hey! Happy Monday friends!
A couple weeks ago I worked on this little stool, and I shared it over at my friend Gail’s blog, My Repurposed Life. Take a look at how I made this little baby over:
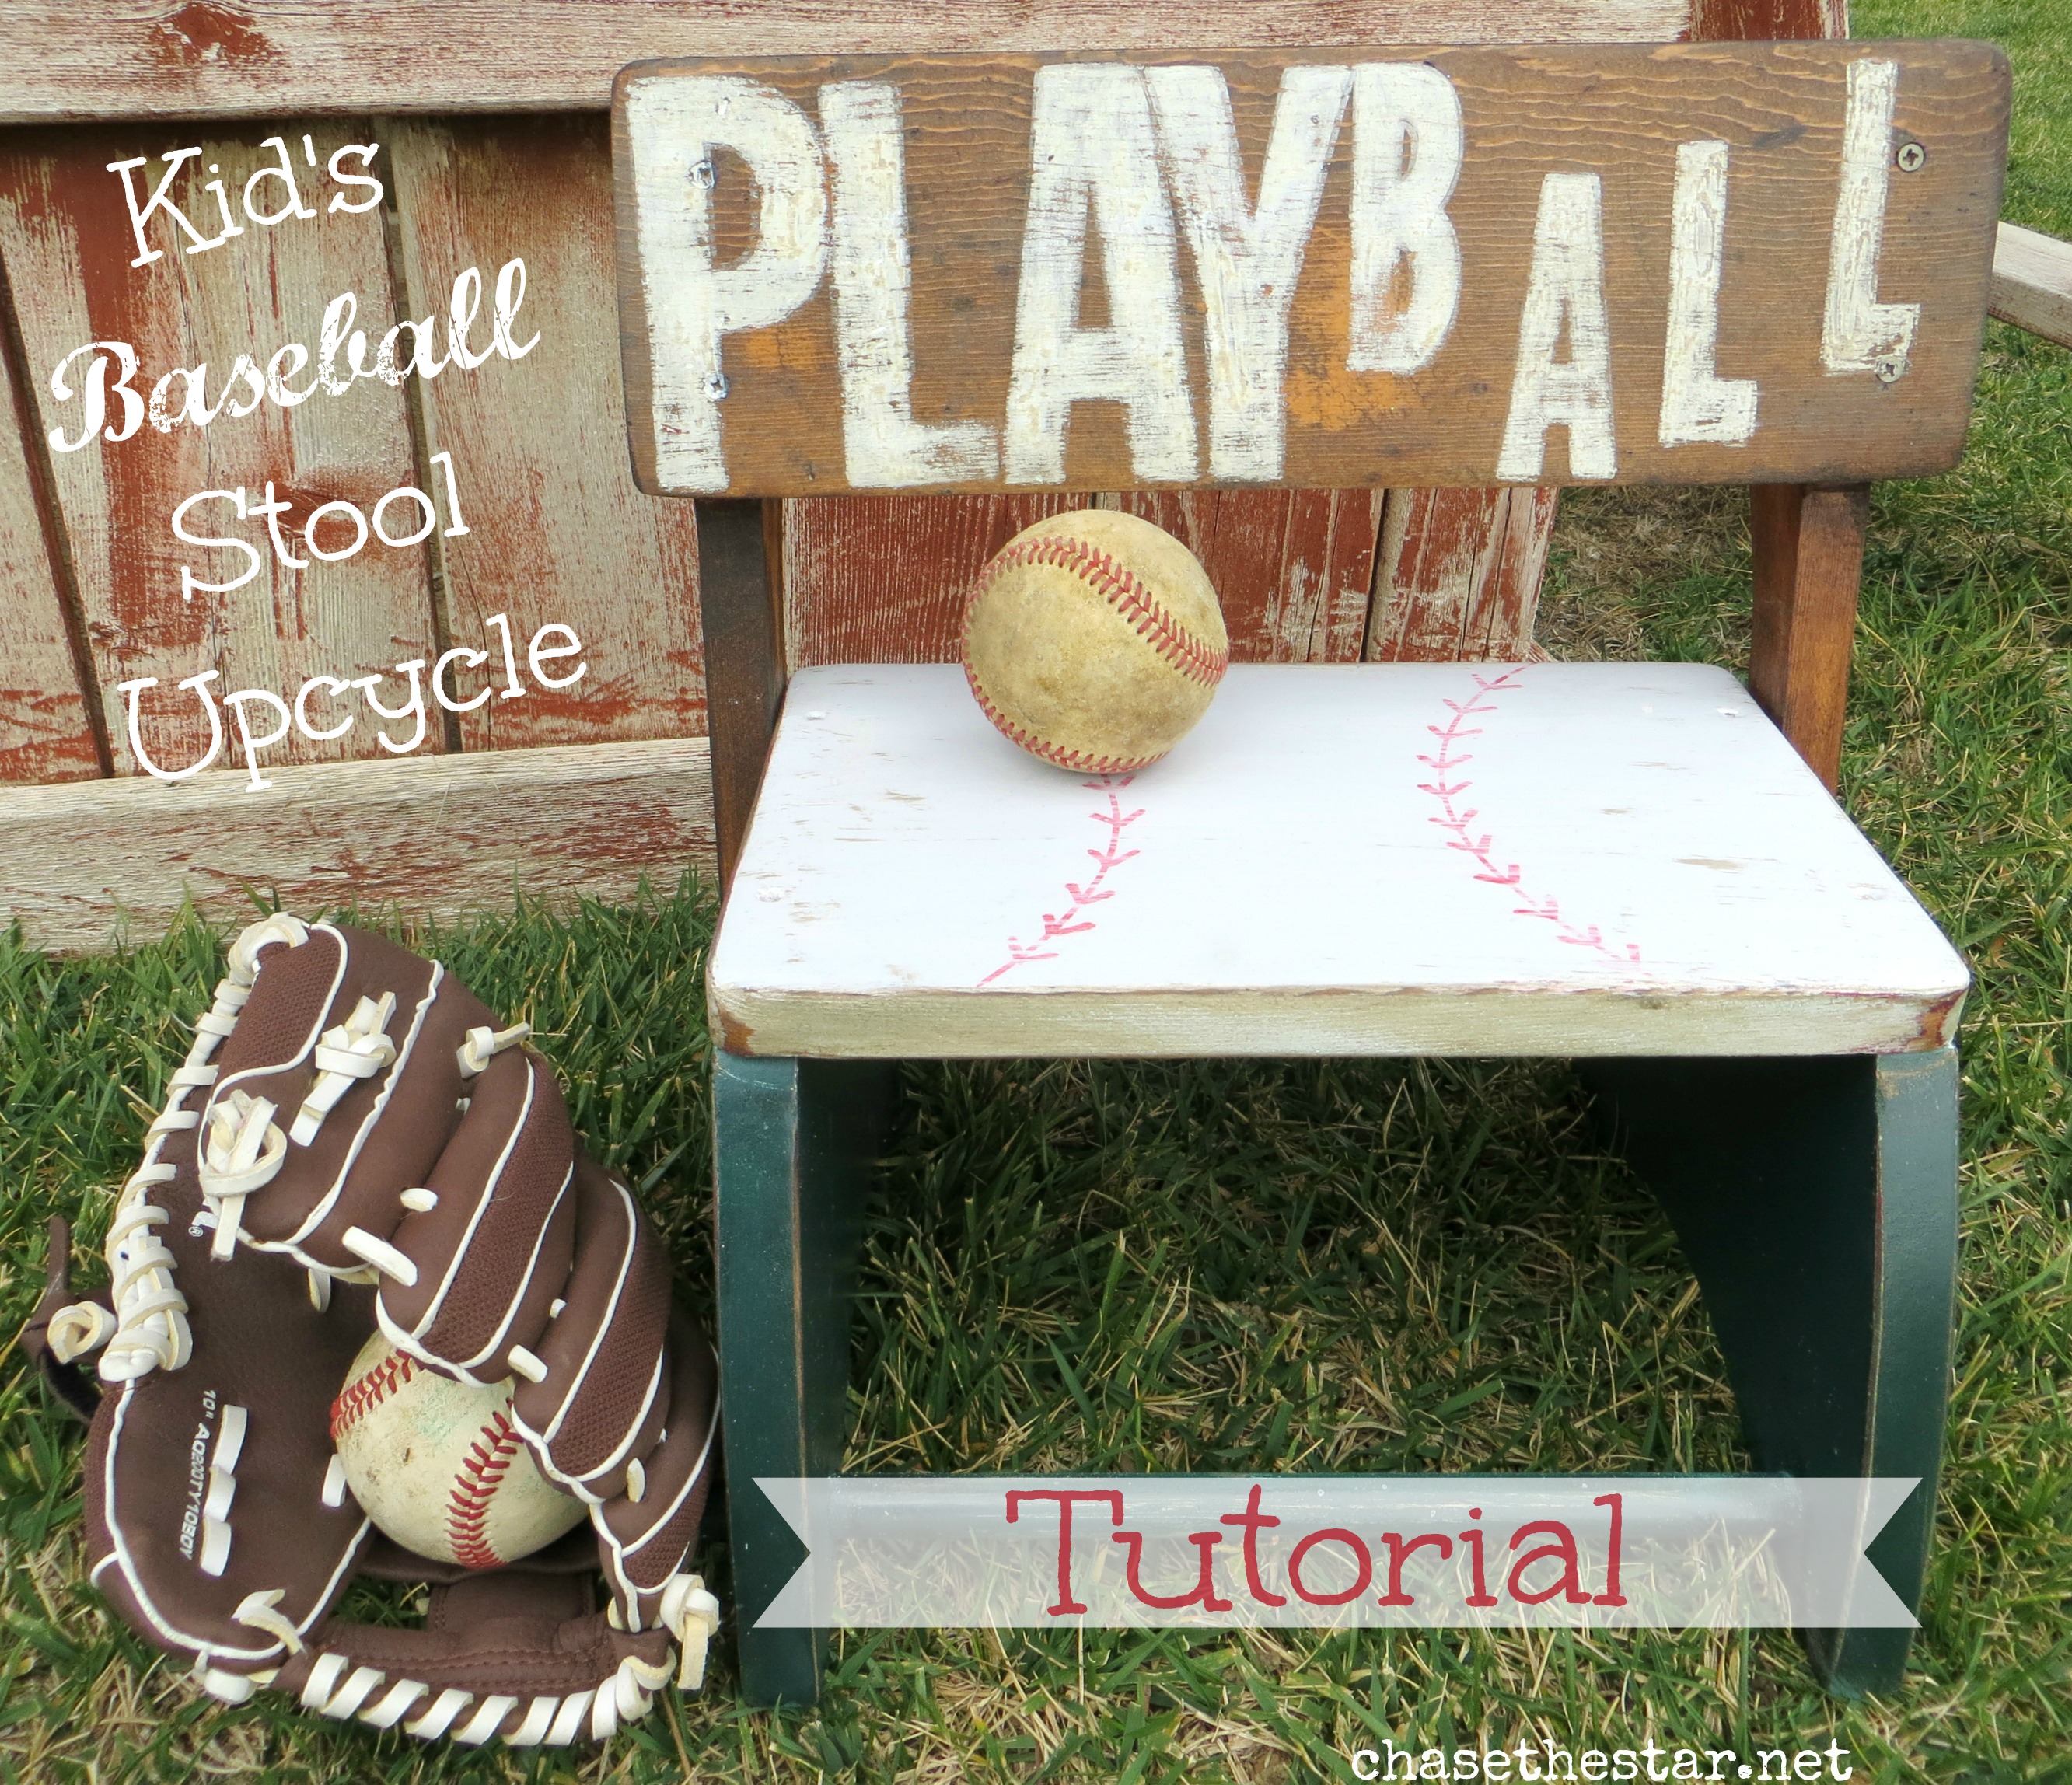
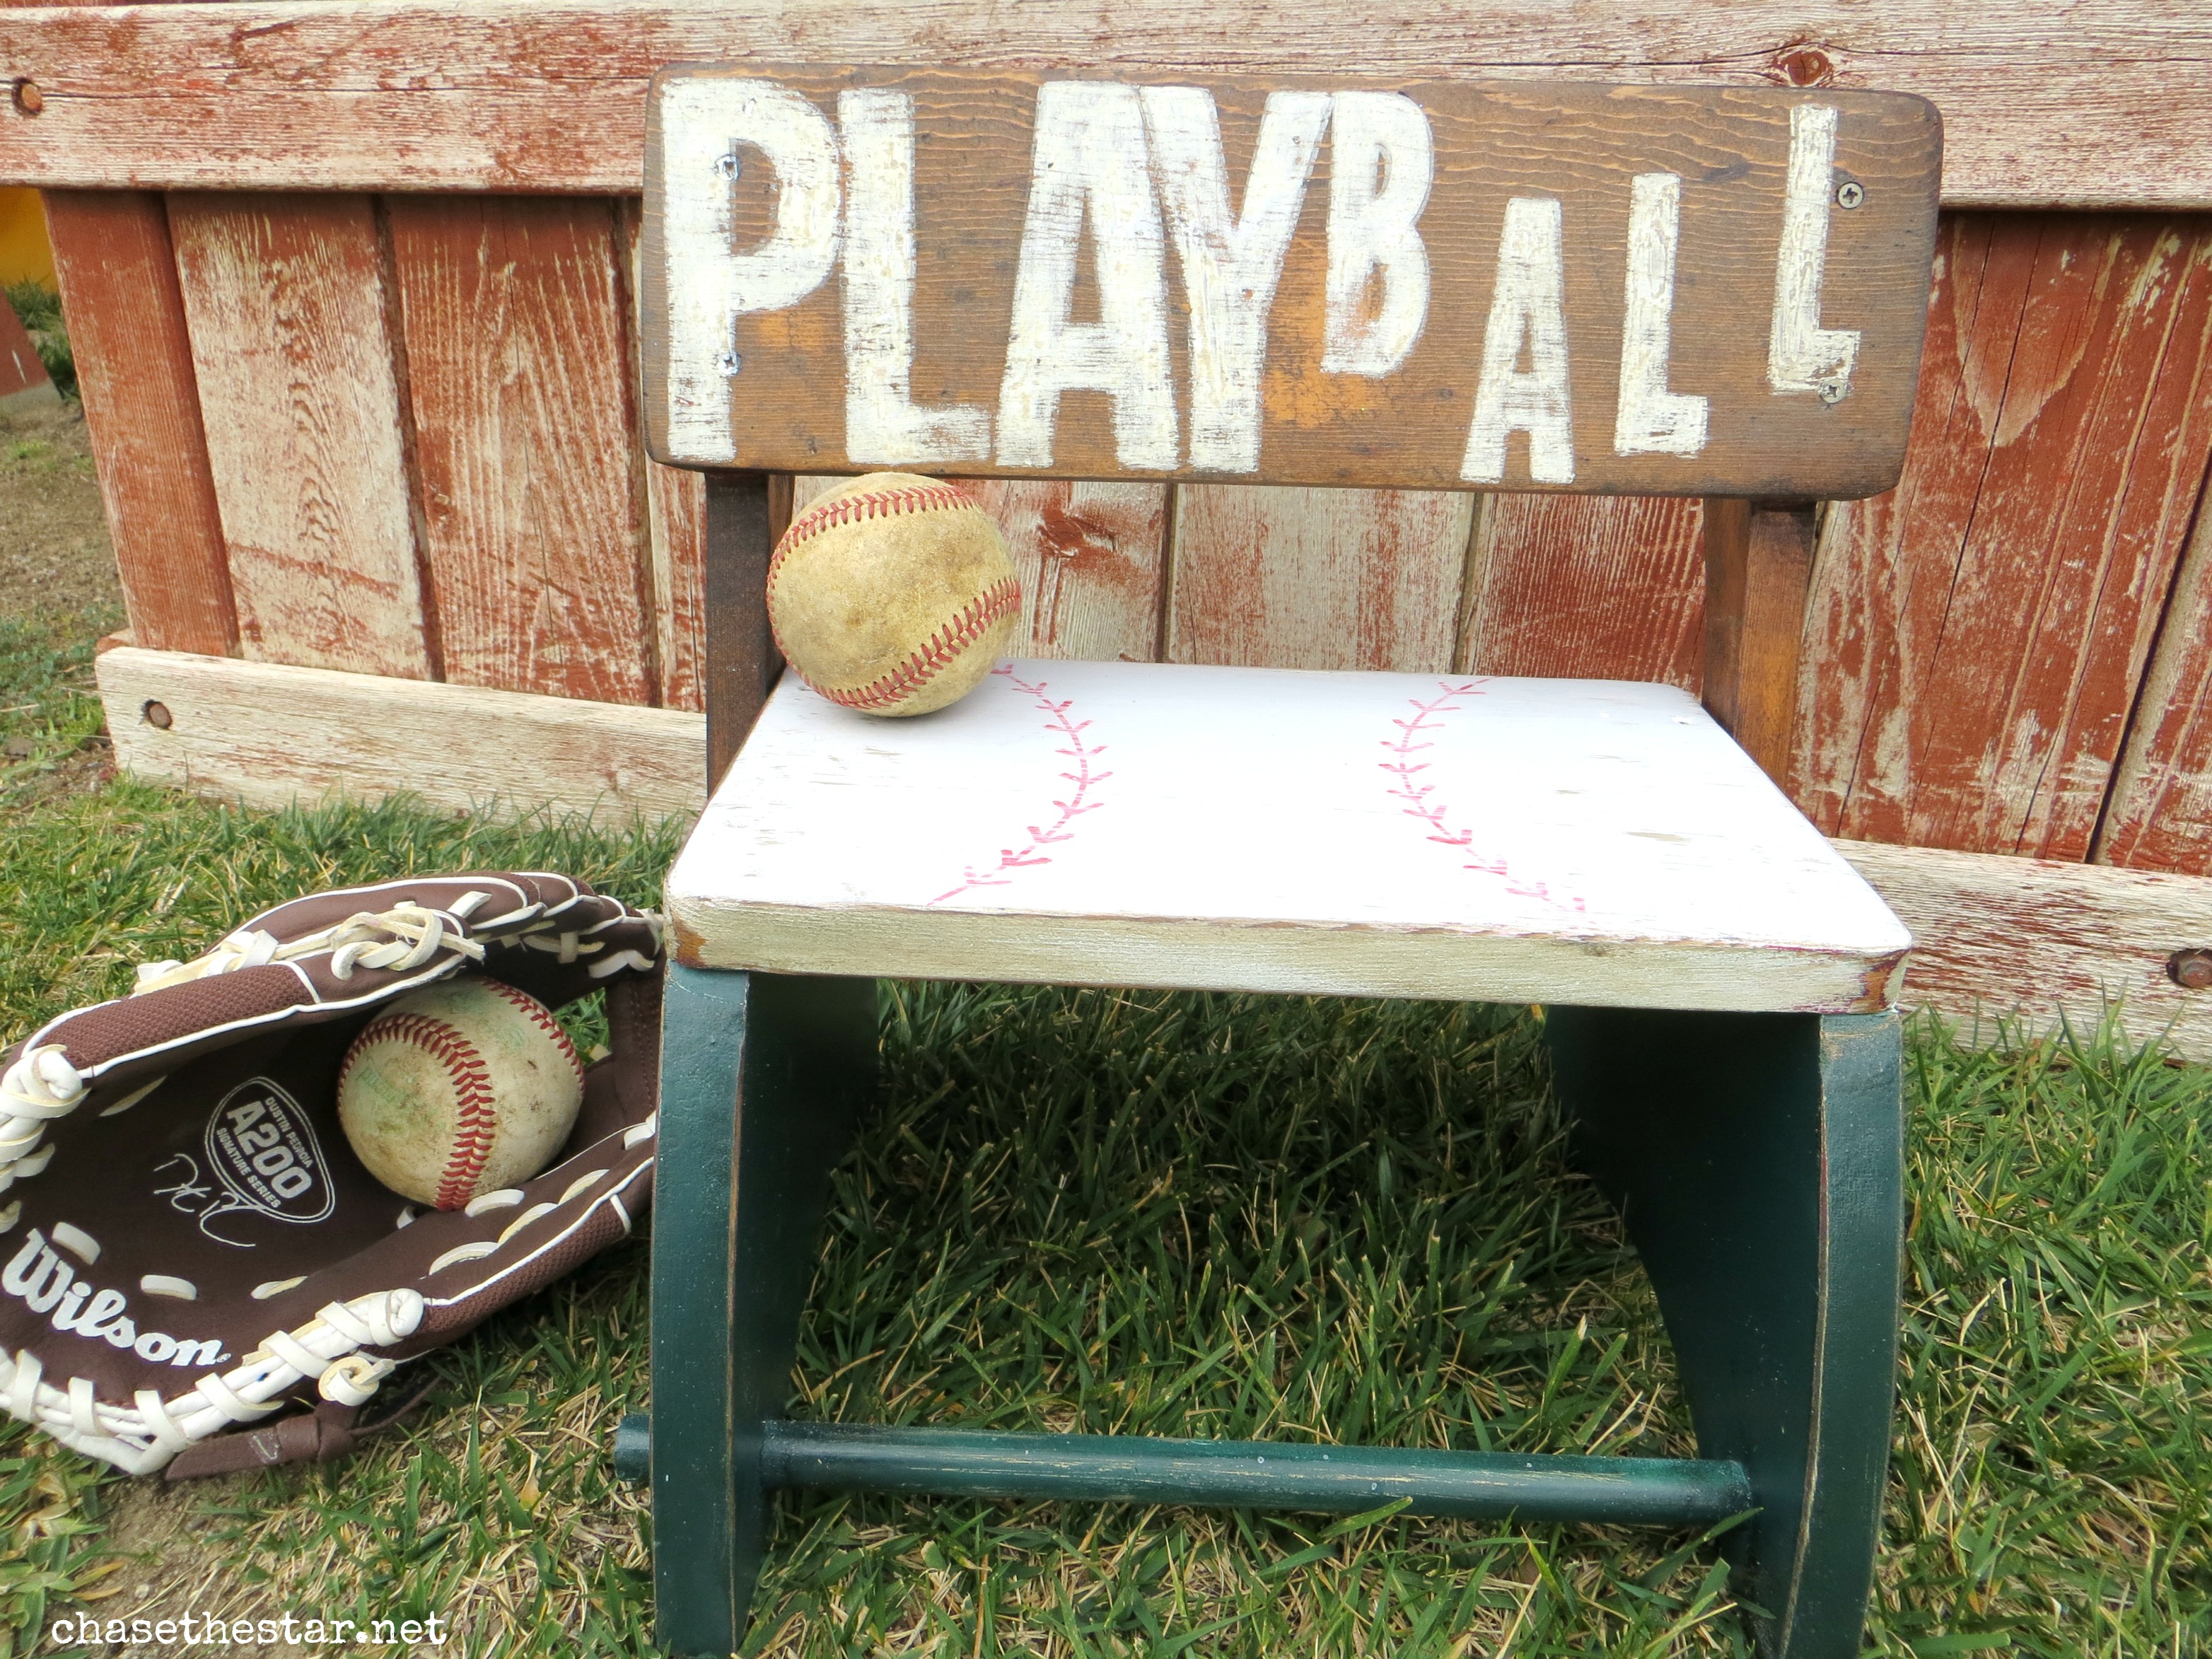
Kid’s Stool Upcycle {Vintage Baseball Style}
My neighbor gave me this adorable navy colored stool, she said her son had attempted to paint red, but now it was just a hot mess. Agreed.
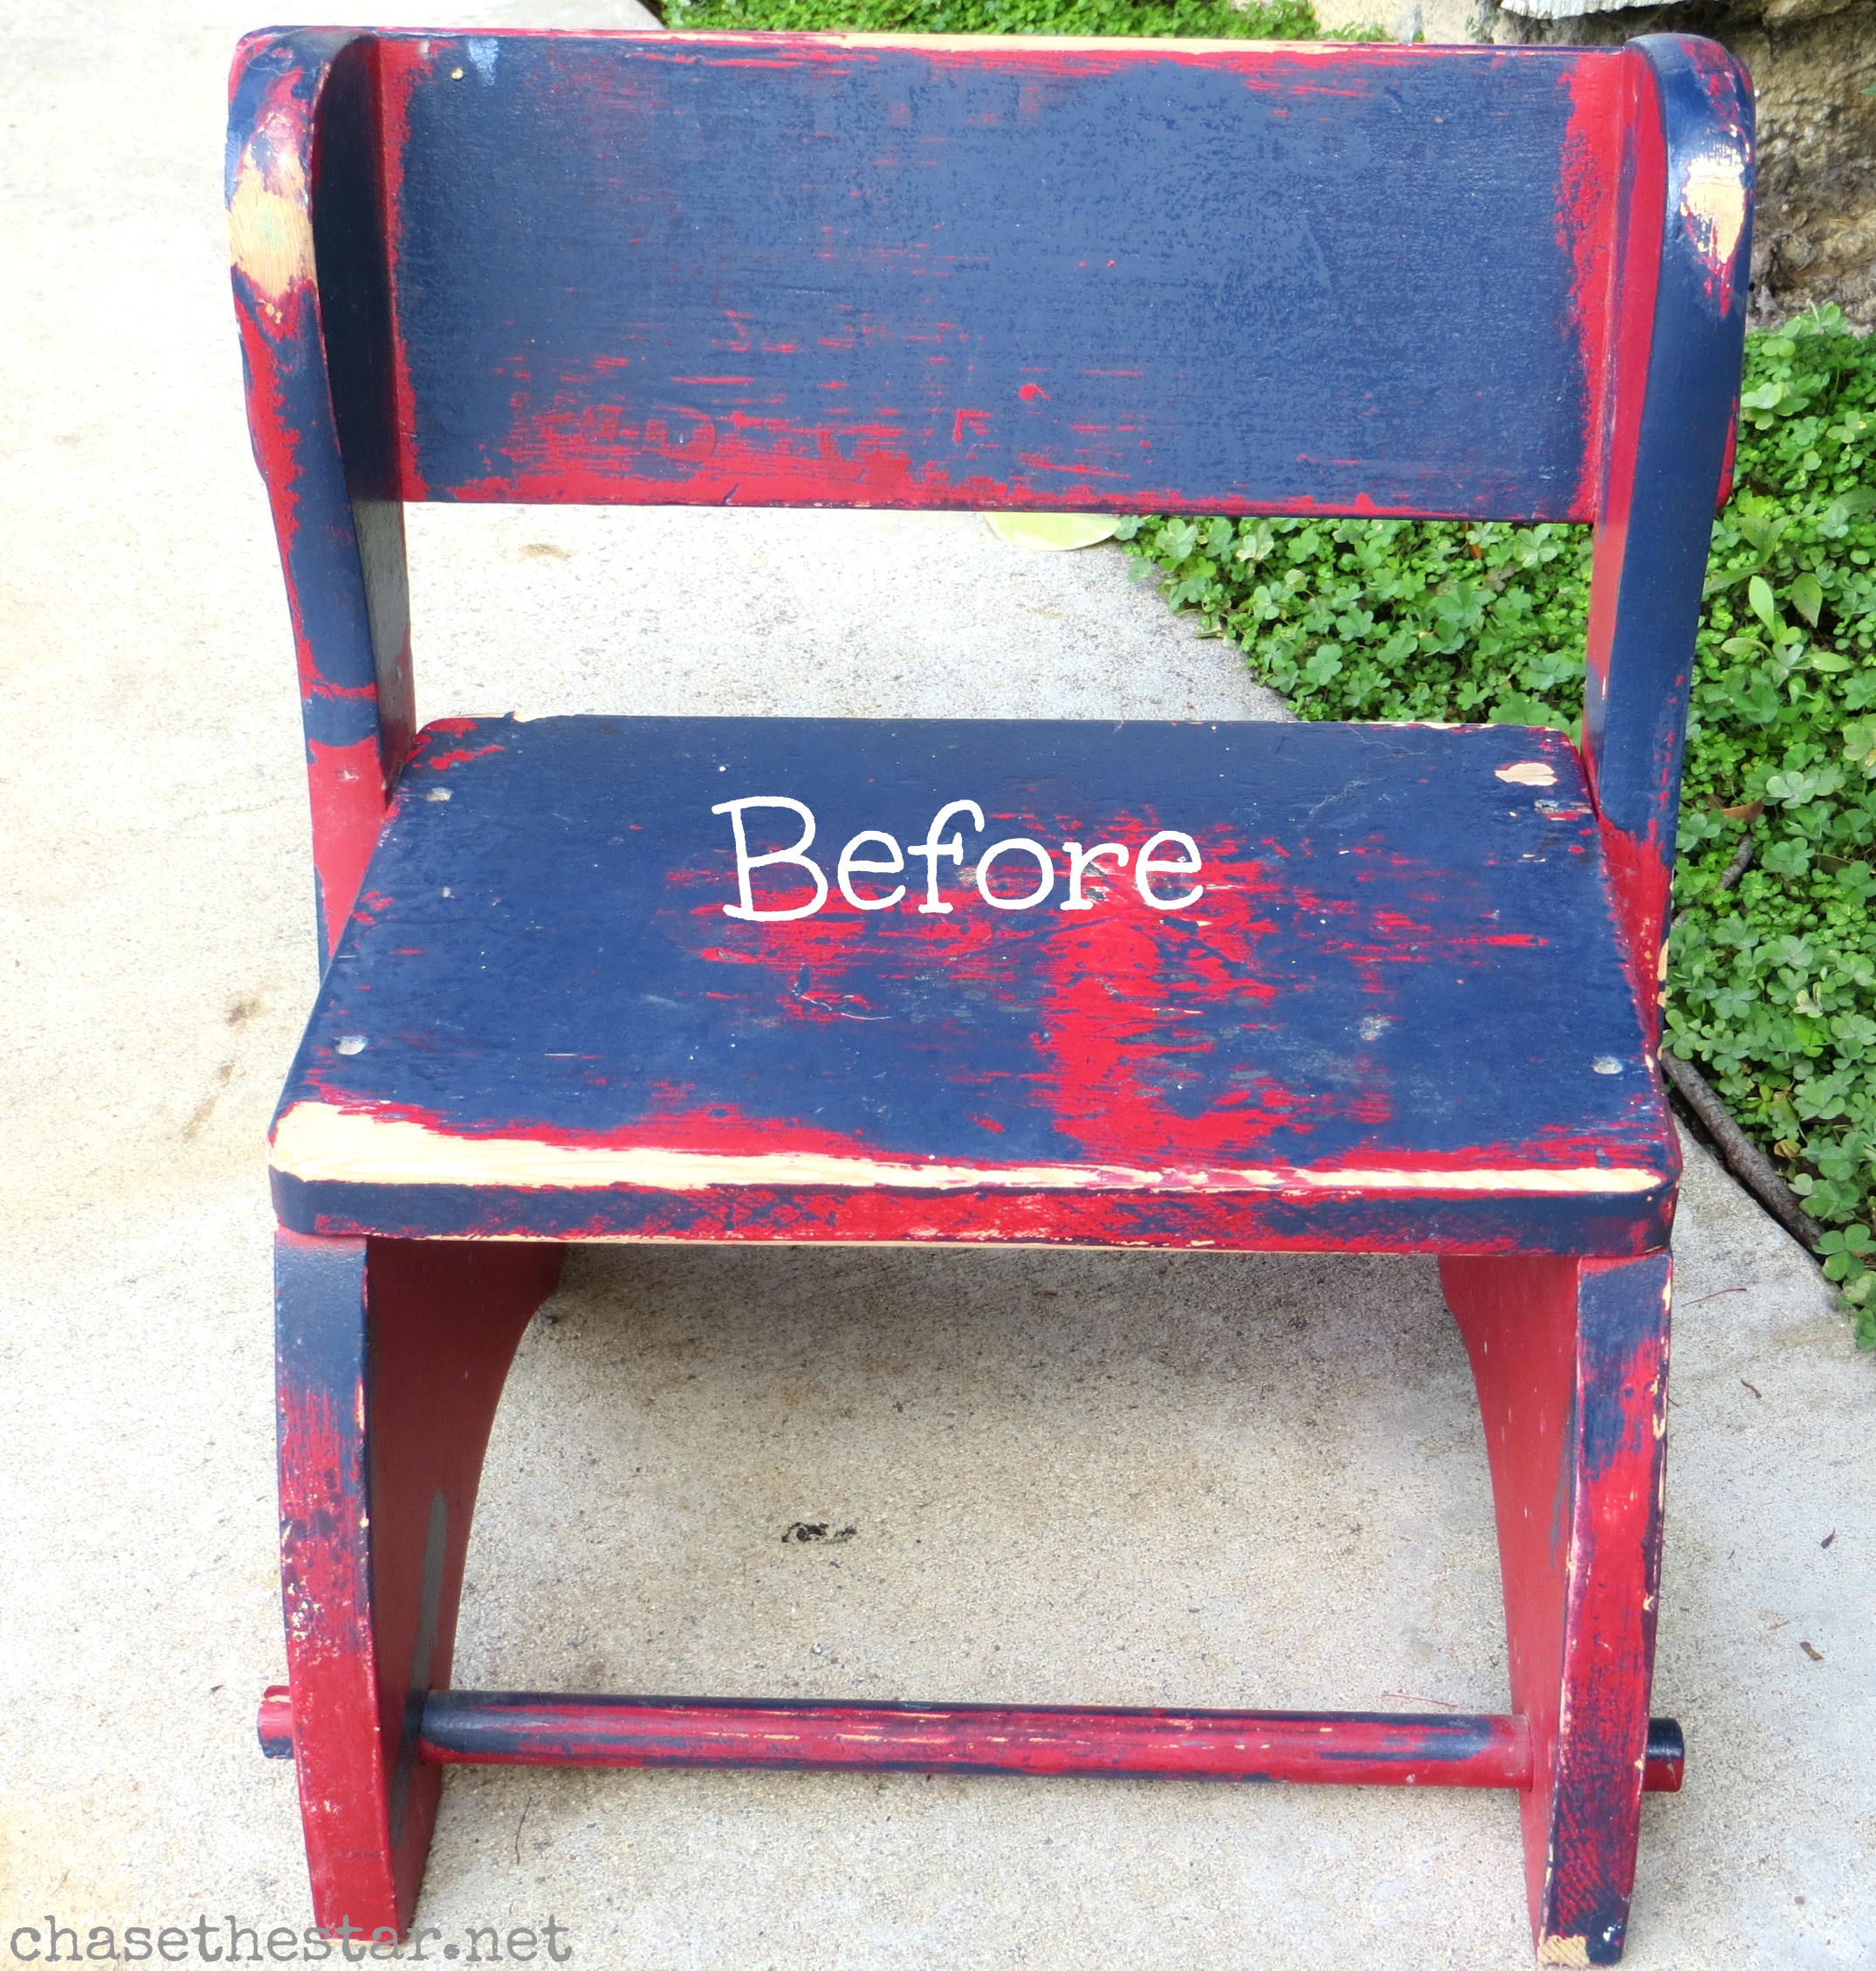
She was nice enough to give it to me to do what I like with it, so I took the challenge and got to it!
If you have a similar piece, here are some steps to give it a little makeover…
Kid’s Stool Makeover
Materials:
Sander, Primer, Stain, Paint, Paint pen, Vinyl letters, Foam brush, Mod Podge (antique finish-optional), Foam brush, Red marker, Sandpaper, Polyurethane.
Tutorial:
Step 1: SANDING- Because this little stool had a back to it, I unscrewed it in order to sand it down.
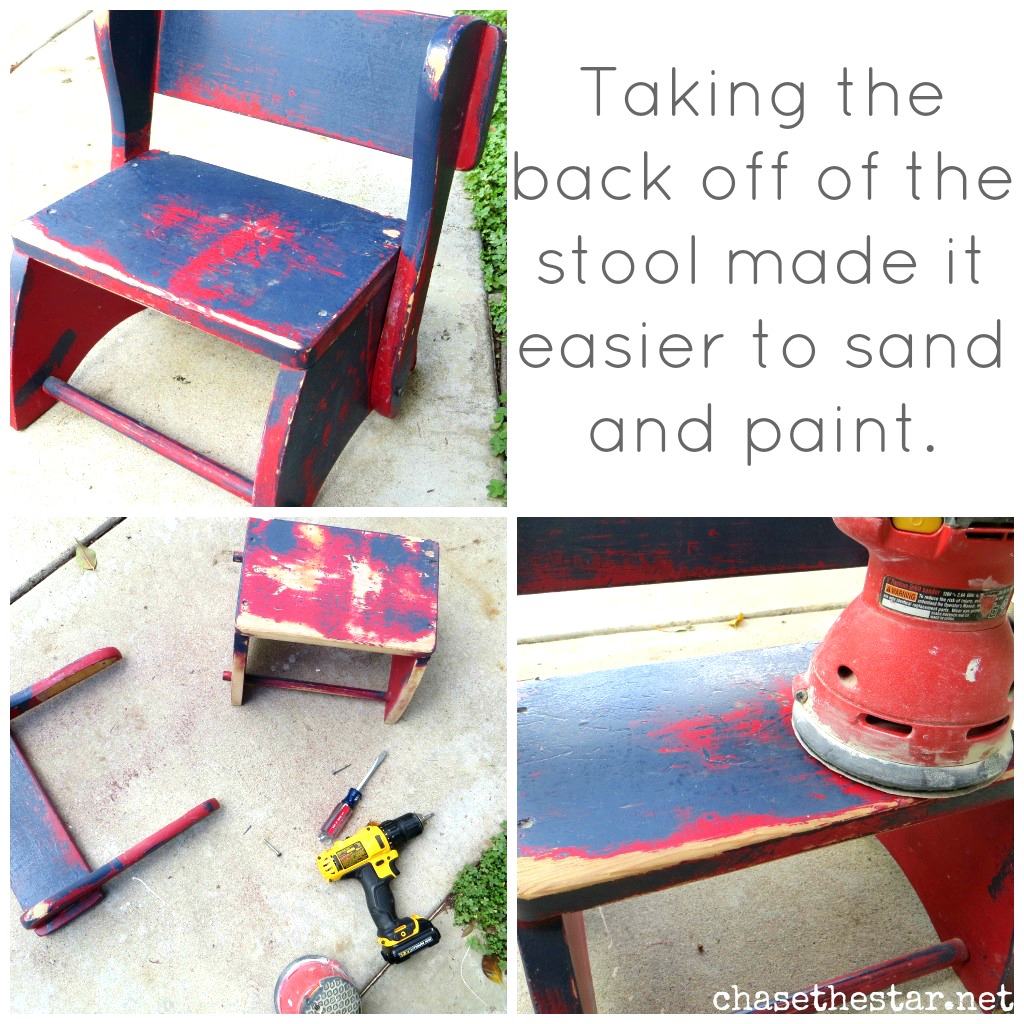
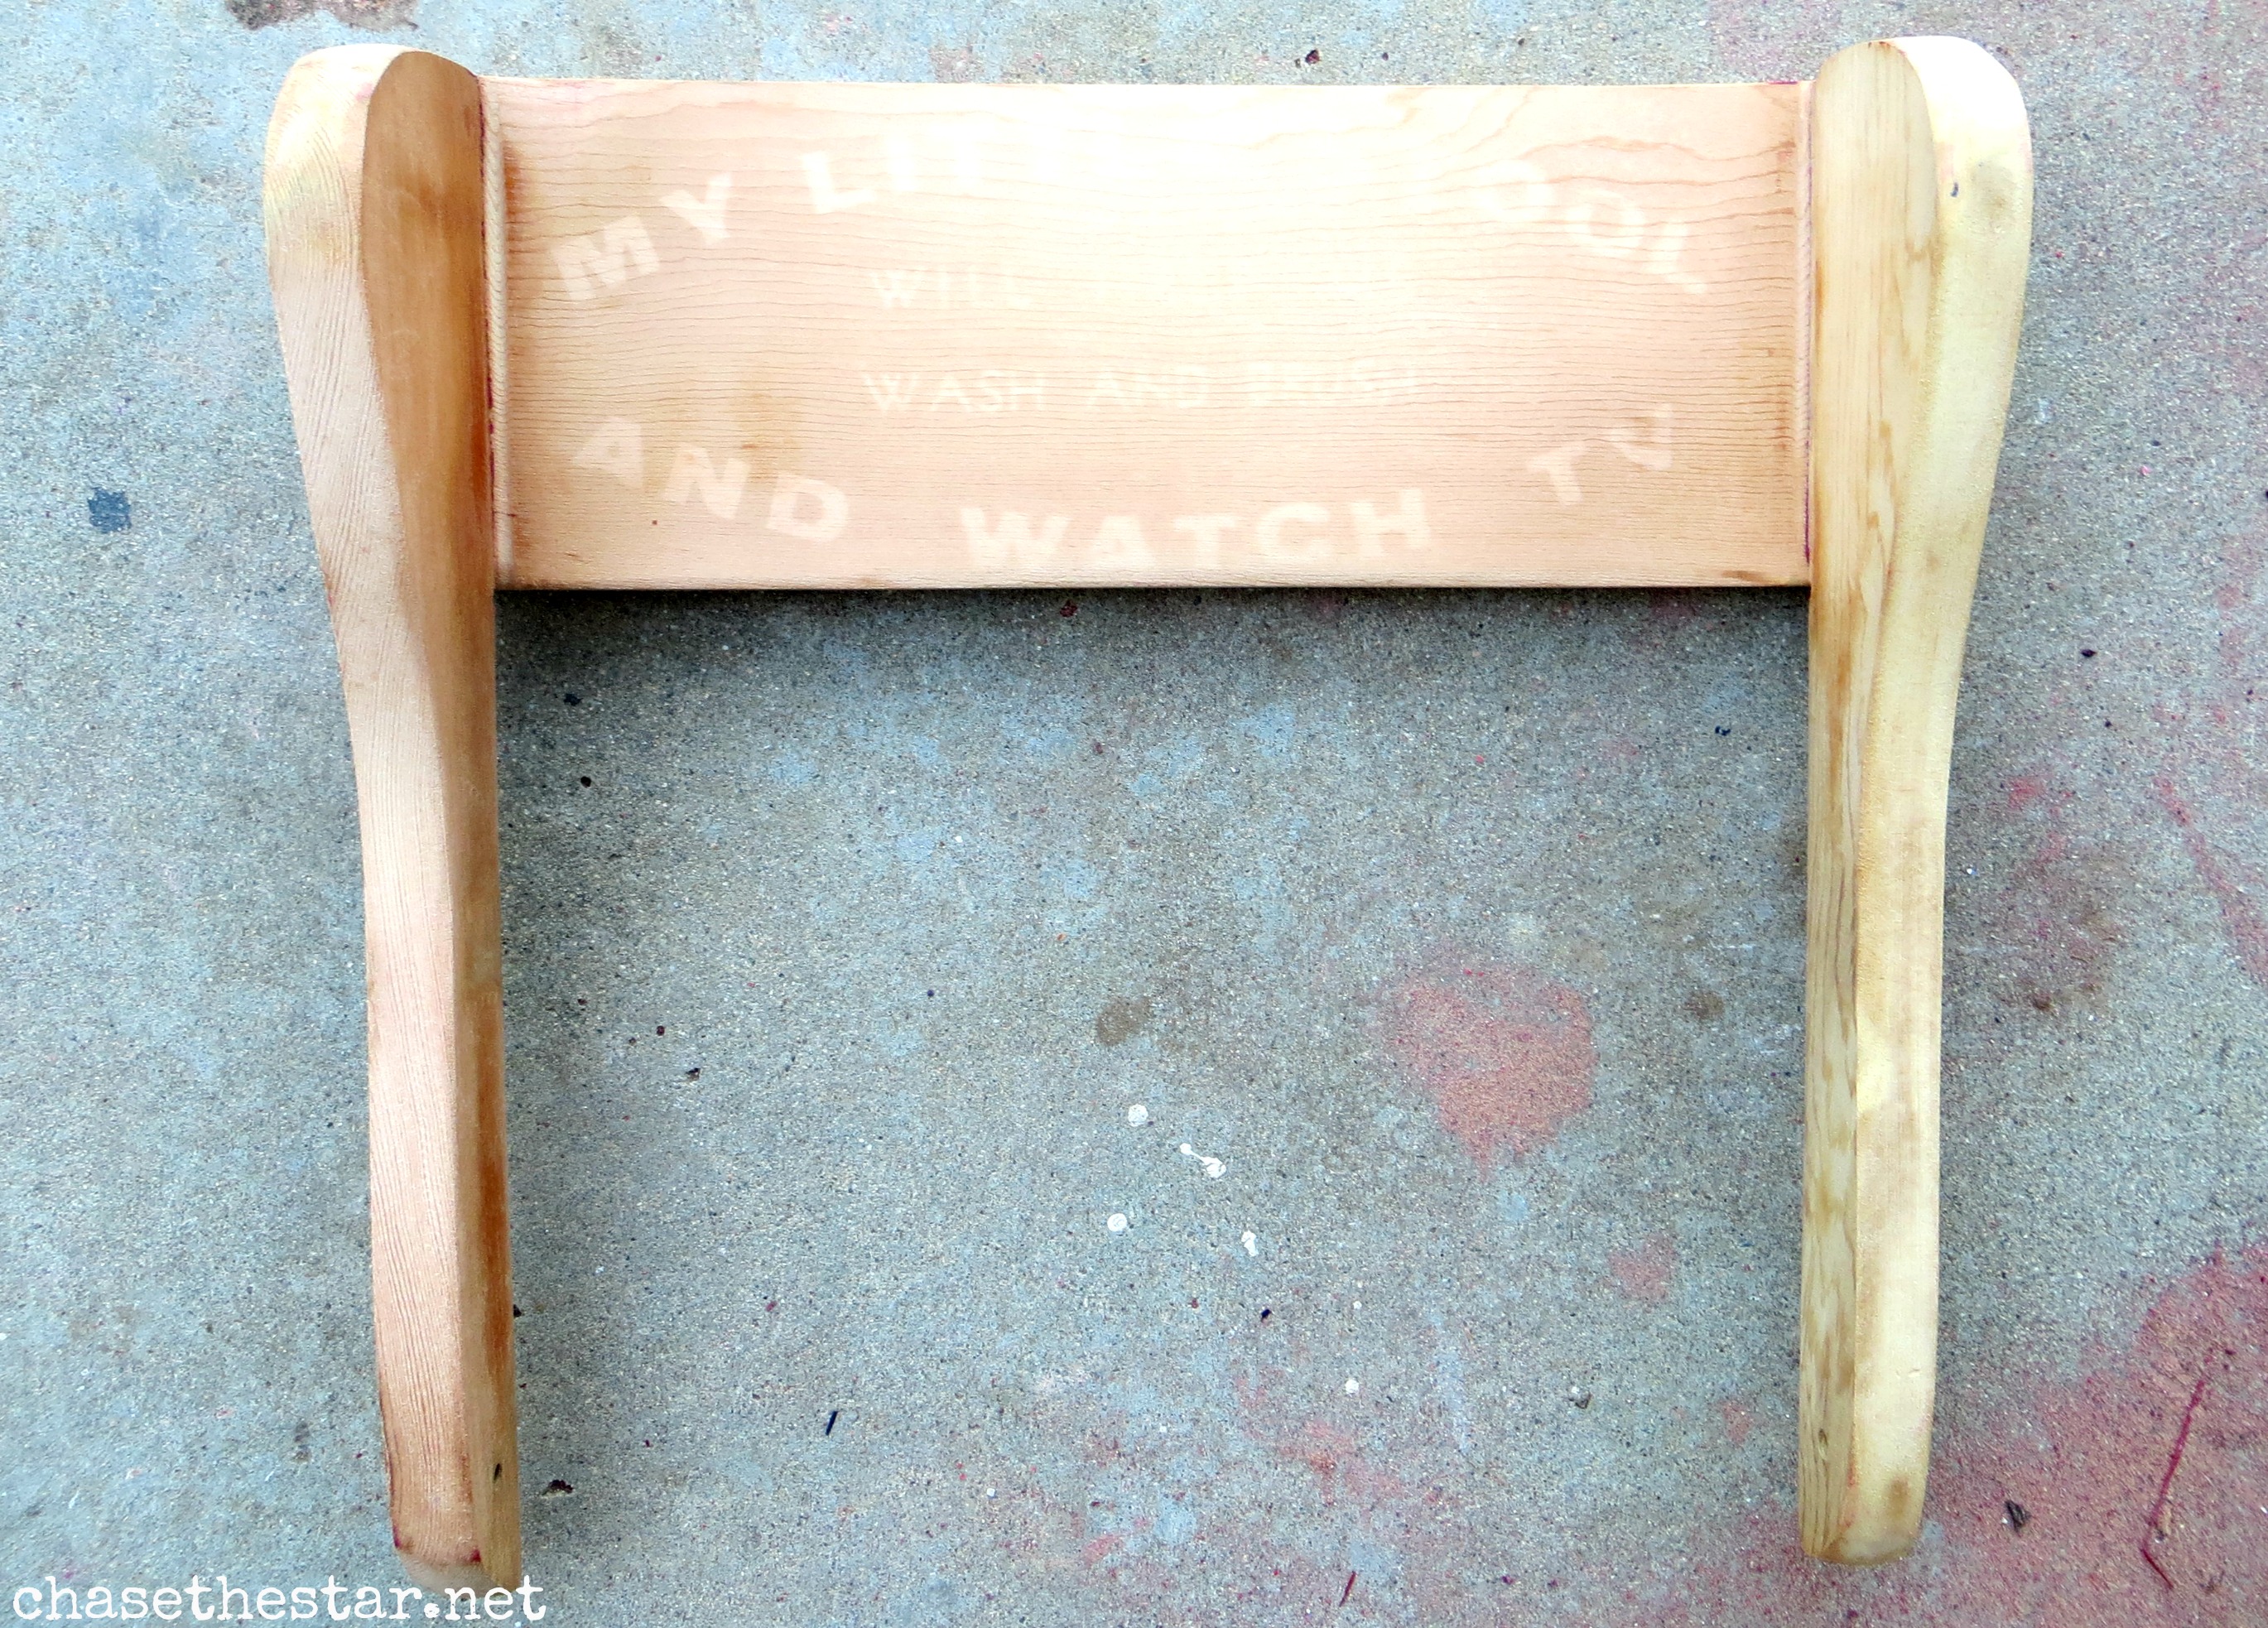
Using an orbital sander, I took the paint completely off of the top piece (using a 60 grit disc) because I planned on staining it.
{You can see some of the original wording on this little stool which made it even more interesting to me! I know my neighbor is a Thrift Store lover like I am-I wonder just how many hands this adorable little piece has seen?}
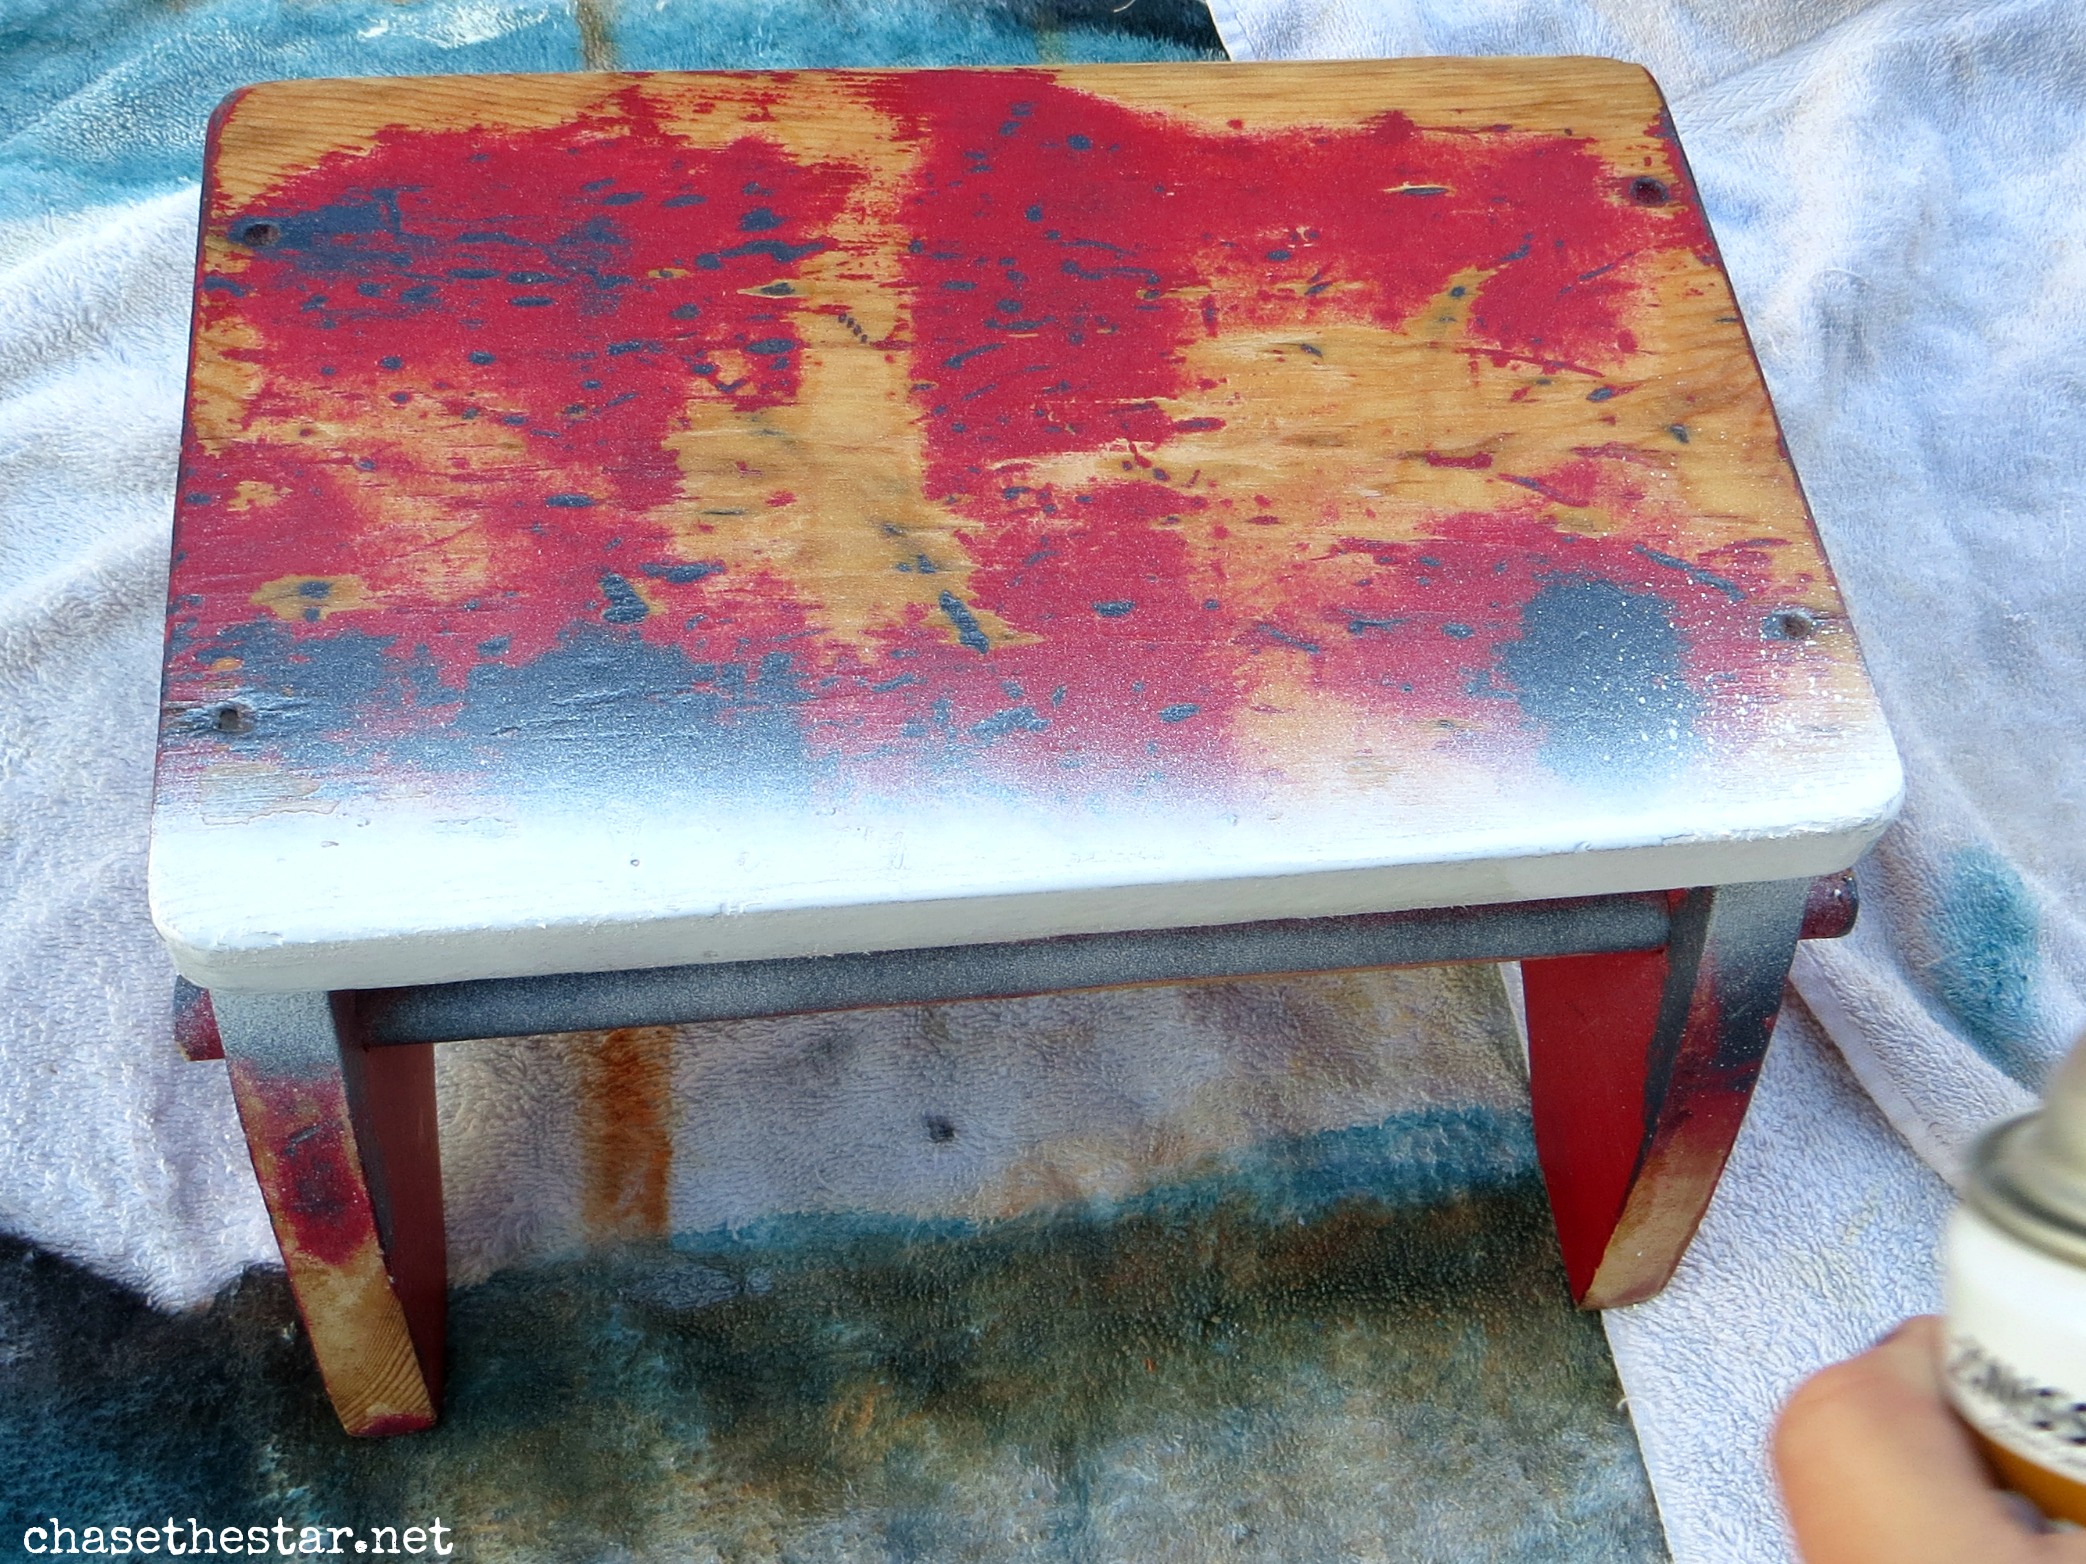
Step 2: PRIME- I used Zinsser Cover Stain spray to cover the entire bottom piece and get it ready for painting.
Step 3: PAINT AND STAIN- Using a foam brush I stained the top piece in a dark walnut shade. With spray paint, I painted the seat white, and the base in hunter green.
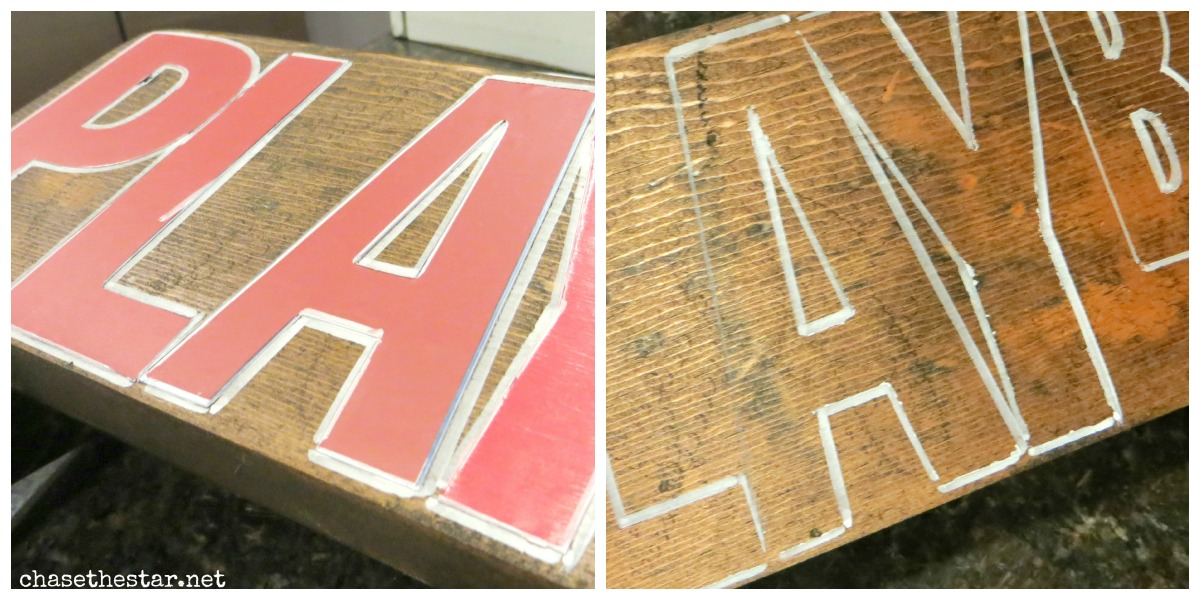
Step 4: ADD THE LETTERING- Using 4″ and 2″ vinyl letters I spelled out the phrase “Play Ball” on the top piece (use a level to make sure your wording is straight).
I then traced the letters with a white paint pen, removed the stickers, and filled the words in. For effect, once it dried, I went over it lightly with sandpaper (150 grit).

Step 5: GIVE IT A VINTAGE LOOK (optional)-With Mod Podge in an Antique Matte finish, I went over the top of the lettering.
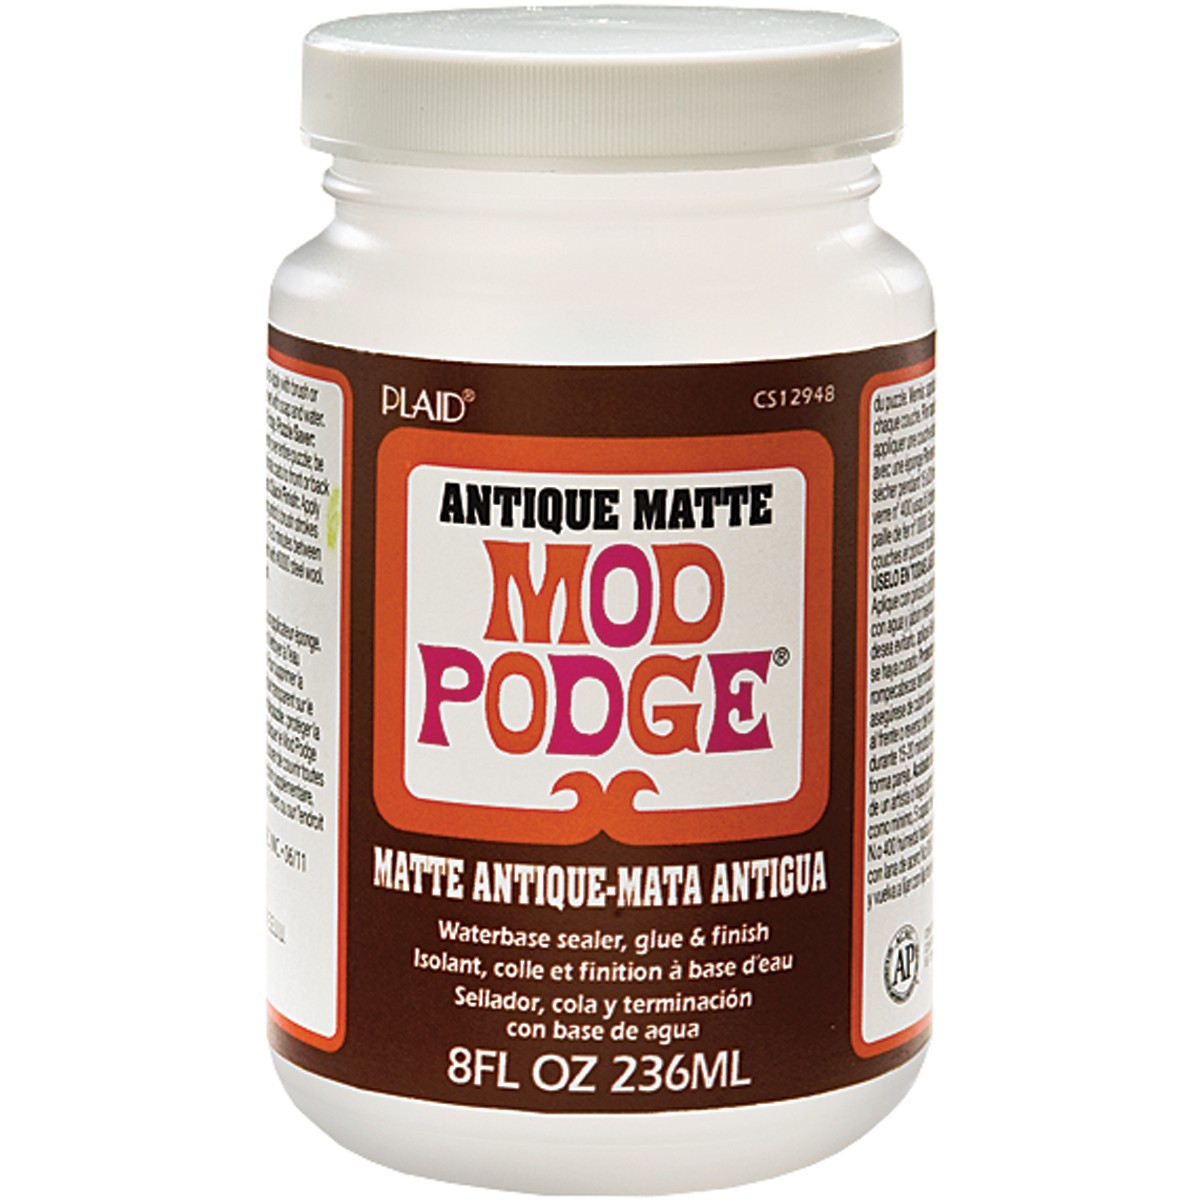
This made the white look a little more aged, and sealed the paint pen writing so it won’t scratch off (if you skip this step just add polyurethane to this part to keep it in tact).
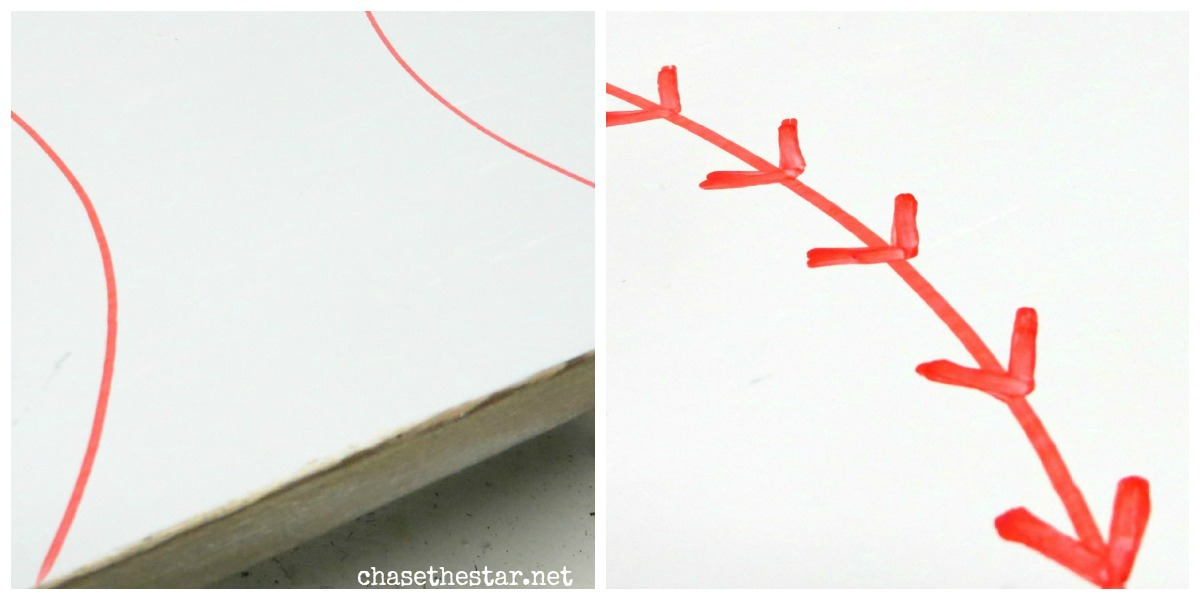
Step 6: BASEBALL ‘STITCHING”- Using a paper plate I traced the half circles on either corner to mimic the look of a baseball (using a red marker from my son’s stash–I don’t do fancy!).
Then I simply marked the ‘stitching’ free hand. I let it dry for a few minutes and then went over the entire white seat with sandpaper to distress it.
Step 7: SEAL IT- I added satin finish polyurethane with a foam brush over both pieces.
Step 8: PUT IT BACK TOGETHER-Screwed the back on to the seat.
My little boy Chase loves anything baseball, so I earned lots of ‘cool mom’ points for updating this stool for him!
Do you upcycle older pieces?

Linking up here and:

Meredith @ Wait Til Your Father Gets Home says
This looks fabulous…I wish you lived closer. I’d have you work on some stuff for Jackson’s room!!
Barbara @ Chase the Star says
Thank you friend! You know I’d have a field day with little Jackson’s room! XO
Niki says
So adorable!! You really amped up that little stool…so cute!!
Barbara @ Chase the Star says
Thanks Niki! It was so fun to makeover:)
Jen @ Four Marrs & One Venus says
Love it– and we are HUGE baseball fans over here…so this is super cute!
Barbara @ Chase the Star says
Oh cool, so are we–my kids and husband can’t get enough of it! Thanks for the comment love!
Jill @ Create.Craft.Love. says
This is one of my favorite pieces you’ve done! Love the vintage baseball look! I’m going to have to have you come out to the new house and help me design!
Barbara @ Chase the Star says
I’ll be there in a heartbeat lady! Thanks for the sweet words! Love ya!
kristi@ishouldbemoppingthefloor says
So, so cute, Barbara!! I love it!!
Barbara @ Chase the Star says
Thanks friend! So glad you like it! :)
Crystal says
Fabulous! It turned out so cute! Awesome job !
Barbara @ Chase the Star says
Thank you Crystal!
Meegan says
How cute is this??? Love it, you are so talented!!
Barbara @ Chase the Star says
You are so kind Meegan! You made my day:) Thanks!
kelley @ Miss Information says
That turned out so great! I love it
Barbara @ Chase the Star says
Thanks love!
Chelsea @ Making Home Base says
oh my gosho, Barbara! I ADORE this sweet little stool. My husband is a HUGE baseball fan so we don’t even need a little boy to have a piece like this in our home. I love the vintage look – it’s so classic looking! Sharing!!!
Barbara @ Chase the Star says
Thank you for sharing and for your sweet comment Chelsea!! XO
Heidi @ Mom's Crafty Space says
This is so super cute, Barbara! My seven-year-old son just told me he wants one now too! :)
Barbara @ Chase the Star says
LOL Heidi! Sorry about that haha! Maybe I can ship one over! :)
Kelly@ Here Comes the Sun says
This turned out amazing! I love the idea of protecting it with the Mod Podge. I love the effect!
Tracey Sabella says
What a wonderful and amazing transformation!! I found you at the 36th Avenue. Your blog is delightful. Thanks for stopping by my place when you have a chance. ~ Blessings, Tracey
Shandy says
This is DARLING! Love it :) Found you at TT&J and am now following your blog. Have a great weekend.
Shandy @ Aprons ‘n Pearls
Barbara @ Chase the Star says
Thank you Shandy, you are so sweet!
Jenn says
That looks so much better. Great job! BTW – I have an iPad KIC Mount giveaway going on right now if you would like to come enter. http://eatcakefordinner.blogspot.com/2013/03/ipad-kic-mount-giveaway-and-review.html
Taelia88 says
Wonderful tutorial! I loved the outcome!
Great post!! I included it in my post Βόλτα στη Γειτονιά #25 :)
Have a great week!!