
Welcome to Spring Cleaning Bootcamp, our step-by-step guide to everything you need to clean once a year, and how to do it right.
We asked Rebecca Gill, our resident clean-house guru, to share all of her secrets for getting a tidy, gorgeous home in as little time as possible—so you can get things clean, then get on with your life.
These guides are thorough. But with our step-by-step instructions, you can get them done! Turn on some music, put on some comfy kicks, and get ready to get your house cleaner than it’s ever been before.
We’ll be posting a floor-to-ceiling guide to deep-cleaning one room in your home every week.
This week’s bootcamp: The kitchen. Happy cleaning!
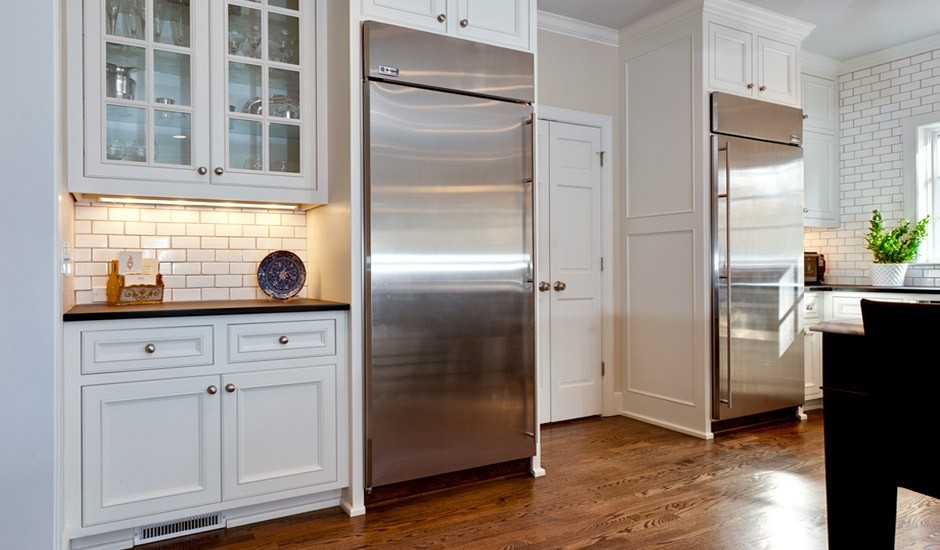
Step 1: Refrigerator and freezer
- Remove everything from the fridge and freezer, tossing any expired food. Put emptied tupperwares from the fridge and any dirty dishes in the dishwasher, and wash on high heat.
- Remove fridge shelves and wash with hot soapy water. Wipe the inside of the fridge clean.
- Pull the fridge out from the wall a few inches (get help is you need it!). Wipe the dust from the top and sides of the fridge with a damp cloth. Reach behind the fridge with your vacuum’s tube crevice attachment, and vacuum the dust off of the refrigerator grill and coil. Don’t forget to vacuum behind the fridge as well.
- Push the fridge back into place. Use a Mr. Clean Magic Eraser to clean the fridge’s handle, and replace the clean the interior shelves and drawers.
- Pro tips: Keep an opened box of baking soda in the fridge to absorb odors; for easy cleaning, line the tops of shelves with plastic wrap and replace the wrap periodically.
Hopedale Builders
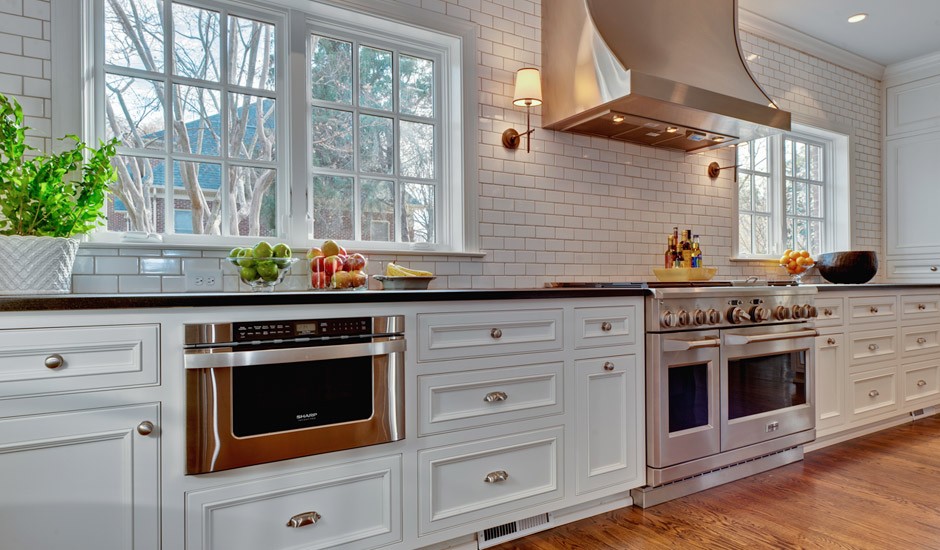
Step 2: Microwave and oven
- Place a clean, wet sponge inside the microwave and microwave on medium for one minute. Remove the glass plate, close the door, and allow the microwave to sit with the door closed for a minute more.
- Wash the glass plate in hot, soapy water. Then, spray a damp cloth with vinegar, open up the microwave, and wipe out the inside, including the door. Dry the inside with a dry cloth, and replace the dried, clean glass plate.
- Spray another damp cloth with vinegar and clean the outside of the microwave, including the button plate. Note: never spray anything directly on or inside the microwave. Over-saturating an area like the service panel or vent could ruin the microwave.
- If your oven has a self-cleaning cycle, run it. After the cycle is complete, use a damp cloth and vinegar spray to wipe out the inside of the oven from top to bottom. Don’t worry about using oven cleaner—the self-cleaning cycle will make whatever’s inside the oven easy to wipe out without harsh chemicals.
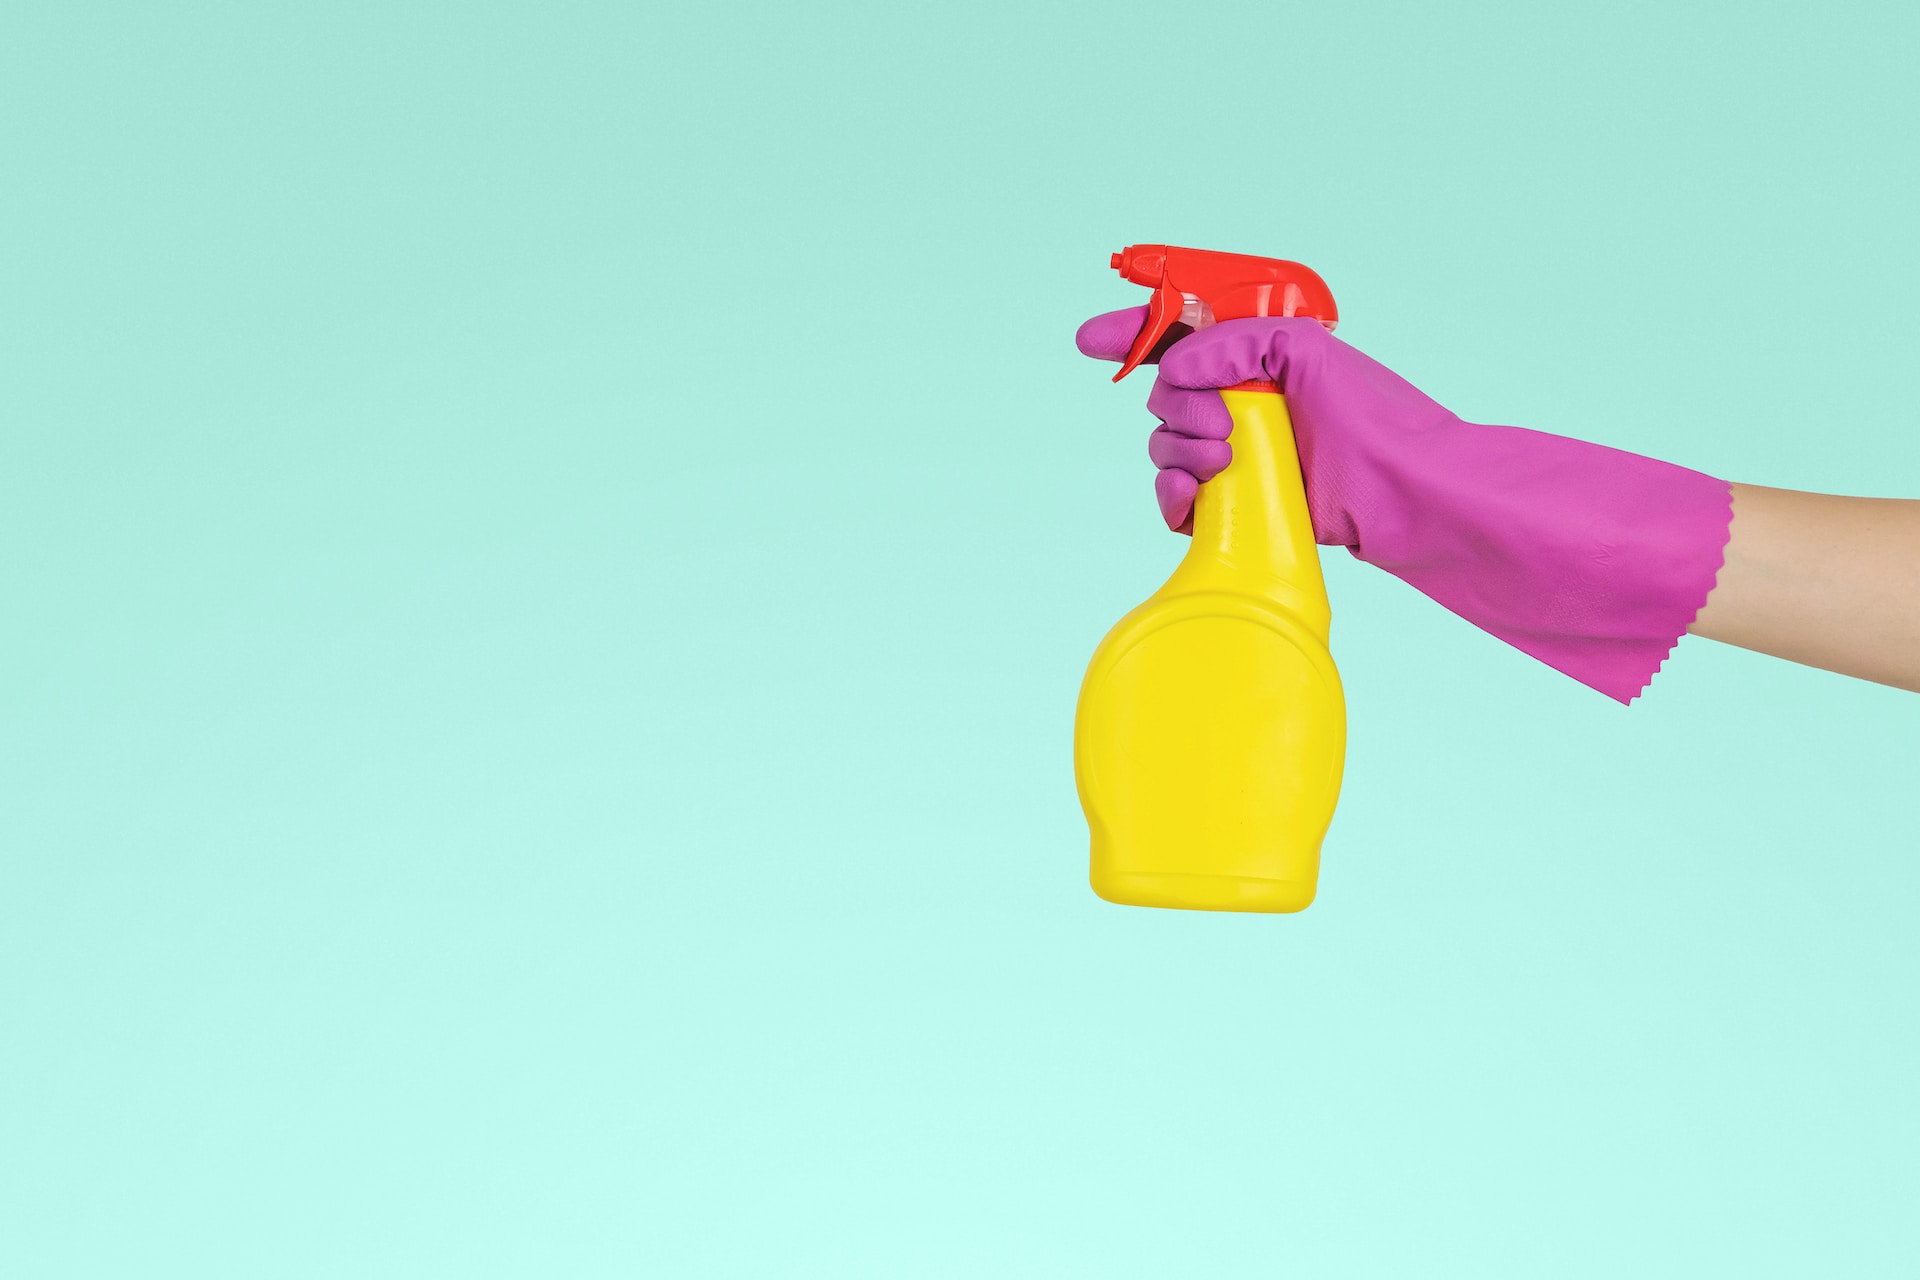
- If your oven doesn’t have a self-cleaning cycle, it’s time to break out the big guns. Open a window and put on long rubber gloves, a face mask, and protective eyewear. Lay newspaper down on the floor beneath the oven, and be sure not to let the cleaner touch surrounding cabinetry. Follow the instructions on the oven cleaner product you’re using, and be sure to use rags that you can throw away after you use them. Remember that oven cleaner is toxic; be careful when using this product.

Step 3: Dishwasher
- Open up the dishwasher, and put away all of the shiny, clean dishes you just washed.
- Once all the dishes are put away, run the empty dishwasher through another high-heat cycle without detergent. Then, open up the door and clean out the food trap. Wipe down any residue from the inside of the bottom and door, including the rubber seals on the door.
Step 4: Counters and sink
- You’re done with the hard parts of cleaning the kitchen! Now you’re ready for finishing touches: sinks and surfaces.
- Clean and deodorize the garbage disposal by pouring a half-cup of baking soda down it, followed by a cup of vinegar. Let the mixture foam and bubble, then let it sit for up to 10 minutes. Finish by flushing the drain for ten minutes with steaming hot water.
- Scrub the sink and drains with a mild abrasive like Bon Ami, and buff dry.
- Spray faucets and fixtures with all-purpose cleanser or vinegar, and wipe dry.
- Spray backsplashes with all-purpose cleanser, and wipe dry.

Step 5: Walls and cabinets
- If you have blinds, close them and wipe them down with a dry rag. Then, close them the opposite way, and wipe down the other side. If the blinds need a more thorough cleaning, remove them from the window, lay them on a tarp outside, and spray with all-purpose cleaner, then with the hose. Wipe or air dry.
- If you have window curtains, remove them and wash them. Make sure to follow care instructions on the label.
- Clean the inside and out of windows with glass cleaner—or, try an old-school trick and use vinegar and newspapers for extra-sparkly shine.
- Using a broom wrapped in a t-shirt, dust light fixtures, corners, and ceilings.
- Get out the step stool, a bucket, and two terry cloth rags—one wet, and one dry. Fill the bucket with warm water, a few drops of dish soap, and a quarter-cup of vinegar. Working top to bottom and left to right, wash and dry one cabinet at at a time, opening each door to wipe the inside of the door and bottom of the cabinet as well. Don’t forget to get the base between the cabinet and floor, and lastly, the baseboards.
- Spray all-purpose cleaner into a rag, and wipe clean cabinet pulls, drawer handles, and door handles.
- Remove all appliances from countertops, and put them on the kitchen table. Use a cleanser formulated for your countertop material to wash the tops and sides, and buff dry with a microfiber rag.
- Take a break and pull up a chair at the table. Use all-purpose cleaner to wipe down each item from your countertops, then return them to their places. Shiny!

Step 6: Floors and rugs
- Pick up kitchen rugs, bring them outside, and shake them out. Launder any machine washable rugs, dish towels, and other kitchen linens.
- Use the floor attachment from your vaccuum or sweep twice. Then, mop your floor thoroughly. If you’re using a wet mopper instead of a mop-and-bucket, wet mop at least twice. For wood floors, we recommend Bona hardwood cleaner. For tiled or stone floors, be sure to choose a pH-neutral product that won’t cause etching.
- Replace rugs and window treatments. Hang fresh dish towels and put a pot of water on the stove to simmer. Add a few drops of essential oil, some fruit, or a handful of your favorite aromatic herbs or spices. Welcome to your spring cleaned kitchen!
This concludes our Spring Cleaning Bootcamp Series. Congrats—you made it! Enjoy your new, sparkling clean home!
Top Image Credit: Frances Herrera Interior Design
Don’t miss the rest of the Spring Cleaning Bootcamp series, where we give you a room-by-room guide of everything you need to clean once a year, and how to do it:

