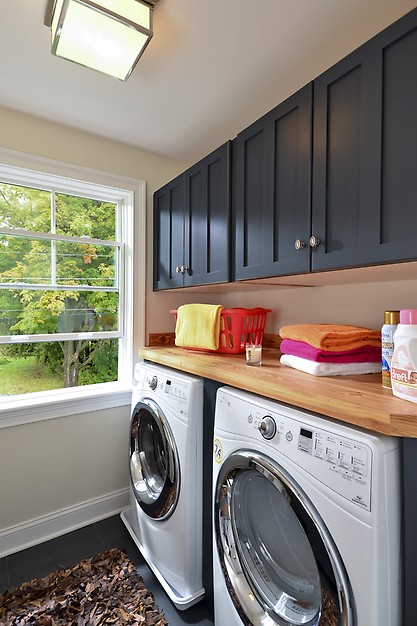
Windows play a vital role in the design of a home as it casts a great impact on the interiors as well as the exteriors. Replacing old, worn-out windows with energy efficient quality products that have an aesthetic appeal is not only a design trend, it’s a money saving trend. However, the replacement job can be costly. If you are ready to spent some time and energy, then you can do the replacement job much easily and in a cost-effective manner on your own. Here, we discuss the step-by-step replacement process to help you replace those old, inefficient windows with new virtually maintenance-free ones.

Tools & Materials required
- Windows
- Measuring Tape
- Screwdriver
- Utility Knife
- Nails
- Pry Bar
- Caulk
Installation Process
- Remove the old window If you need only a windowpane, then a glazing contractor can help you. If you are planning to replace the whole window, then it is better to go for stock replacement window. Using a pry bar remove the window trim, still plate, and jamb extension from near and around the old window. Unscrew the windows using the screwdriver and remove it carefully, without breaking the glass. Also, remove the inside sash. Remove the parting beads and outside sash by sliding the outside sash to the bottom of the window. Repeat the same steps to remove the inside sash.
- Measure the new window Take the dimensions of the new window and make adjustments in the window frame so that the frame matches with the dimensions of the new window. Clean the window jambs and sill. If you find any holes in it, fill it with caulk.
- Install New Window On the jambs, lay a bed of caulk along the inside of the outside stops and remove moisture, if any. Keep the top and bottom sashes vertically in the new window frame and install the window from the exterior side. Start by pushing the window up until it is flush to the frame. Make slight adjustments maneuvering the screws and adding shims, so that the new window matches with the frame. If the window is in the right position, use screw or nails to secure it in position.
- Wrap and insulate After making sure that the window is in right position, use window wrap and completely cover the surfaces of the window. It must remain straight and flush to the window frame and needs utmost care while doing this, as it is key component, which helps to keep the moisture away. Expanding-foam sealant helps to insulate the window. It can fill the gap between the casing and the window. Painter’s tape is used to cover the edges of the window. You can use a knife to scrap off the dried foam.
- Trim and Casing Install a new interior casing, after removing the dried foam. Replace the exterior trim and replace a new interior casing.

Additional Tips
- Take enough time to install and adjust new window. Wrong installation will make it difficult to operate and will be waste of money, time and energy.
- Install the new windows from inside of your home
- You can reuse certain materials, like stop pieces. So, make sure that you store them safely
- It is advised not to remove the exterior stop from the window jambs, as it will help to retain the new window, during installation.
- Do not use too much foam
- During installation, do not screw tightly
As with any home improvement project the process can be overwhelming, know when to DIY or hire a pro for your window installation. Be sure to use Porch to help you find a professional window contractor.


