Keep your plants and lawn healthy by using a sprinkler instead of just spraying them with a hose. For those of you who don’t want to install a full sprinkler system, you can have the perfect one for your space if you build it yourself.
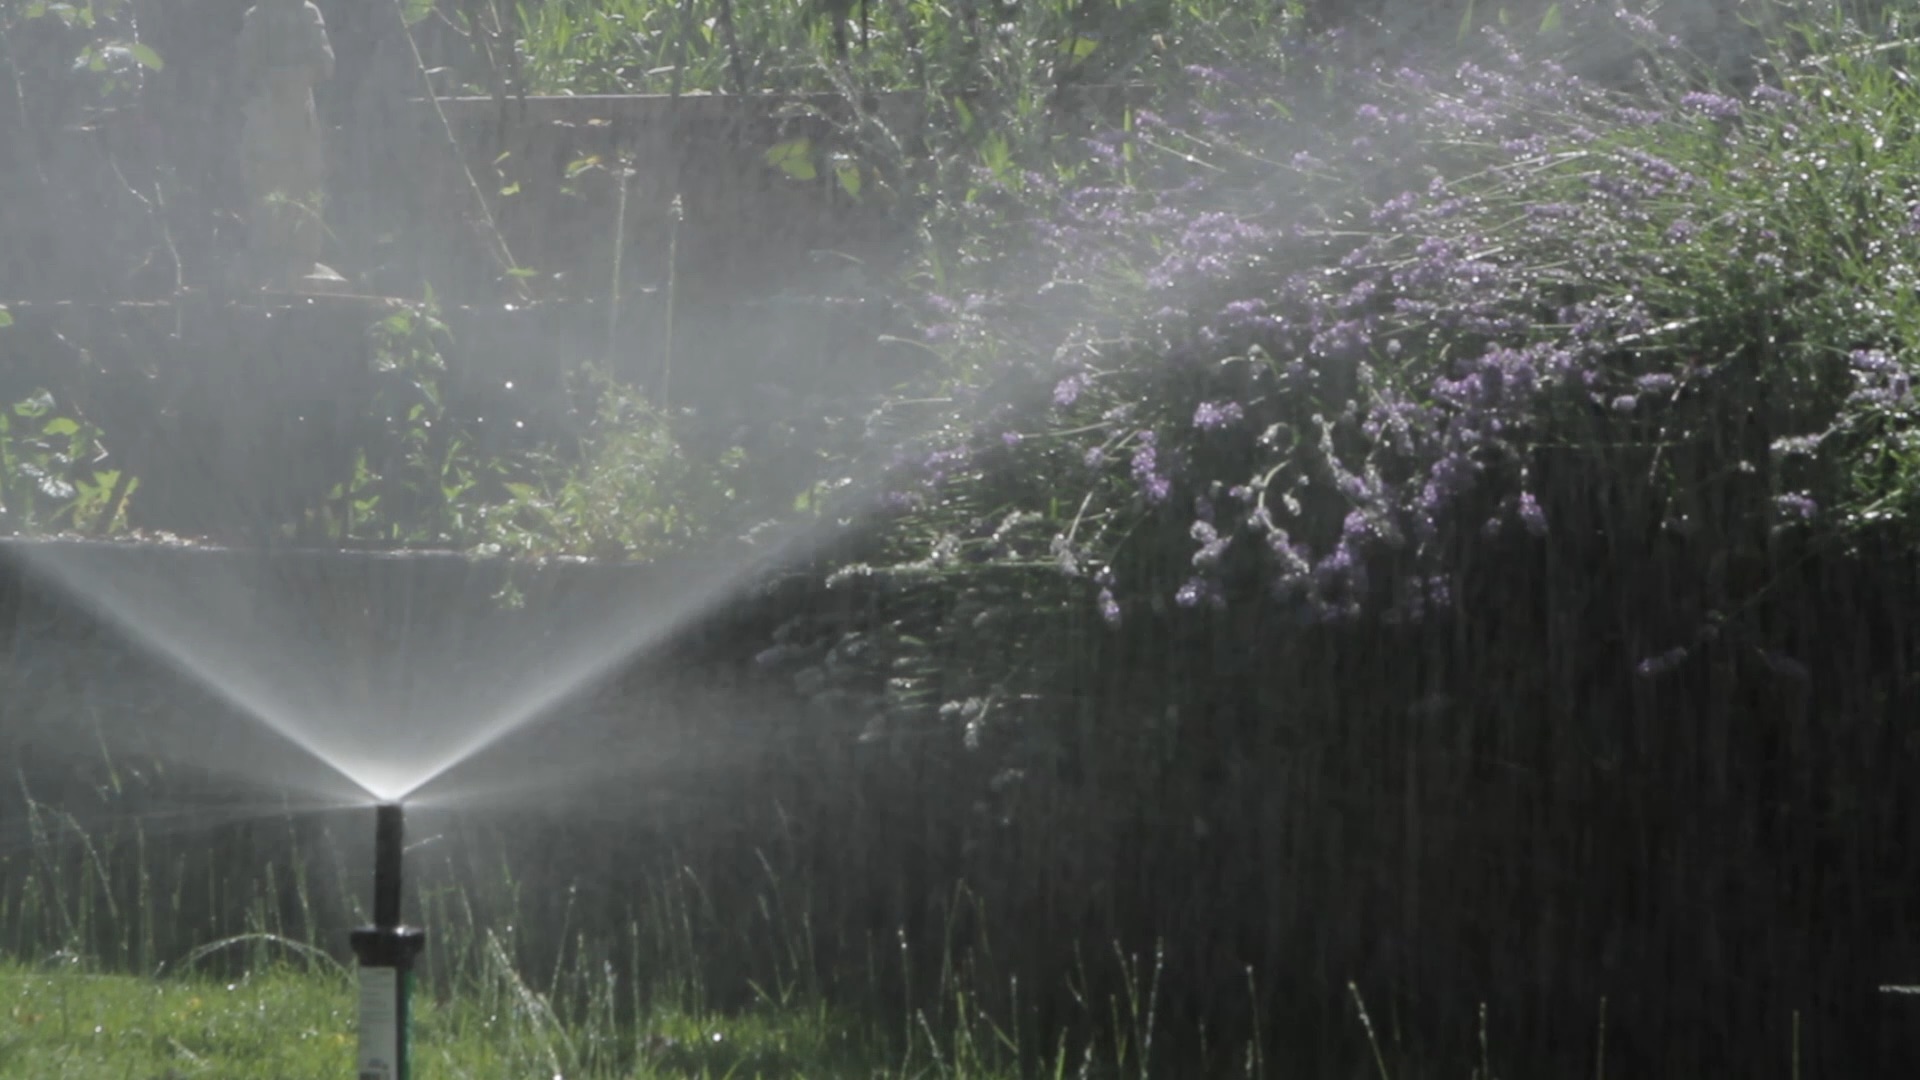
For less than $15, we assembled this sturdy sprinkler. You can get different sprinkler heads that make the most sense for your yard, in our case we used a 360-degree spray with an 8-16′ coverage radius. The best part is, when the sprinkler head goes bad a few years down the road, you can replace the one part and it will be as good as new!
Watch the video below to learn how to DIY your own sprinkler.
Materials and Tools:
- 2’x1.5″ PVC pipe
- 2 – 1/2″ PVC Tees
- 4 – 1/2″ PVC cross
- 1/2″x2″ PVC nipple
- 1/2″x3/4″ hose fitting
- PVC Pipe cement
- Pipe thread seal tape
- 1/2″ sprinkler head (choose one that’s perfect for your yard size and shape)
Instructions:
- Cut the 2′ PVC pipe into 5 – 4″ lengths and 2 – 2″ lengths.
- Deburr and bevel the ends of the PVC pieces. (This prevents pieces from flying off and blocking the sprinkler from the inside.)
- Find a flat surface to work on and do a dry assembly first to make sure everything fits.
- Once everything fits, begin gluing pieces together.
- Apply cement to the male and female pieces and press firmly together.
- Assemble the ends first, then connect the middle piece.
- Make sure the middle tee is at a 90-degree angle.
- Wrap the nipple in plumbers tape.
- Thread on the sprinkler head and attach to the stand. *This piece can be replaced when it wears out for only a couple dollars.
- Let the cement dry for 2-3 hours, then hook it up.
Water away! Your lawn and your wallet will thank you.
More articles on lawn care and maintenance:
- 5 Low-Water Lawns That Stay Green Under Pressure
- Spring Lawn Care & Maintenance Tips
- How To Fertilize A Lawn
For more how-tos and quick tips, check out our other videos, here!


